views
Purchasing and Unboxing the Crib
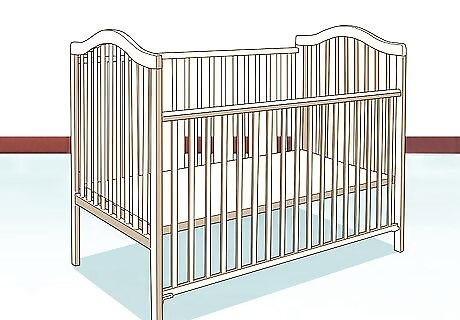
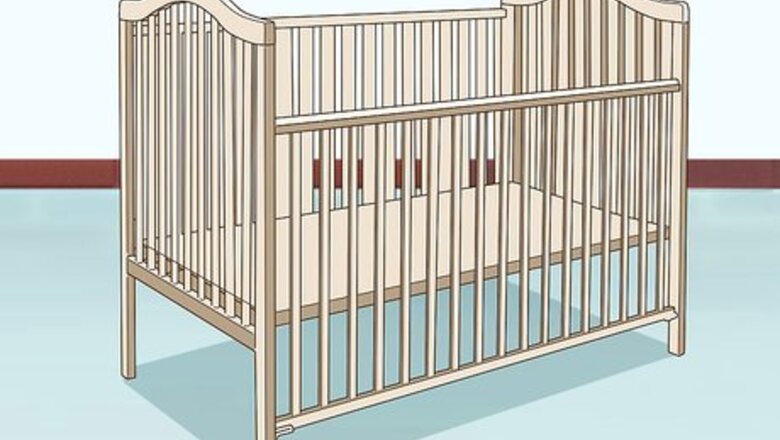
Buy a crib that meets safety standards. Purchase a crib that has been approved by either the Consumer Product Safety Commission (CPSC) or Juvenile Products Manufacturers Association (JPMA) so that you know it’s safe for children. You can typically find this information on the packaging or in the product details. Read reviews for the crib online before you buy it. If you received a crib as a gift, check online to see if it meets safety standards. Be sure to choose a crib that you can exchange if needed, such as if it does not meet safety standards or if it does not work for your child’s room.

Confirm the crib hasn’t been recalled. Certain models of cribs are recalled because they are found to be faulty or dangerous. Buying an unsafe crib puts your child in danger and increases the chances of Sudden Infant Death Syndrome or SIDS. If you are buying a used crib or receive a used crib, check on the official website to make sure that the model was not recalled. Visit https://www.recalls.gov to make sure the crib wasn’t recalled. Manufacturers will stop the sale of a crib in stores or online once it’s been recalled.
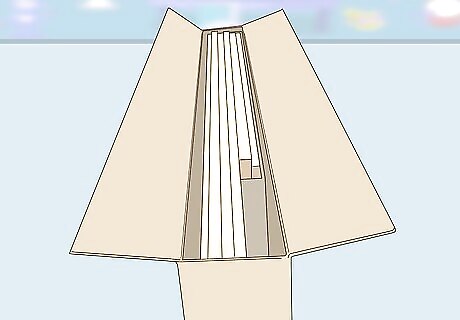
Unpack the crib in the nursery. Move all of the crib parts to the nursery or the room your child will sleep in. Certain cribs are large once they are fully assembled and it may be difficult to fit them through doorways or up a staircase. Most crib parts will come in a cardboard box. Move the entire box rather than unpacking it first.
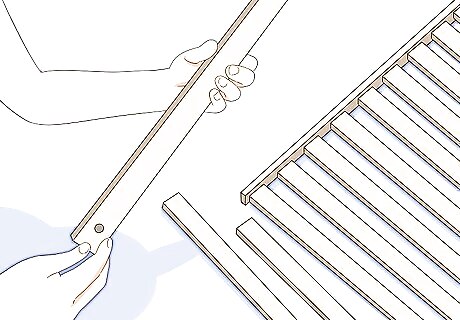
Check that all the parts were included and none are broken. Take the parts out of the box and lay them out onto the ground. Reference the instruction manual and double-check that all the required parts came in your package. Look for chipped, cracked, or malformed pieces. If the piece that came with the crib doesn’t look like what’s in the instruction manual, it’s possible that you got the wrong part in your package. Common crib parts include screws, bolts, headboard, footboard, support spring, and side panels. If you are missing pieces or find defective pieces, contact the crib manufacturer and request that they send you new ones. Ensure that all pre-assembled parts are properly constructed and screwed together. Loose pieces could create a hazard for your child.
Assembling the Crib
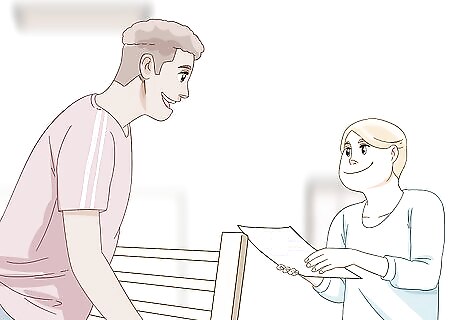
Have someone help with the assembly process. It’s easier to assemble most cribs with the assistance of someone else. Ask family members or friends if they can help you put the crib together. Say something like, “Hey, I need to put together this crib for Mikey and I need some help. Would you mind lending me a hand?”

Follow the directions exactly. There are several models and brands of cribs that are all assembled in different ways. Make sure to follow the directions precisely as they are in the manual, even if they differ from these directions. Improper assembly of a crib poses a serious health risk to your child. There may be tips or warnings in the instruction manual that could keep your child safer in the crib. If the directions are missing, you can usually visit the crib manufacturer's website to find an online set of instructions.
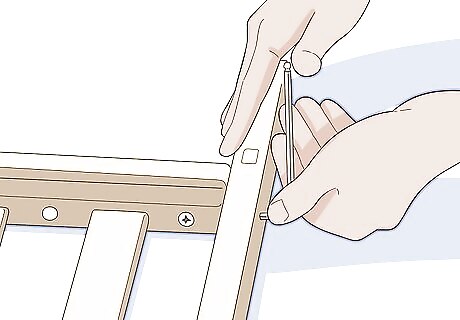
Screw the legs of the crib into the headboard and footboard. Hold the legs of the crib against the headboard so that the appropriate screw holes match up. Screw the legs of the crib to the headboard with an Allen wrench or screwdriver. Repeat the process with the other 2 legs and the footboard. Many cribs will come with the appropriately sized Allen wrench. Some cribs will have the headboard and footboard already attached the crib legs.
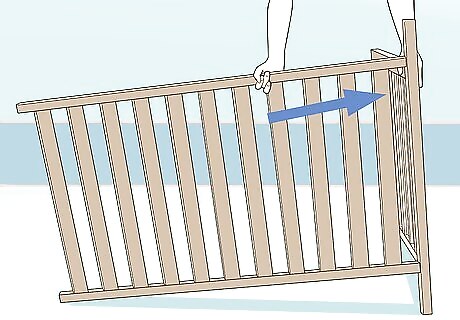
Attach the headboard with the side slat pieces. You should have 2 side pieces with slats in them. Make sure that the slat is on the correct side, then line it up with the holes on the headboard. Use an Allen wrench or screwdriver to screw the first side piece into the headboard. Then, go to the other side of the bed and attach the other side of the crib to the headboard the same way. There are typically at least 3 screws that attach the side of the crib with the headboard. Don’t turn the screws too hard or you may crack or damage the frame of the crib. Tighten them enough so they are tight but not embedded in the wood.
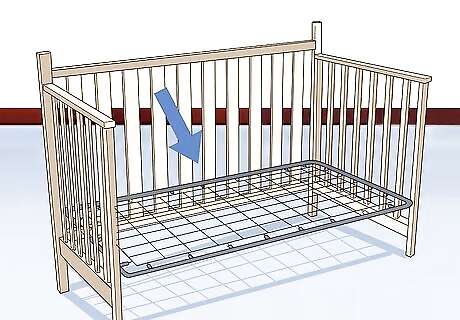
Install the mattress support spring. Usually, cribs will have support springs that hold up the mattress. Place the spring up against the headboard and side slats and screw it in with the appropriate screws. Typically, the mattress support spring will be attached to both the headboard, side slats, and footboard.
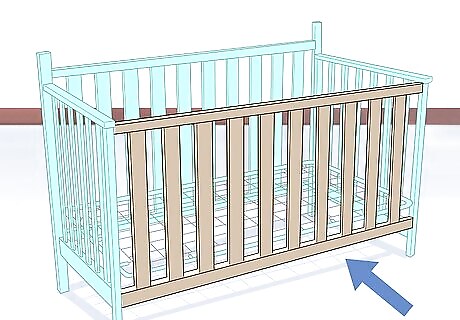
Connect the footboard with the side slats and support spring. Line the footboard up with the side slats so that the screw holes match up. Place the screws into the holes and use your Allen wrench or screwdriver to tighten them into the side slats first. Then, finish attaching the mattress support spring to the footboard of the crib. Ensure all the screws are tight before moving onto the next step. Typically, there will be 3 screws on each side of the footboard that attach to the side slats.
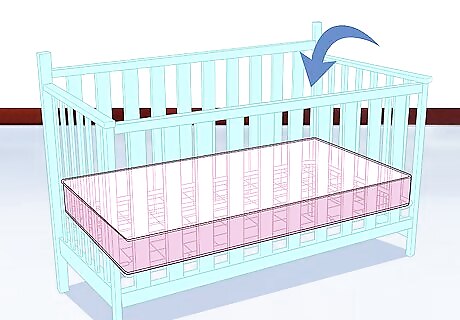
Place the mattress down on top of the support spring. The mattress should only be about 6 inches (15 cm) high and there shouldn’t be empty spaces on the sides of the mattress. Press down on the center of the mattress with your hand to make sure the crib is secure. It should not bend or break when you apply pressure. If there is space around the mattress, you should buy a bigger mattress that fits the crib properly.
Making Sure the Crib is Safe
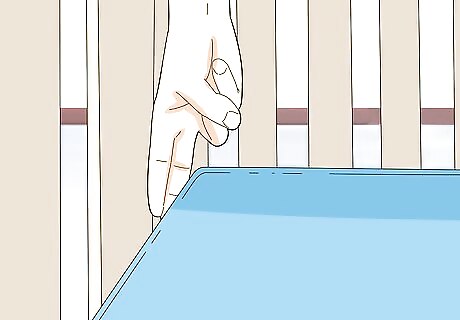
Ensure that the mattress is firm and tight fitting. If you can fit more than 2 fingers in between the mattress and the crib, the crib is unsafe. Your child could get wedged in between the crib frame and the mattress. Measure the inside of the crib frame and purchase a mattress that fits it perfectly. Ensure that the sheet or mattress protector is tight fitting as well.
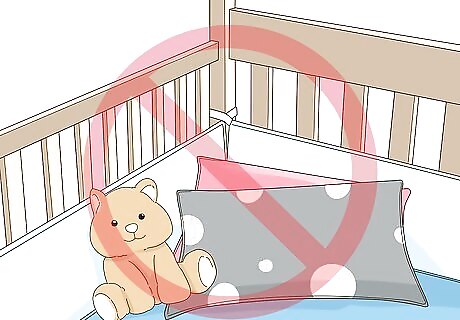
Don’t put pillows, quilts, bumpers, or stuffed animals in the bed. These items pose a suffocation and strangulation hazard for young infants and children and should not be put in the crib while the baby sleeps. Don’t let the baby sleep with any of these items until they are at least 12-months-old. Keeping blankets, bumpers, and other soft items out of the crib will also reduce the chances of Sudden Infant Death Syndrome. Use sleep sacks instead of blankets to keep your baby warm. These are wearable blankets that go over their pajamas.
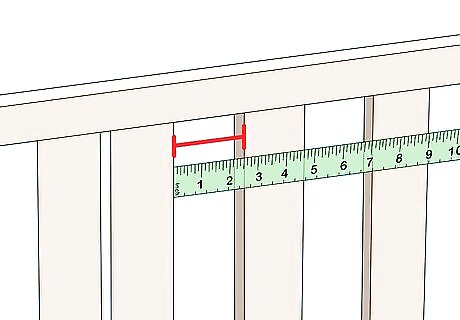
Ensure that the spaces in the slats are greater than 2.37 inches (6.0 cm) wide. Your child could get their arms, legs, or head stuck if the area in between the slats if they are too wide. Measure the spaces in between the slats with a tape measure or ruler and ensure that they are less than 2.37 in (6.0 cm) wide. Make sure that there are no large holes in the headboard or footboard or your baby could get stuck in them. If the slats are too large in your crib, purchase another one.
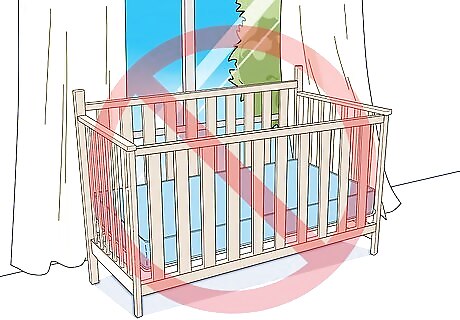
Don’t place the crib near windows, draperies, or blinds. Placing the crib near a window could create a falling hazard for your child. In addition, things like draperies, blinds, and curtains create a strangulation hazard for a child. Keep the crib away from the wall because it's possible that your child could get wedged between the wall and the crib.

Put the baby to sleep on their back. Putting your child to sleep on their back reduces the likelihood of SIDS. Do not put your child on their side or stomach because it increases the likelihood of suffocation. Do not put your baby to sleep on their side because they could roll over on their stomach.


Comments
0 comment