views
Preparing Your Boots
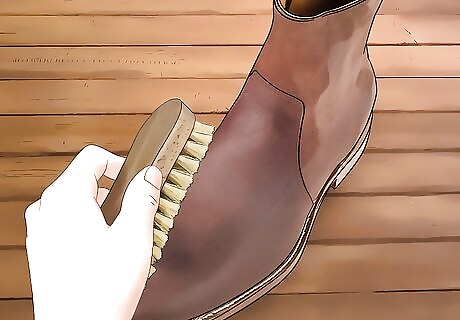
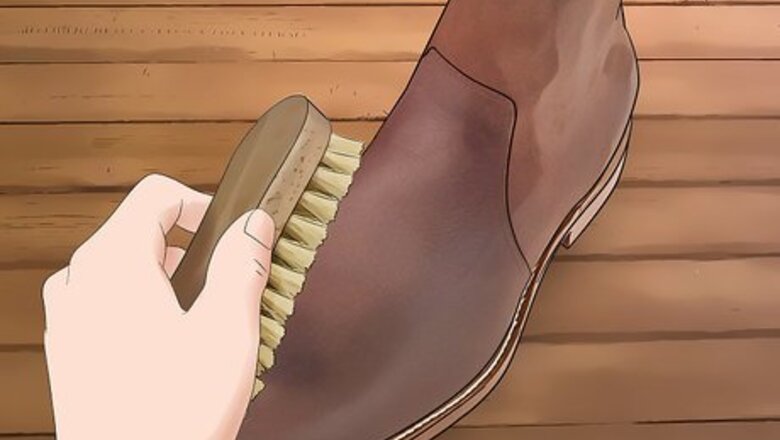
Clean your boots. Mix one ounce of leather bleach and one pint of water. Apply this mixture to your boots using a stiff brush. Scrub vigorously to remove any dirt that is on your boots. If you do not have any leather bleach, use a leather cleaner to remove any dirt. Take the time to thoroughly clean your boots. The more dirt you remove, the better the final outcome will be. Use circular motions as you scrub your boots.
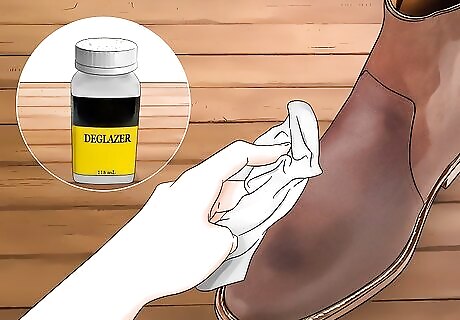
Apply a deglazer/preparer. Once your boots are clean, you must remove the protective coating. Your boots were likely treated with some type of protective finish when they were initially dyed. A deglazer will remove this coating so the dye can be absorbed. To get the best results, you need to remove all of this before you apply the dye. Use a wet cloth or sponge to rub the deglazer all over your boots. The finish and some of the color will come off when you apply the deglazer. You may want to do this outside because the fumes can be very strong. Use a white cloth or rag because you do not want the color from the rag to bleed onto your boots. Use a toothbrush to get the areas between the sole and upper.
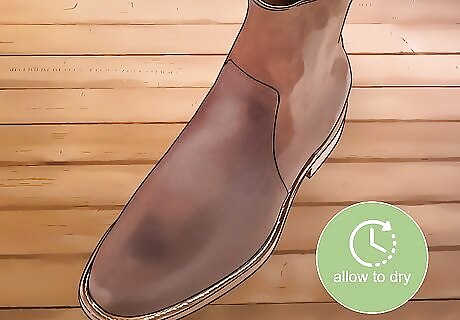
Allow the deglazer to dry. Wait for the deglazer to evaporate. This usually takes about 10 to 15 minutes. Once your boots have dried, run a damp rag over your boots to make sure you that you have removed all the protective finish. If you still see some shiny areas on your boots, you need to deglaze them again. Removing the protective finish is critical to a successful dye job. The dye will not penetrate your boots if the protective finish is still there. If you have to apply the deglazer multiple times, you may want to let your shoes dry overnight. EXPERT TIP Mallika Sharma Mallika Sharma Certified Leather Care Technician Mallika Sharma is a Certified Leather Care Technician and the Founder of The Leather Laundry, a niche spa service for luxury leather gear in India. Mallika specializes in leather cleaning, coloring, repairing, and restoring for shoes, handbags, jackets, wallets, belts, and sofas. She holds a Master’s degree in Finance and Investment from the University of Edinburgh Business School. Mallika is a certified Professional Leather Care Technician and trained with the globally reputed leather care company, LTT in the United Kingdom. Mallika Sharma Mallika Sharma Certified Leather Care Technician Prep leather before painting it. Properly preparing the surface of leather before painting it helps the color fully absorb for a smooth, even finish. First clean the leather thoroughly with a solvent like thinner, rubbing alcohol or ammonia to open up and clear out the pores. Then, airbrush on leather paint, followed by applying a fixing agent or sealant on top to properly set and seal in the painted color.
Applying the Dye
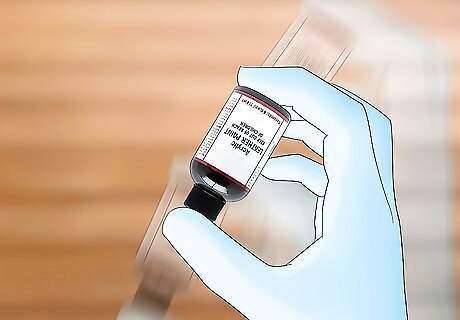
Mix the dye. Put on some rubber or latex gloves to protect your hands. Turn the bottle of dye upside down and shake it. Also stir the mixture to loosen any of the pigment that has settled to the bottom of the bottle. Pour the dye into a disposable container. Always read the instructions that come with the dye. If you are creating an intermediate color, go ahead and mix the dyes at this time. The basic rules of color mixing apply to leather dyes as well. For example, yellow and blue can be mixed to make green. You can dilute the dye with water to adjust the color. Play around with the water-to-dye ratio and test the color on swatches before you apply the dye to your boots.
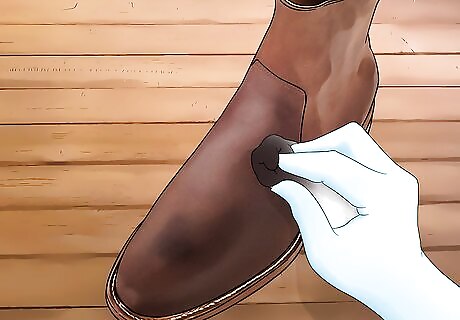
Apply the dye. Use a sponge brush, paint brush, or cloth to apply the dye to your boots. Apply a thin coat of the dye using long,even strokes in the same direction (e.g. vertical or horizontal). Allow the dye to dry for 30 minutes, and then apply a second coat. Some dyes will come with an application brush. However, use whatever tool is most comfortable for you. If you are not satisfied with the color after the second coat, you can apply a third coat. Always allow the coat to dry for 30 minutes each time. If you apply your first coat using horizontal brushes, apply the second coat using vertical brushes. This will ensure an even application of the dye. Consider using a small paintbrush for fine details and hard to reach areas, such as the spot where the sole and the heel meet the leather. Test a small area before you apply the dye to your entire boot.
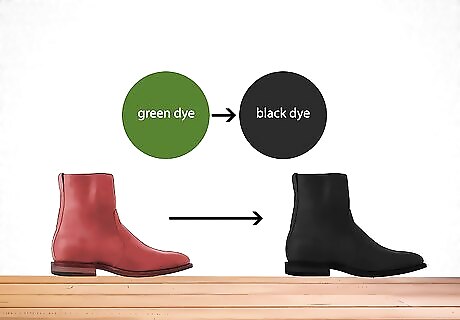
Use an intermediate color if necessary. Dyes work best if you are going from a lighter to a darker color. If you are making a drastic color change, use an intermediate color to achieve better results. The first color you use will neutralize the original color on your boots. Then follow up that color with your desired final color. If you are going from white to black, dye the shoes green or blue first and finish with black. If you are going from white to brown, dye the shoes light green first and finish with brown. If you are going from red to black, dye the shoes green first and finish with black. If you are going from white to a bright red, dye your shoes yellow first and then red. If you are going from white to dark red, dye your shoes tan and then dark red. If you dye your shoes yellow, dye your shoes white before you apply the yellow dye. Always allow the dye to dry completely before you apply the next color.
Polishing Your Boots
Allow the boots to dry. Once you have applied the color and are satisfied with the final product, allow your boots to dry for at least one to two hours. If you have applied multiple coats of dye, you may want to let your boots dry for 48 hours. The longer your boots dry, the better. Lightly rub off any dye that may still be wet with a cotton rag. Be careful not to scrub the leather; just wipe gently. The color of your boots will intensify and even out as your boots dry.
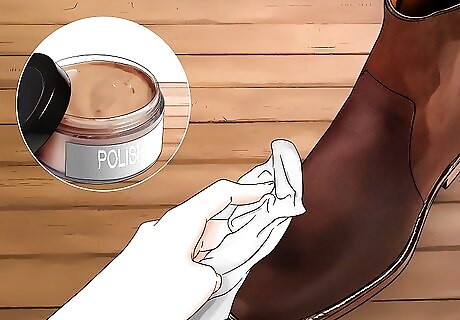
Apply polish. Your boots may look a little dull once they have dried. Shoe polish will enhance the color and gloss of your shoes. If you want to give your boots some shine, use a wax polish. If you want to enhance the color, use a cream polish. Dip a clean rag into the shoe polish and use circular motions to apply the polish to your boots. Apply a thin, even layer of polish to your boots. Find a polish that matches the color of your boots and always read the directions before you apply to your boots. Let your boots sit for twenty minutes after you apply the polish.
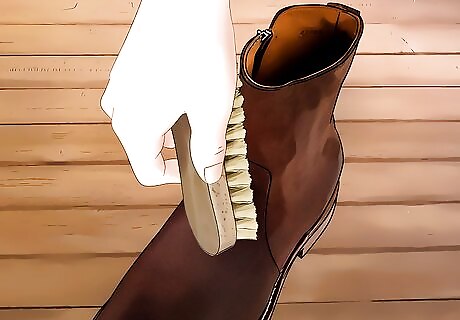
Brush off excess polish. Once you have polished your boots, use a shoe brush and brush your entire boot. There should only be a thin layer of polish left on the shoe after you have finished brushing. Do not be afraid to brush vigorously; you will not ruin your boots. Look for brushes that have horse-hair bristles. They will not scratch your boots, but will still get the job done. When you are done brushing, use a cloth or old t-shirt to finish buffing your boots and make them shiny.


Comments
0 comment