views
Preparing the Pots
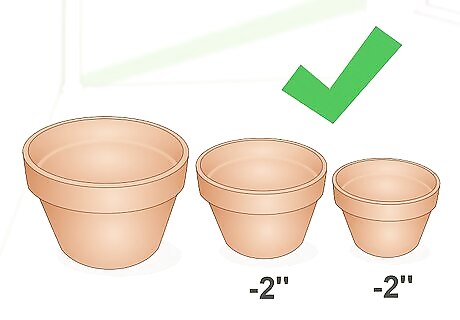
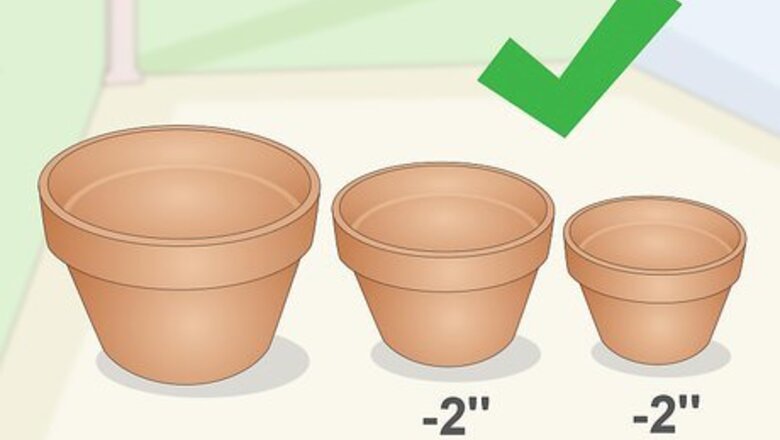
Get three terra cotta pots in different sizes. You will need a large, medium, and small pot. They can be plain or already painted. If they are plain, you can paint and decorate them to suit your garden's décor. Plan on each pot being about 2 inches (5.08 centimeters) smaller than the last.
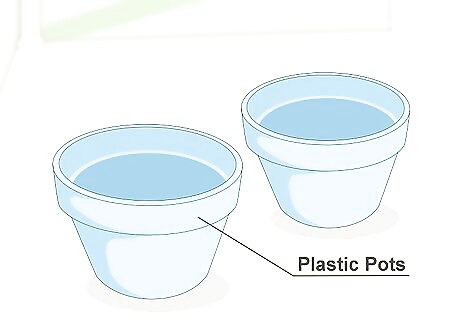
Get two plastic pots. The pots needs to be small enough so that you can place them upside down inside the large and medium terra cotta pots without going outside the rim. You can use more terra cotta pots instead, but plastic pots are much cheaper. They can be any color since you won't see them in the end.
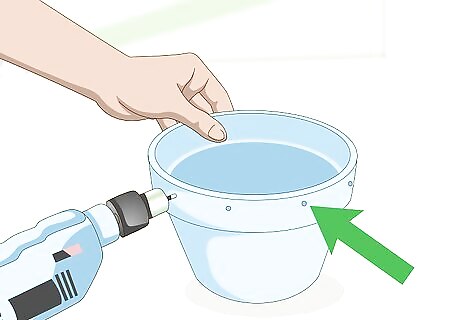
Drill holes into the plastic pots for drainage. You will need to drill some holes along the top edge/inside rim of both plastic pots. Space each hole a few inches/centimeters apart. If the pots don't have any drainage holes along the bottom, you will need to drill some as well.
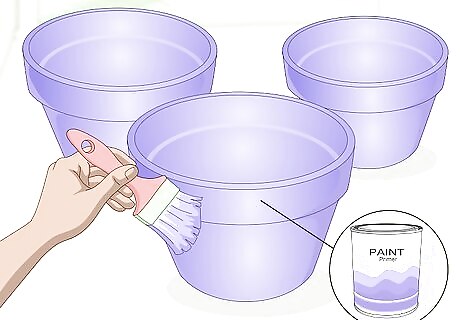
Consider painting the terra cotta pots to make them look more interesting. Wipe the pots down with a damp cloth, then mask off anything you don't want painted with painter's tape. Paint the pots with 2 to 3 coats of outdoor-quality paint; allow each coat to dry before applying the next one. Do not paint the inside of the pots. Seal the paint with a clear, acrylic sealer to make it last longer. You can paint the pots a solid color, or you can do designs, such as strip, zigzags, or polka dots. You can make the pots all the same color, or you can paint each pot a different color. Remove any painter's tape before the paint dries.
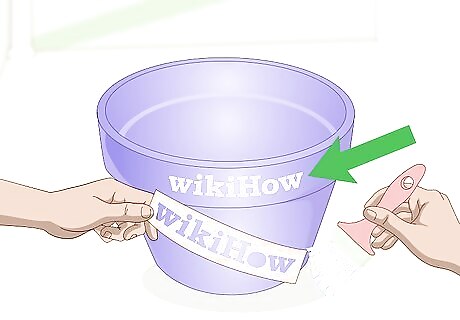
Consider adding some stencils to the pots. Choose a stencil, such as a monogram, word, or house number. Secure it to the pot using painter's tape, then apply outdoor-quality paint over the stencil using a paintbrush or a foam brush. Work your way from the outer edges of the stencil inward. This will prevent the paint from bleeding under the stencil. Carefully peel the stencil away, then let the paint dry. If your paint is sheer, you may need to apply another coat or two. Allow each coat to dry before applying the next one. Keep the stencil in place until you apply your last coat of paint. You can apply the stencils to an unpainted pot or to a painted one. If you are applying the stencils to a bare pot, be sure to wipe it down with a damp cloth first. If you are adding house numbers, aim to make them about 4 inches (10.16 centimeters) tall and 2 inches (5.08 centimeters) wide. This will make them more visible from the street.
Assembling the Planter
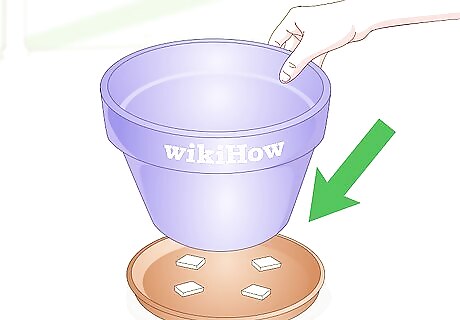
Place the large terra cotta pot on a matching terra cotta tray. It would be a good idea to add 3 to 4 spacers under the pot so that it doesn't actually touch the tray. ½-inch (1.27-centimeter) thick pieces of wood work great.
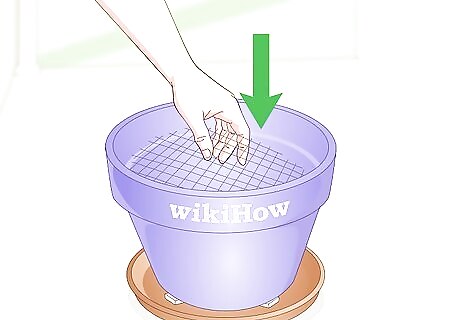
Place a screen into the bottom of the pot. This will help prevent the soil from falling through the drainage soil. If you can't find any window screening, you can use a lid from a plastic Tupperware container and poke lots of tiny holes into it.
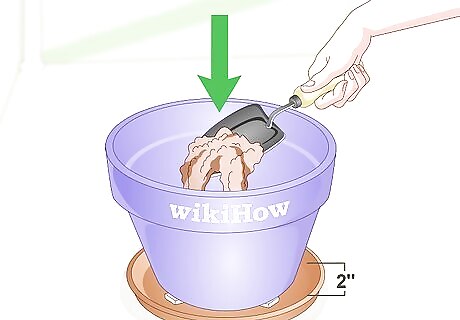
Fill the bottom of the pot with some soil. This will be your base layer. You only need 1 to 2 inches (2.54 to 5.08 centimeters) of soil.
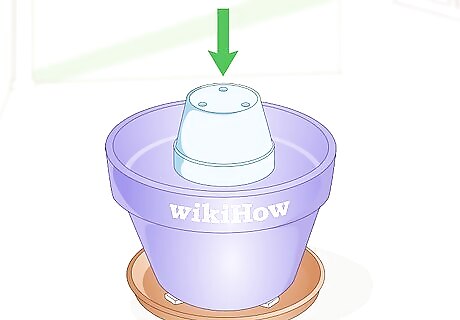
Place the medium plastic pot upside down into the terra cotta pot. The bottom of the plastic pot is now the top. Make sure that it is below the rim of the terra cotta pot. If the plastic pot is too far below the rim, take it out, add more soil, then put it back in. Gently press it into the soil to create a seal.
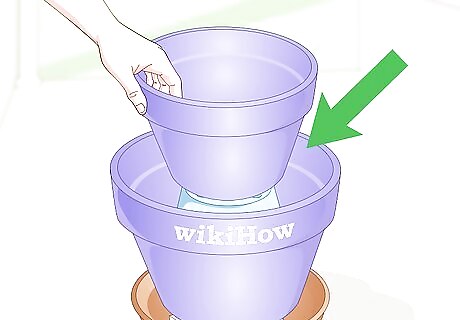
Add your second tier. Place the medium-sized terra cotta pot on top of the plastic one, right-side-up. Insert another plastic screening into the bottom, then a thin layer of dirt. Place the second plastic pot upside-down into it, and make sure that it is below the rim.
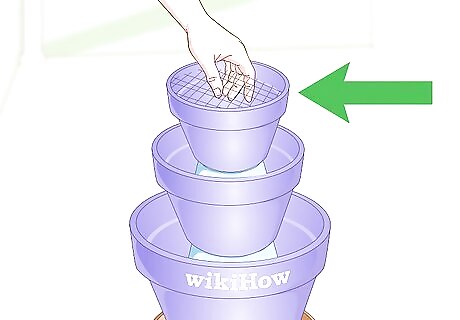
Finish the last tier. Place the small terra cotta pot on top, right-side-up. Insert a piece of window screening into the bottom. You do not need to add another plastic pot into it, unless you wish to save soil.
Adding the Plants
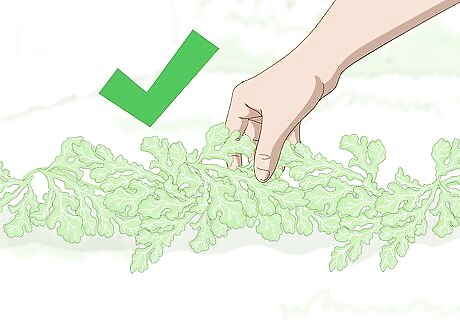
Choose your plants. Flowers and herbs are popular choices for these types of planters. You can also use trailing filler plants, strawberries, vegetables, or even succulents. You can buy young plants from your local nursery or gardening shop, or you can try to start them from seed.
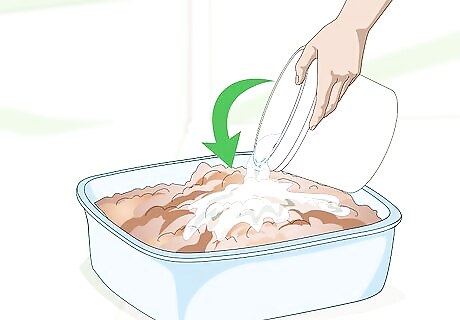
Dampen the soil, if necessary. The soil should feel damp and springy, like a sponge. If your soil is too dry, mix some water into it. Make sure that your soil is suitable for the type of plants you are using.
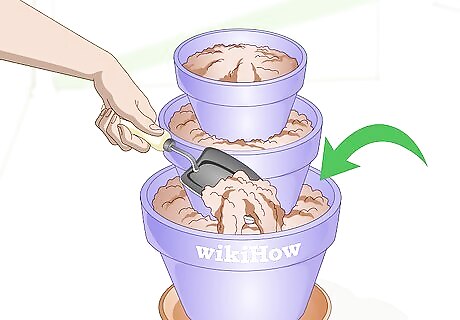
Fill the gaps between the pots with soil. Use a trowel to scoop the soil into your planter. Stop when the soil is 1 to 2 inches (2.54 to 5.08 centimeters) from the top rim of each terra cotta pot.
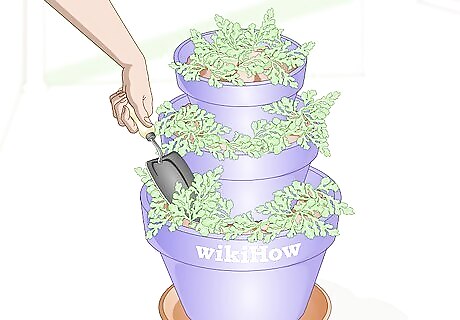
Add your plants. Remove the plants from the plastic containers that they came in. Dig holes for them into the planter, leaving at least 1 inch (2.54 centimeters) between each one. Insert the plants into the holes, then gently pat the soil around them. Make sure that the base of the plant is about 1 inch (2.54 centimeters) below the rim of the pot.
Add a fertilizer to the soil. Fertilizer will help your plants grow and thrive. The kind of fertilizer you should use depends on the type of plants you have. If you're not sure, try searching online to see what the best fertilizer would be. When you're applying the fertilizer, make sure you follow the instructions so you don't accidentally add too much.
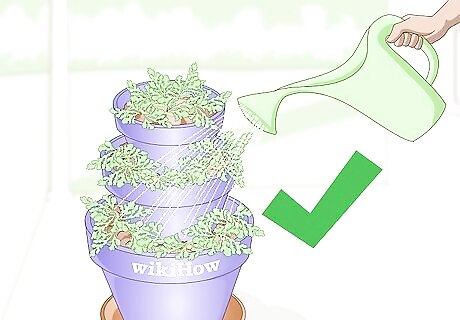
Water the plants. This will help settle the soil. You will need to water each tier separately. Keep watering until the soil is damp and water comes out of the bottom of the largest pot.
Monitor the plants for signs of pests and disease. If the leaves on your plants are wilting, discolored, or falling off, it could be a sign that you have a pest or disease problem. Inspect the plant closely and look up the symptoms online to determine what the issue is. You may need to use natural remedies or insecticides to save your plants.


Comments
0 comment