views
- If you're using a Linux-hosted domain, install WordPress through the GoDaddy product page under the Web Hosting section.
- If you're using a Windows Hosting account, install WordPress through the GoDaddy product page under the Web Hosting section.
- If you're installing an older version of WordPress, you'll need to download the WordPress package and upload it using a FTP app.
Using cPanel on a Linux-Hosted Domain
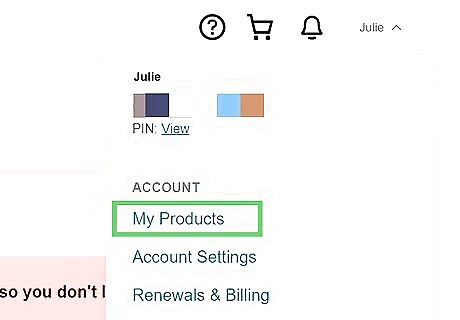
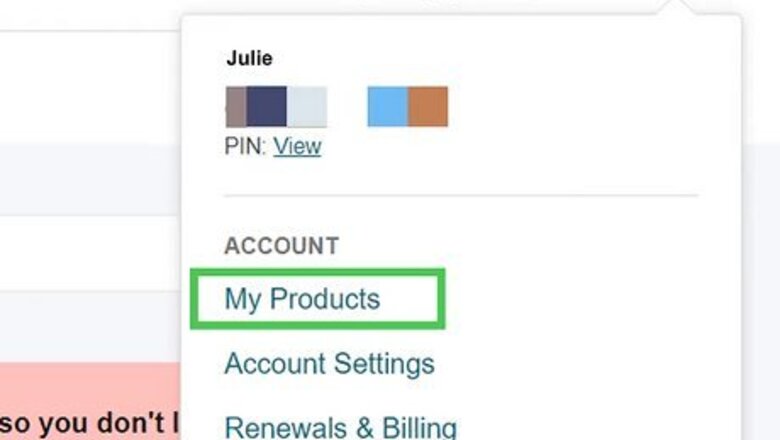
Go to account.godaddy.com/products. Log in to access your GoDaddy product page. This method works for users that have a Linux Hosting account.
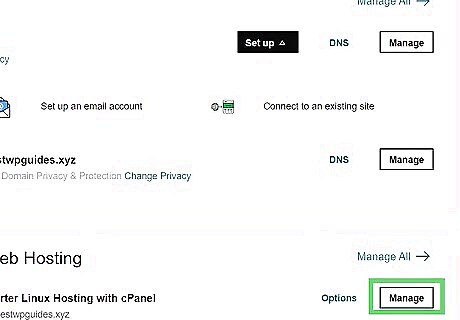
Click Web Hosting and then Manage. This will open a dashboard with Web Hosting options.
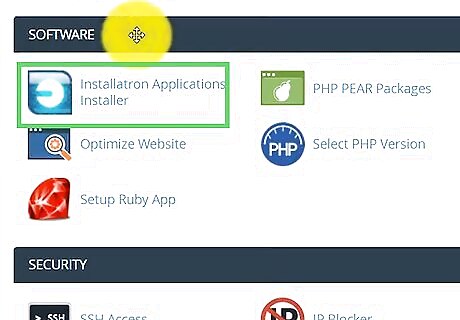
Click Install Application under your domain. This is located in the "Websites" sections of the Web Hosting dashboard. The Installatron Applications Browser page will open.
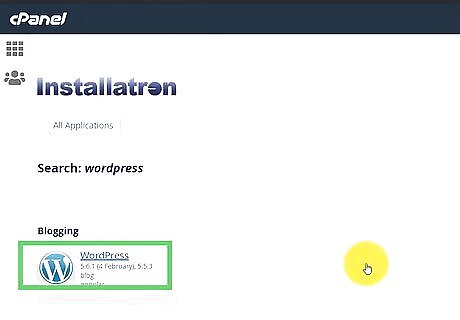
Click WordPress blog. It's under the "Apps for Content Management" section.
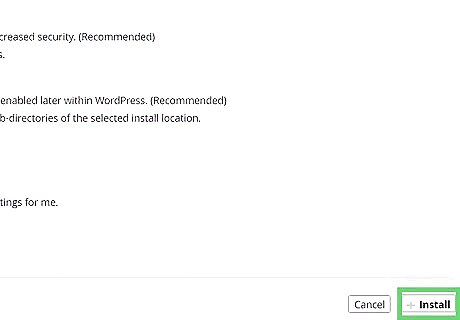
Fill out the required fields the click Install. This includes the domain name, administrator username, password, and email, and database settings. You're done! You can start editing the website once the installation is complete.
Using a Windows Hosting Account
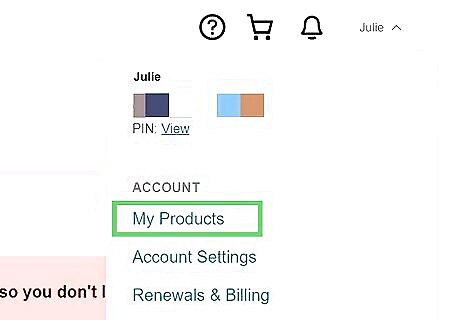
Go to account.godaddy.com/products. Log in to access your GoDaddy product page. This method works for users that have a Windows Hosting account.
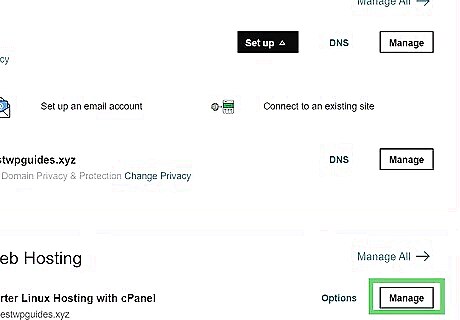
Click Web Hosting and then Manage. Make sure to select the Windows Hosting account you want to use. This will open a dashboard with Web Hosting options.
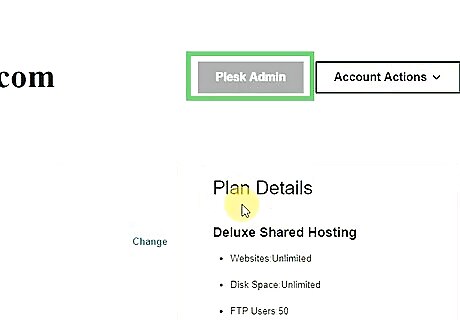
Click Plesk Admin. This is an option in the Web Hosting dashboard. The Plesk home page will open.
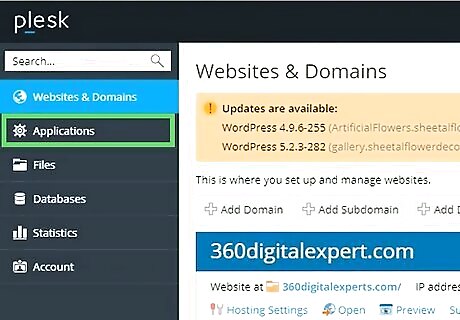
Click Applications. This is in the left menu of the Plesk home page.
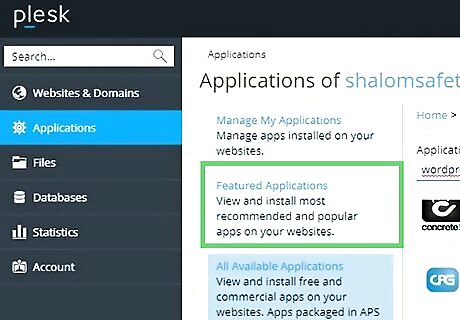
Click Feature Applications.
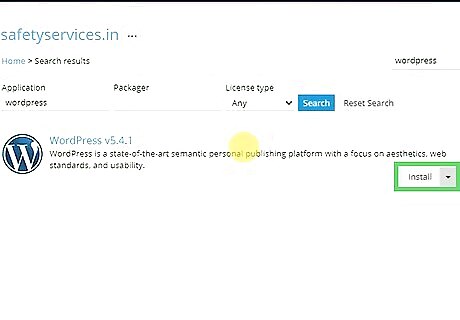
Click Install next to "WordPress." This will install WordPress using your Windows Hosting account. You're done! Now you can start editing your website and adding links to external sites.
Installing Older Versions of WordPress
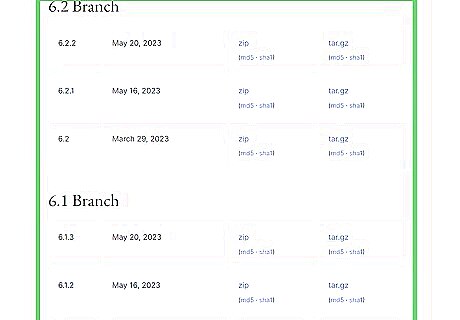
Download the WordPress .zip package you want to install. Go to https://wordpress.org/download/releases/ to download the .zip file for the WordPress Version you want to install. This method uses FileZilla but you can use a different FTP program if you prefer. Use this method if you need to install an older version of WordPress for theme or plugin compatibility reasons.
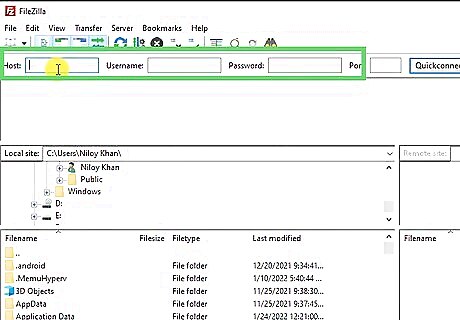
Connect FileZilla to your hosting. To do so: Open FileZilla. Complete the Host, Username, Password, and Port fields. Click Quickconnect to connect your hosting account to FileZilla.
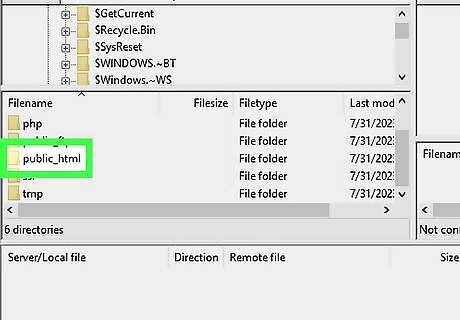
Upload the WordPress .zip file to Windows Hosting. In FileZilla, follow these steps: Open the root directory. This is typically the public_html folder. Select the WordPress .zip file in the "Local site" section. Drag the WordPress file from the "Local site" section to the "Remote site" section. Note that if your hosting account doesn't have an unzipping tool, you'll need to unzip the WordPress folder before uploading it.
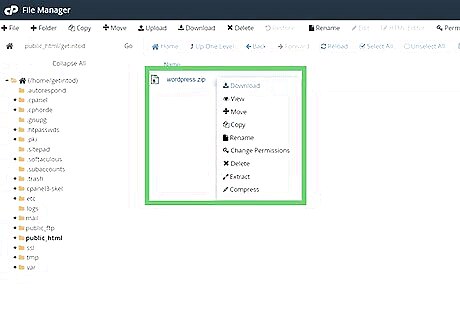
Unzip the WordPress .zip file. You can use cPanel or Plesk to do so, depending on your Windows Hosting account configuration.
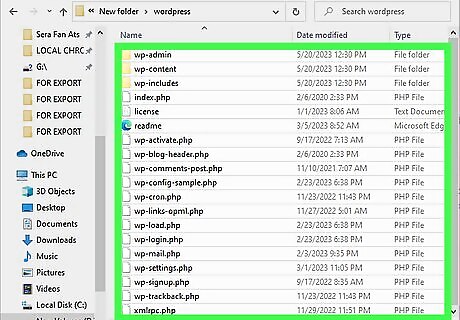
Open the unzipped WordPress folder and select all files inside. You can use the shortcut Ctrl+A (Windows) or ⌘ Command+A (macOS) to select every file in the folder at once.
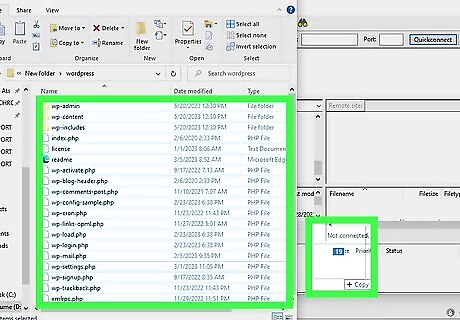
Click and drag the files to the WordPress root directory. This is the two periods next to an open file folder icon in the top left of the file window.
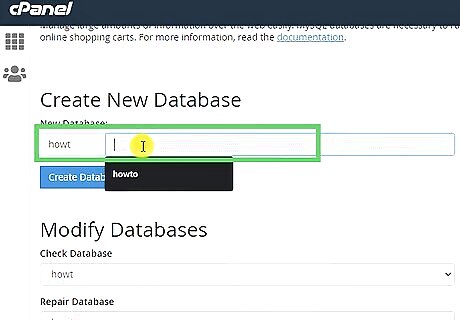
Make a MySQL user and database for your website. You can use Plesk or cPanel to do so.
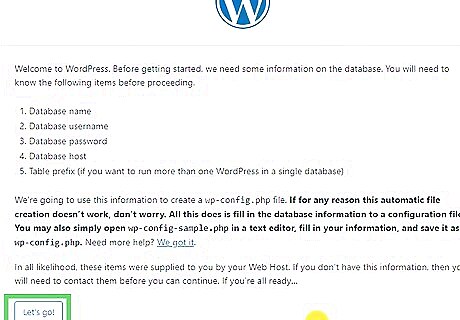
Set up the installation. To do so: Go to your domain in a web browser. Select a language and click Continue. Write down the database details. Click Let's Go. Enter your MySQL database information and click Submit.
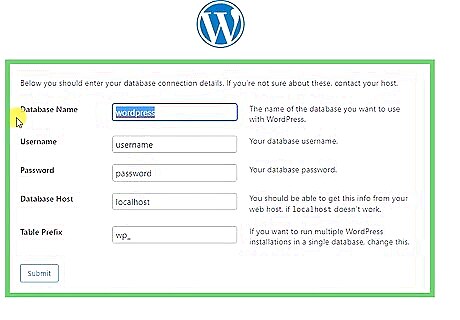
Click Run the installation and fill out the website information. This includes the website's title, username, password, and your email.
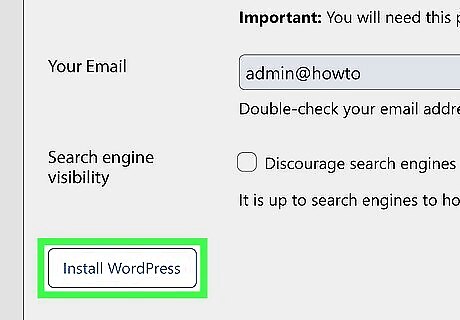
Click Install Wordpress. This will start the installation process. You're done! After the installation is complete, you can log in to your website and start adding subpages to your WordPress website and creating informational tables.



Comments
0 comment