views
Choosing Healthy Vegetables for Your Dog
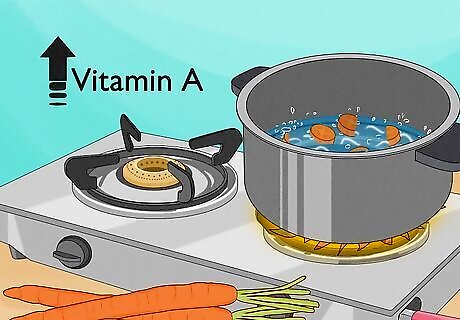
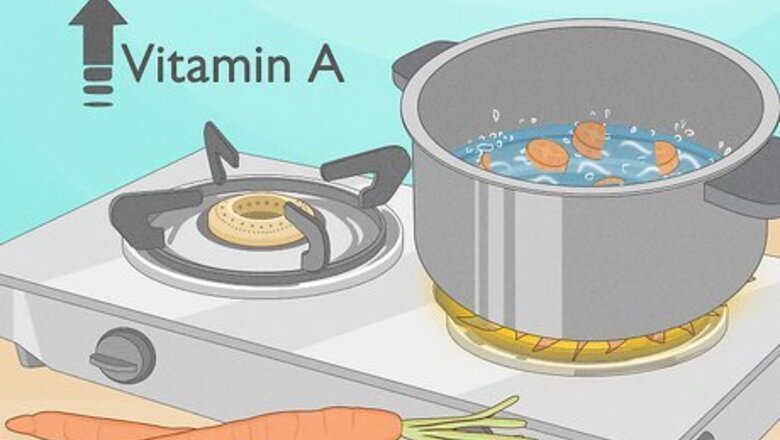
Carrots have tons of fiber and beta-carotene, which makes vitamin A. In fact, carrots are so good for your dog that they’re a regular ingredient in some dog foods. They make an excellent low-calorie snack, and crunching on carrots is good for your dog’s teeth. Prepare by: blanching, steaming, pureeing, or fermenting. Slice carrots before cooking them or feeding them to your dog.
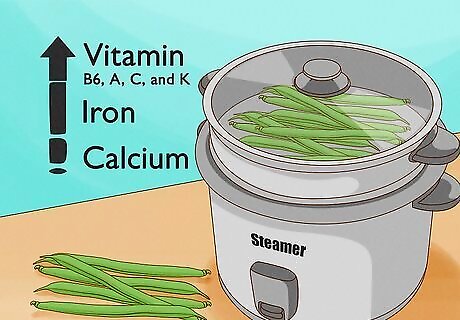
Green beans are high in important nutrients and low in calories. In other words, they make a fantastic diet supplement for your dog, with plenty of iron, calcium, and vitamins B6, A, C, and K. They’re also high in fiber, which will help your dog feel full and satisfied at the end of a meal. Prepare by: blanching, steaming, pureeing, or fermenting. Cook green beans whole—there’s no need to chop or slice them first!
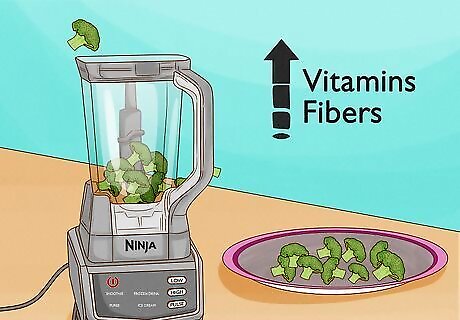
Broccoli is rich in vitamins and fiber but only healthy in small amounts. While broccoli is extremely nutritious, it also contains isothiocyanates, which can cause gastric irritation in some dogs. Therefore, it’s best to serve as an occasional snack for your pup—and not a regular part of their diet. Prepare by: blanching, steaming, pureeing, or fermenting. Chop broccoli into manageable florets before cooking it for your dog.
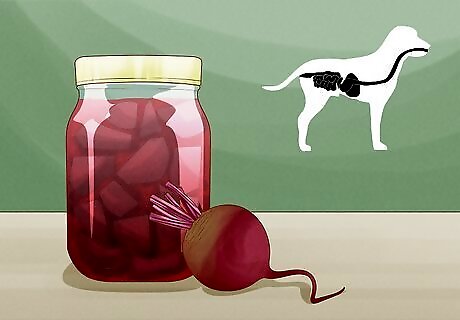
Beets are nutrient-dense and rich in manganese, folate, and potassium. Cooked properly, they make a fantastic treat to give to your dog. All of the nutrients in beets help keep your dog’s digestive system running smoothly, and contribute to healthy skin and a shiny coat. Prepare by: blanching, steaming, pureeing, or fermenting. Slice beets into manageable pieces before cooking them. As tough root vegetables, they’re difficult for dogs to eat whole.
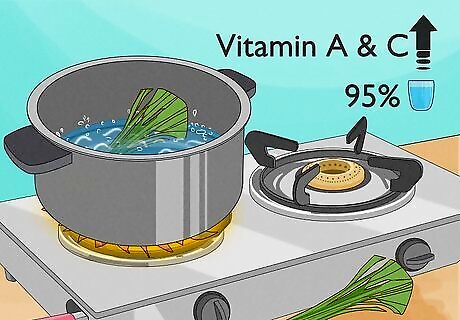
Celery promotes heart health and good breath for your pup. It’s a good source of vitamins A and C—valuable antioxidants that keep your dog in top shape as they age. Celery is also 95% water, so it’s a refreshing treat for a dog to munch in warm weather. Prepare by: blanching, pureeing, or fermenting. Chop up celery before blanching or fermenting it.
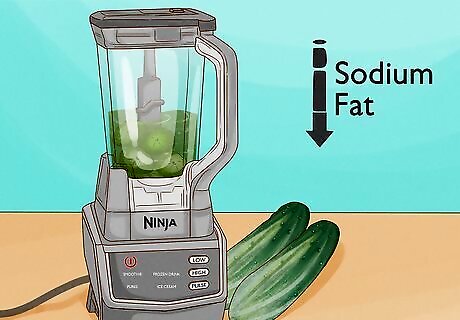
Cucumbers are a safe low-calorie treat, and dogs love their crunch. They’re also low in sodium and fat, so your dog can enjoy a helping of the veggie without ruining their appetite. Just be sure to introduce cucumbers to your dog slowly, since dogs can get gas and an upset stomach if they eat a lot of cucumbers without having tried them before. Prepare by: pureeing or fermenting. Slice up your cucumbers before giving your dog a taste. Whole cucumbers can be a choking hazard for the pup.
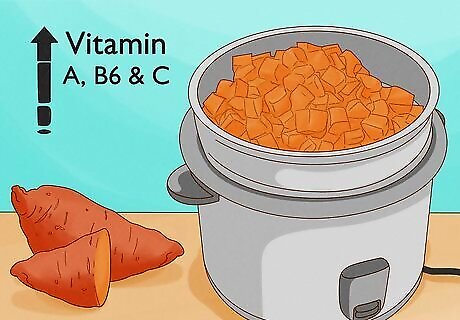
Sweet potatoes have dietary fibers to maintain healthy digestion. Out of all the different kinds of potatoes, they’re the healthiest choice for a dog, and delicious too. Sweet potatoes can even lower the risk of heart disease and certain cancers for your dog, and they’re rich in vitamins A, B6, and C. Because they’re low-fat and heart-healthy, sweet potatoes are another common ingredient in dog food. Prepare by: blanching, steaming, or pureeing. Dice sweet potatoes into bite-sized 1 inch (2.5 cm) cubes before you cook them. Don’t feed your dog raw sweet potato, as it’s harder to digest and may cause intestinal blockage.
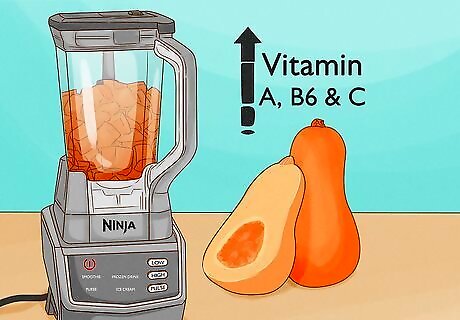
Butternut squash is vitamin-rich and very safe for your dog. It contains much-needed vitamins including A, B6, and C, which work to improve your dog’s immune system, vision, and heart health. Raw squash can be tough for a dog to swallow, even when cut, so be sure to properly prepare and cook the squash before serving it to your best furry friend. Prepare by: blanching, steaming, pureeing, or baking. Dice butternut squash into bite-sized 1 inch (2.5 cm) cubes before you cook them.
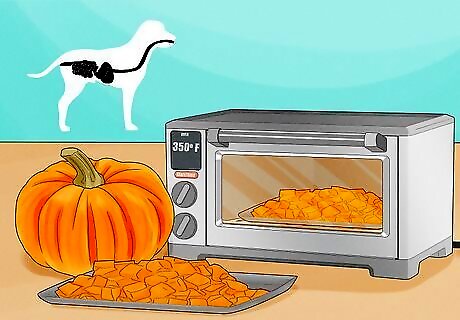
Pumpkin helps your dog’s digestion and makes their coat extra shiny. For dogs, pumpkin is a healthy and extremely tasty treat! A little pumpkin can ease constipation, bloating, and diarrhea if your dog has been feeling sick, too. Just remember that products like pumpkin pie mix are not safe for dogs; anything you give them should either be 100% pumpkin or pumpkin treats specifically designed for dogs. Prepare by: baking. Remove the seeds before baking, then cut up the baked pumpkin before serving it to your pet.
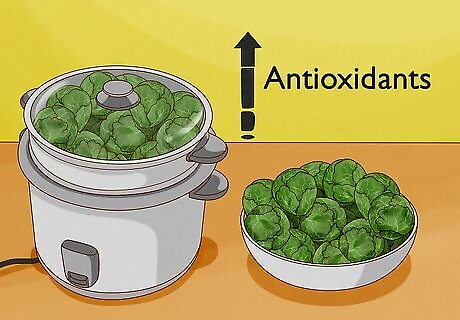
Brussels sprouts are filled with antioxidants that your dog needs. As such, they’re a fantastic choice to feed your pup (in moderation, just like any vegetable). Still, keep in mind that Brussels sprouts are also known to give dogs gas, especially when consumed in larger amounts. Prepare by: blanching, steaming, pureeing, or fermenting. Chop up Brussels sprouts before cooking them. Cut each head into halves or quarters to keep them bite-sized for your dog.
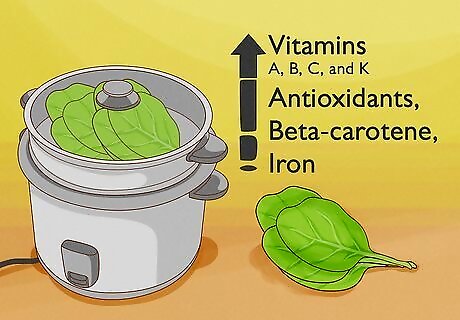
Spinach is healthy only in small amounts. Spinach contains vitamins A, B, C, and K, along with valuable antioxidants, beta-carotene, and iron. Limit your dog’s spinach intake to 3 tbsp (42.5 g) per serving or less, depending on the size of your dog. In small helpings, spinach stimulates digestion and offers extra nutrients for your dog. Prepare by: steaming. In large amounts, spinach can be difficult to digest and eventually cause kidney damage. So long as you carefully regulate the amount of spinach your dog eats, there’s no reason to worry.
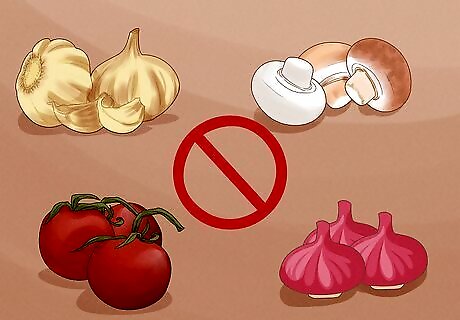
Mushrooms, onions, tomatoes, garlic, and chives are toxic to dogs. Aromatics like onions, garlic, and chives all cause kidney damage and iron deficiency in dogs. While store-bought mushrooms are usually safe for your dog, wild mushrooms can be extremely hazardous. And, though ripe tomatoes aren’t dangerous, the greenery on the plant contains solanine, a toxic substance. When you cook vegetables, don’t use any butter, oils, cooking fats, seasoning, or salt—they’re all unhealthy for dogs as well.
Blanching Vegetables
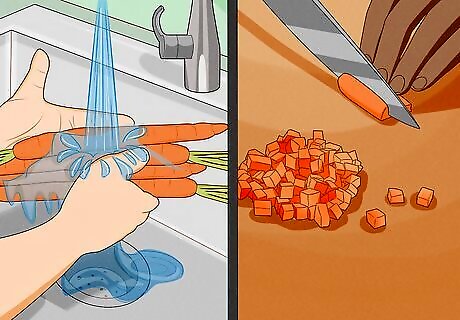
Rinse off and cut up the vegetables before blanching them. Run each vegetable under water to wash out any lingering dirt, and then cut them into pieces your dog will be able to eat safely. Veggies with skin like sweet potatoes should also be completely peeled before being blanched.
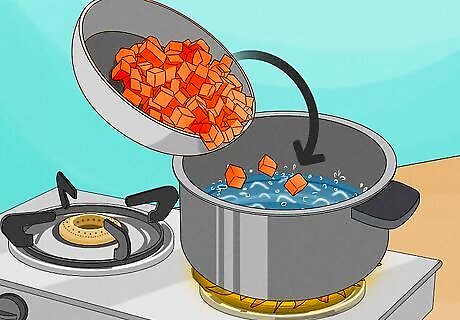
Set a pot of water to boil and place vegetables inside to blanch. Fill a blanching pot with 1 gallon (3.8 L) of water per pound of vegetables, and bring it to a boil on high heat. Then, place your chopped veggies into the blanching basket and lower it inside the pot. Cover the pot, reduce the heat to medium, and set a timer for the veggies to cook. Cook diced or sliced carrots for 2 minutes. Cook broccoli florets, small head Brussels sprouts, celery, and green beans for 3 minutes. Cook beets, butternut squash, large head Brussels sprouts, and sweet potatoes for 5 minutes.
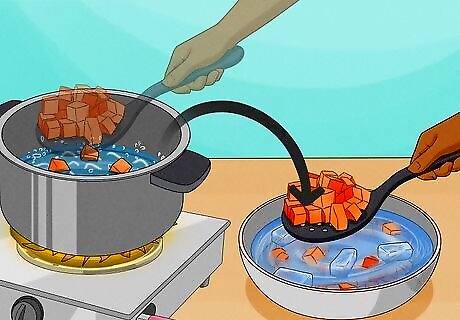
Fill another pot with ice water and cool the vegetables off immediately. Prepare the ice bath while your veggies are cooking. As soon as the veggies are ready, take them off the stove and transfer them to the ice water (60 °F (16 °C) or below) using a slotted spoon. Leave them in the new pot for the same amount of time as you did in the previous step. Be sure to stay close by and stir the vegetables several times while they cool.
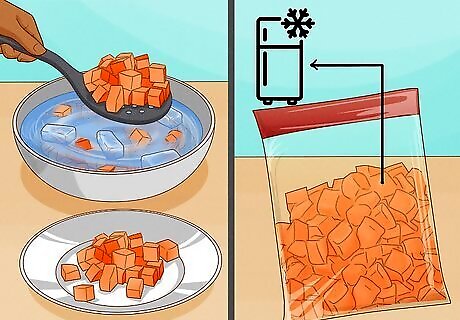
Drain the vegetables thoroughly and feed or freeze them. Once dried off, the vegetables are ready to be served to your pup or stored for another day! Leave out as much as you plan to give your dog that day and place the rest in freezer bags in your freezer. Blanched vegetables will maintain their quality while frozen for up to 12 months. Move frozen veggies into the refrigerator when you need to thaw them; they’ll naturally defrost after several hours. For quick thawing, microwave the vegetables on the “defrost” setting until they’re ready to eat.
Steaming Vegetables

Rinse off the veggies and cut them into bite-size pieces for your dog. Peel the skin off of sweet potatoes beforehand and chop root vegetables (including sweet potatoes and carrots) into pieces, making them easier to steam. However, leafy greens like spinach and green beans can be steamed whole.
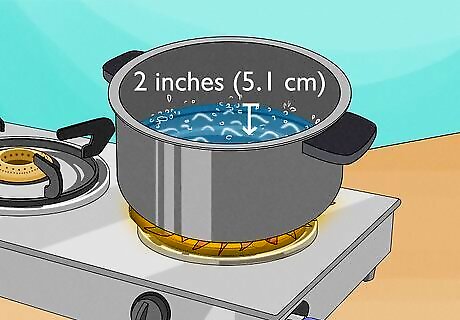
Fill a medium pot with 2 inches (5.1 cm) of water and bring it to a boil. Set the burner on your stove to medium heat and wait for the water to simmer. Set out the necessary kitchen tools to steam vegetables while you're at it: you'll need a collapsible steamer basket or a strainer that can be suspended over the pan so that it doesn't touch the bottom. You can also purchase an electric steamer, which is effective at preparing larger batches of vegetables all at once.
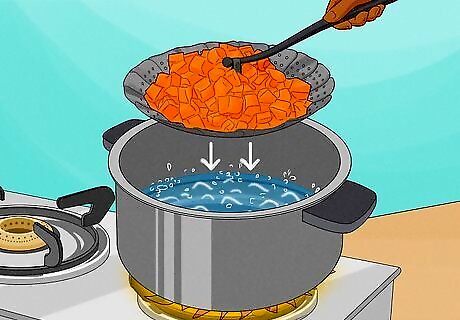
Place the veggies in a steamer basket and lower it into the pot. Once the vegetables are in the pot, cover it with a lid and let the veggies steam until they're tender. Check up on the vegetables every couple of minutes. The veggies are ready to remove and serve when you can easily slide a fork into them. Steam broccoli, green beans, and spinach for 5 minutes. Keep sliced carrots in the steamer for 6 minutes. Steam Brussels sprouts for 8 minutes.
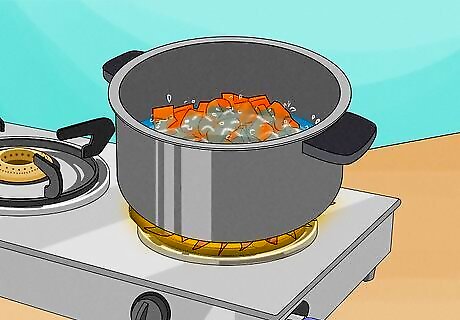
Boil vegetables in a pot of water, alternatively. Rather than steaming, you can fill a pot with water, bring it to a boil, and put your washed and chopped vegetables directly into the water to cook them. Let the vegetables boil inside the pot for 5 to 10 minutes (or 15 minutes for hard vegetables like carrots and sweet potatoes) until they're tender, and then drain the pot with a strainer. Be aware that while boiling is easy and softens veggies effectively, it's not ideal because it removes nearly half of the available nutrients from the vegetables.
Pureeing Vegetables
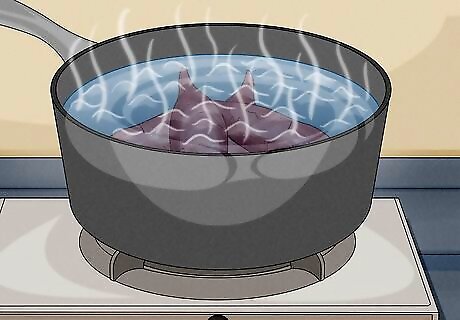
Blanch root vegetables before pureeing them. This includes sweet potatoes, beets, and carrots. Follow the instructions above and ensure they're thoroughly cooked. Because root vegetables are so tough when raw, they need to be softened before they go into a food processor. Broccoli, spinach, Brussels sprouts, cucumber, celery, and green beans can all be pureed raw.

Wash and cut all the vegetables you plan to puree. Because they're being blended together, you can use an assortment of veggies to give your dog a wide variety of vitamins and minerals in one serving. Put together a selection of veggies and rinse them all under running water. Then, cut them into pieces that'll fit inside your blender as needed. Use spinach and broccoli in moderation since too much of them can cause your dog discomfort. Add a small amount of either veggie and use another vegetable to make up most of the puree.
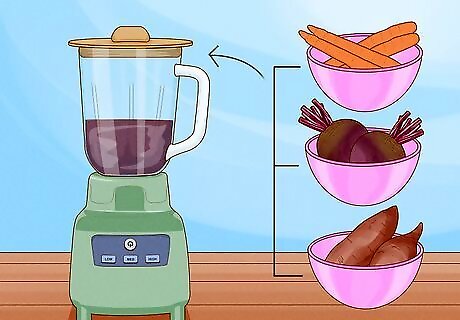
Blend the vegetables until they make a smooth, creamy paste. Place the vegetables inside a blender or food processor (either can do the job) and blend them together. Some food processors even have a "puree" setting that you can use to make your veggie paste. Otherwise, keep an eye on the vegetables as you go and stop the blender once they've been totally broken down.
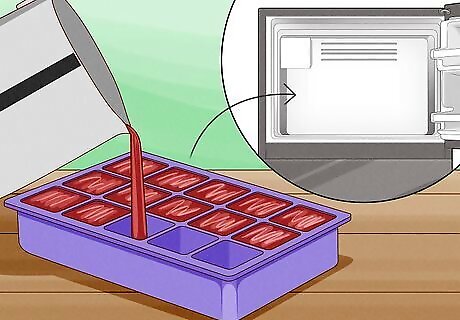
Freeze the puree into ice cubes to keep it fresh for months. Pour the puree into an ice cube tray and stick it in the freezer to harden. Once the puree is completely frozen, you can transfer the cubes to a freezer bag and keep them in the freezer to use over several months as desired.
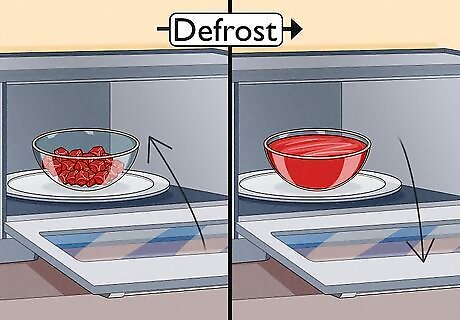
Defrost puree cubes and mix them into your dog’s food. Use the microwave’s “defrost” setting to soften the puree and get it ready for your dog’s meal. Puree is helpful for dogs who don't like eating whole vegetables because you can combine a couple of cubes with their regular food, and entice your pup into eating a helping of veggies without even realizing it.
Baking Vegetables
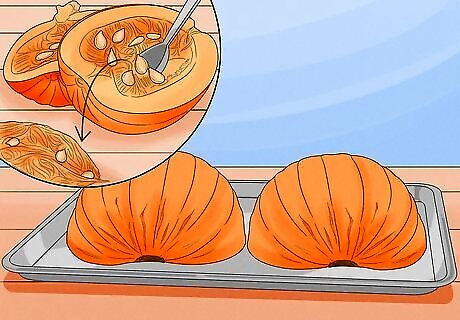
Cut a pumpkin or squash in half and place each side on a baking sheet. Veggies like pumpkins and butternut squash are perfect for making your pup a baked treat! Slice the stem off the end of the vegetable and slice it in half. Then, use a spoon to scoop out all the seeds. Lay the cut sides face-down on a baking sheet lined with parchment paper. Keep in mind that large, Halloween-sized pumpkins aren't ideal for cooking! Instead, get smaller "pie pumpkins" or "sugar pumpkins." The process for baking a pumpkin and butternut squash is essentially the same. After all, a pumpkin is just another variety of squash.
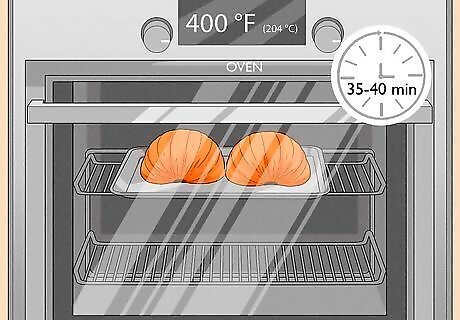
Bake the vegetables in the oven at 400 °F (204 °C). Preheat the oven and slide the baking sheet in when it's ready. Let the squash roast for 35 to 40 minutes. At 30 minutes, start testing the vegetable with a fork and re-check every 5 minutes. Once the flesh of the squash is tender, and the fork slides in easily, it's finished baking.
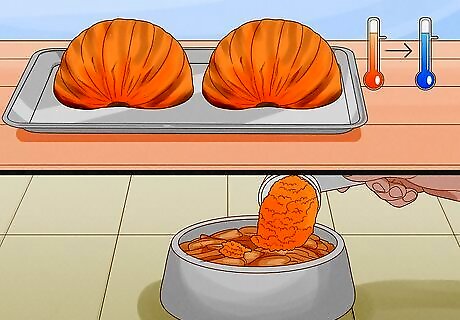
Let the squash cool before cutting it up and serving it. Once the squash is cooled enough for your pup to eat, you can dice the flesh into 1 inch (2.5 cm) cubes. Alternatively, grab a spoon and scoop out all the flesh. Then, add a little pumpkin or butternut squash to your dog's usual meal, or offer your dog a couple of cubes at a time as a treat.
Fermenting Vegetables
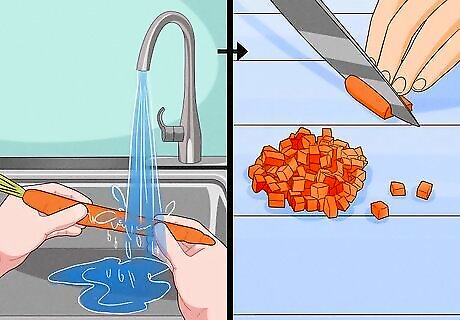
Wash and cut up your vegetables. You might be surprised, but fermented vegetables are surprisingly tasty and nutritious for any pup! Prepare the vegetables just like you would if you were eating them raw; rinse them off in the sink, then cut them into small, bite-sized pieces. The finer you chop your veggies, the faster they'll ferment. The best vegetables to ferment for your dog are carrots, beets, cucumbers, green beans, and celery.
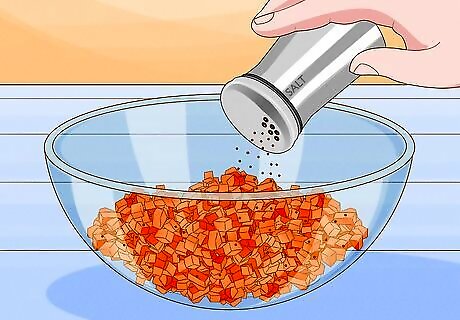
Add salt to the vegetables and mix it in thoroughly. Get a glass mason jar, which you’ll use to ferment and store the vegetables. Then, measure out 1 tablespoon (14.3 grams) of natural, non-iodized salt per 1 cup (0.24 L) of volume in the jar. Sprinkle the salt over your chopped veggies and then massage it in, spreading the salt all around the vegetables for 5 minutes. The salt will create a brine once the vegetables are mixed with water, allowing them to fully ferment over time.

Stuff the veggies into the glass jar before pressing them down. Use your fingers to pack the vegetables close together, leaving at least 2 inches (5.1 cm) between the top of the veggies and the rim of the mason jar. Pour in a small amount of filtered water to coat the vegetables, and then pack a plastic sandwich bag filled with cool water into the top of the jar. The sandwich bag of water weighs down your veggies and cuts off oxygen, which is essential to fermenting them successfully. Filtered water is best for fermentation because unfiltered water can contain excess minerals and chemicals like chloramine, which affect the taste and quality of fermented foods. After adding all ingredients, screw on the mason jar's lid loosely. That way, oxygen can't get into the jar, but carbon dioxide can still escape.

Store the jar in a dark, cool place for at least 5 days. Make sure that your chosen storage location stays around room temperature at all times, between 65 °F (18 °C) and 70 °F (21 °C). Start testing the vegetables to see if they're fermented to your satisfaction after 5 days, though it might take up to 3 weeks for full fermentation. There's no set time for fermentation to take full effect. Keep taste-testing the vegetables over time until they reach the level of fermentation that you're looking for.


Comments
0 comment