views
Washing Down a Wall
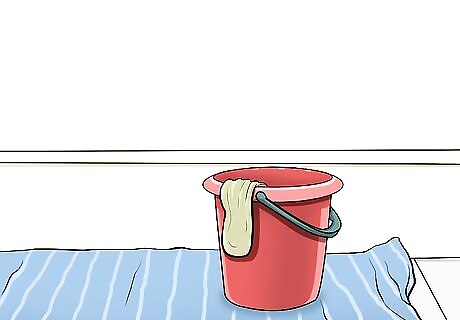
Lay a drop cloth on the floor. Lay a towel or drop cloth on the ground under the wall that you want to clean. This will make sure that no water or soap drips onto the ground. It will also help keep the dust off of your floor or carpet.
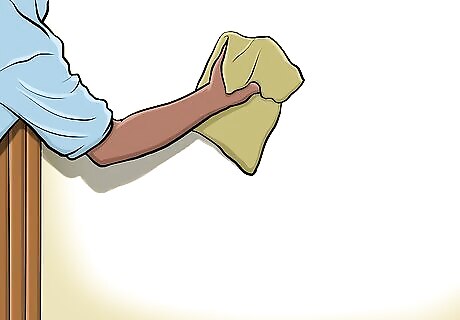
Dust the wall. Use a duster or a vacuum with a duster attachment to remove all of the dust from your wall. If you don't have a duster or vacuum, you can use a dry rag. If you have exposed drywall, you should only dust your wall and limit the use of water and other cleaners on it due to the material's porous nature. Dust your walls at least once a week to maintain them.
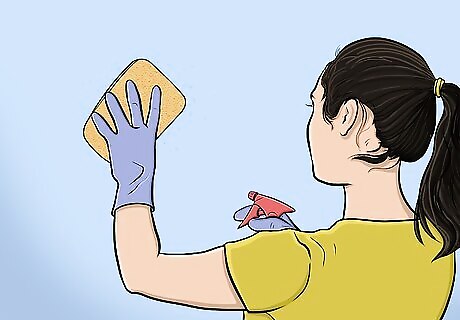
Wipe down your walls with a damp cellulose sponge. Using acidic cleaning solutions could damage the appearance of your wall. To avoid this, use simple water and a cellulose sponge. Dampen your sponge but don't fully saturate it. Apply pressure on the sponge and move from the top to the bottom of your wall. Saturate your sponge when it becomes too dry. Continue to do this until you've washed the entire wall. In addition to being soft on your walls, cellulose sponges are made of bio-degradable materials that are good for the environment.
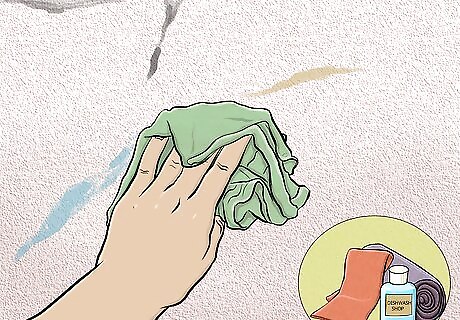
Remove deep stains with a mild dish soap and washcloth. Pour two cups (473.17 ml) of warm water in a bucket with three drops of mild dish soap. Saturate the rag that you're using and work it into your walls stains in small circular motions. Avoid using colored dish soaps because they can stain and dye your walls.
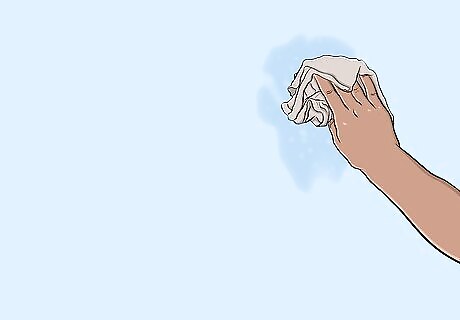
Dry your walls with a rag. Use a dry rag or a microfiber cloth to remove the saturation from your rinsing. Make sure to clean up any leftover soap because it can damage them if left on the walls.
Removing Mold from Drywall
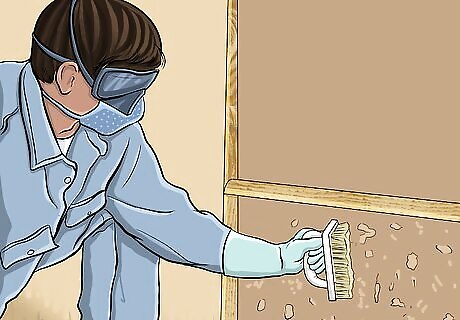
Wear the proper safety equipment. Working around mold can be dangerous if you inhale it. Make sure to wear N-95 or P-100 respirators, goggles, and gloves when cleaning the mold. You can pick up these specialty respirators from hardware stores or online. Make sure that you wear clothes that you aren't scared to get dirty.
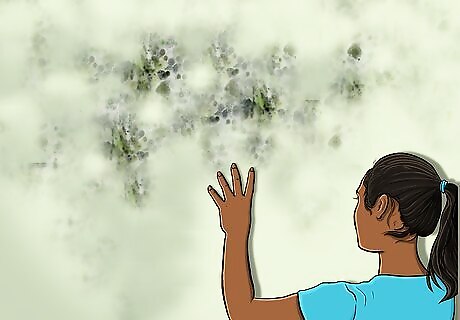
Evaluate the damage. If mold has started to form on unpainted drywall, you may have to remove and replace the moldy portions of the wall. If your drywall's structural integrity is being affected by the mold and your wall is crumbling, warped, or covered with black or bluish splotches, you will have to replace it. If there is mold on the wall but the structural integrity is not compromised, you may be able to clean it off. Mold on painted drywall is much easier to remove.
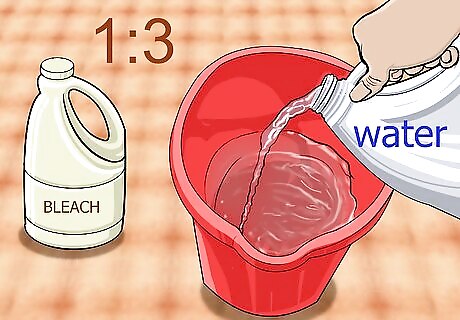
Mix one part bleach with three parts water in a bucket. A diluted bleach solution can help you remove the mold from the wall. Mix the bleach and the water together in a bucket. Once the mixture is thoroughly combined, you can start to wash down the mold on your walls. Wear thick rubber gloves when handling the bleach to prevent chemical burns on your hands.
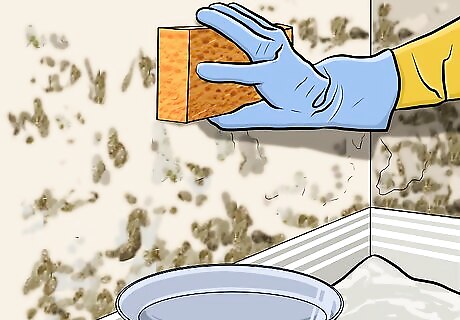
Rub the bleach into the mold with a sponge. Dip a sponge into your bleach solution and make sure to saturate it well. Once it's wet, push it into the moldy area of your wall and make small circular scrubbing motions to remove the mold. Continue to go over the areas until they are clean.
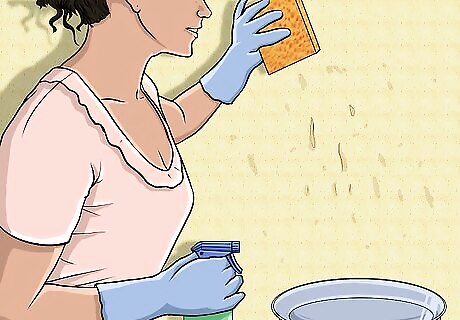
Rinse your walls off with cold water. Once you're done scrubbing the mold off the wall, use a fresh sponge to rinse down your walls. Dampen the sponge enough to remove the bleach solution, but don't drench your walls in water. Once you've removed all of the bleach solution on the wall, allow it to air dry.
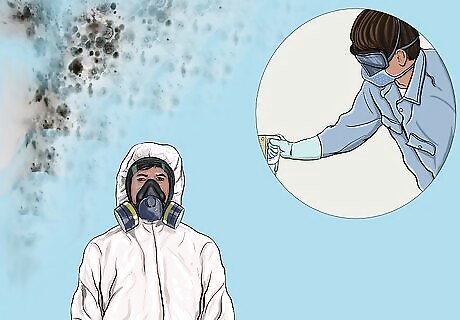
Hire a home inspector if the mold is out of hand. If your mold keeps coming back or is too much to clean, you may need professional help. A home inspector who specializes in mold will be able to tell you how to remedy your issue or any potential solutions that you can take up.
Cleaning Drywall Dust
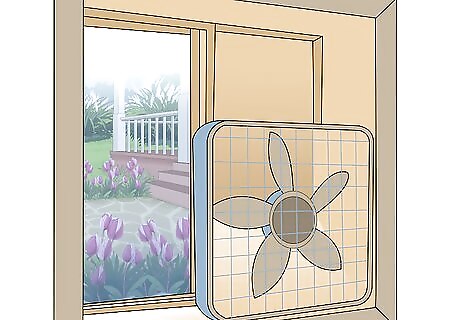
Place a box fan in the window. Point a box fan so that it pushes air out of your apartment. This will remove the dust from inside of your house. Turn the fan to high and let the dust in the air escape the room. As you continue to clean the dust, keep the fan on so that the drywall dust that you sweep up can be blown out of your house.
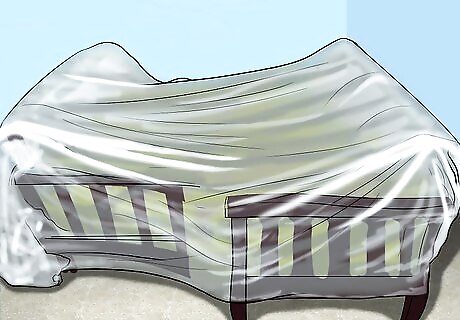
Remove and cover the furniture. Before you start disrupting the dust in the room, it's important that you empty the space of furniture. If you don't, the abrasive dust can settle on your furniture and hurt the finish on your belongings. Remove what you can out of the room and put it in another, dust-free room. Lay dropcloths or plastic tarps over furniture that's too large to move in order to protect them.
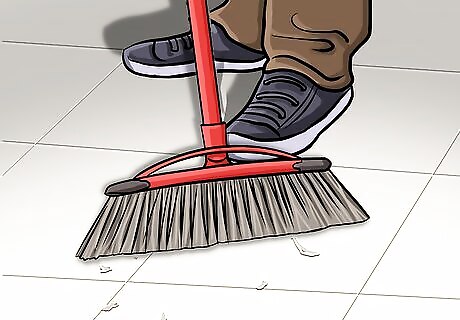
Sweep the dust to the center of the room. Gently walk a push broom around the perimeter of the room and work your way into the middle. Make sure to be gentle and avoid pushing the dust up into the air. Use long stroking motions when pushing the dust around and try to create one pile in the center of your room.
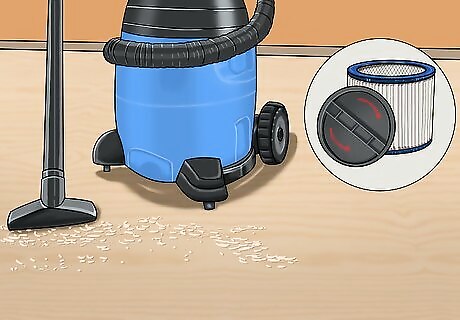
Suck up the dust with a Shop Vac. A Shop Vac or wet and dry vacuum cleaner has a larger carrying capacity and can pick up more dust than a traditional household vacuum cleaner. Start by vacuuming up all the dust that you managed to gather in the center of the room. After the initial dust is cleaned, continue to go over the entirety of the floor to suck up the remainder of the drywall dust. Go over the floor again if you notice that your Shop Vac didn't get all the dust on the first vacuuming. If you don't have a Shop Vac than you can rent one from a department store. Make sure to use a HEPA filter to trap all of the drywall dust when using the Shop Vac.


Comments
0 comment