views
Measuring
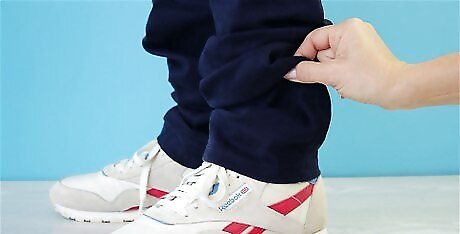
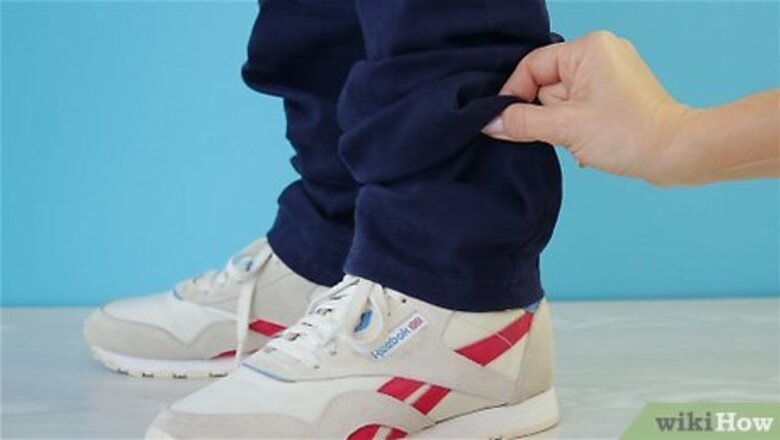
Put on the pants and the shoes you plan to wear them with. This helps you get an accurate measurement. Make sure the pants are sitting on your waistline comfortably the way you normally wear them. Otherwise, the length of your cuffs might be off a little!
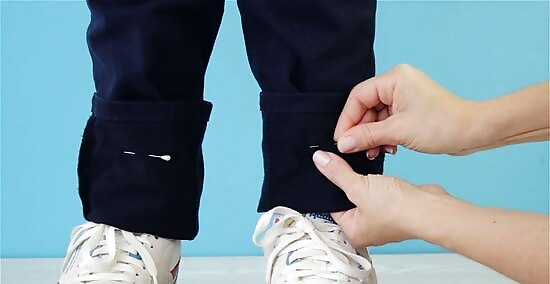
Turn up the material to the length you want and pin it in place. Fold the bottom of each pant leg up and look in the mirror to make sure the length looks even for both legs. Then, pop a couple of pins around the edge of each leg to hold the folded material in place. It wouldn't hurt to measure from the crotch seam down to the new length and jot that measurement down. That way, you have backup measurements.
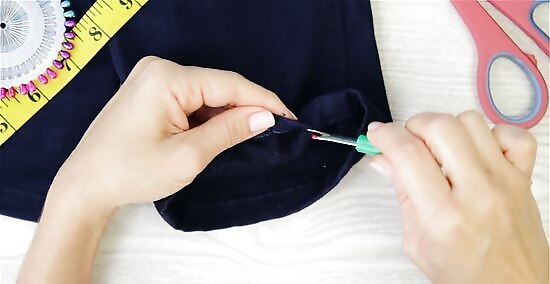
Use a seam ripper to remove the original hem. Take the pants off and work the seam ripper under each hem stitch to cut the thread. Then, unfold the hem so the material hangs loose. Do the same thing for the other leg. A razor blade works if you don’t have a seam ripper handy.
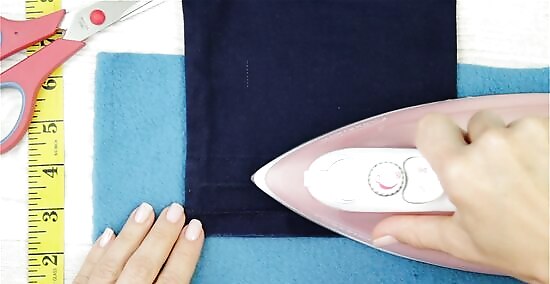
Iron the hems to get rid of the old creases. Place the first leg on an ironing board and gently press the material until the old crease disappears. Then, do the same for the other leg. Now you have a crisp, fresh start to create new cuffs! Old hem creases can be tough to get out! Try using the steam function on your iron or a clothes steamer if the creases are being stubborn.
Creating Folds
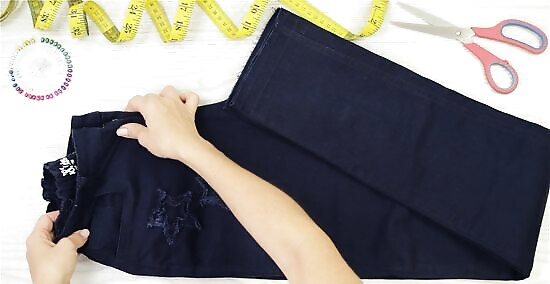
Stack the pant legs and lay them out flat. Fold the pants on the creases like you were hanging them up. Then, lay them flat in front of you with the waist end on your left and the hem end on your right. Smooth the material with your hand. To make sure the pants are perfectly smooth, grab the waist with your left hand and legs with your right hand and give them a little tug.
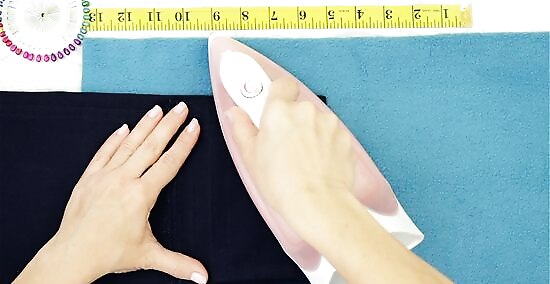
Fold the legs up to the length you measured earlier and iron a crease. Grab the ends of both legs at the same time and fold them at the pin you used to mark the length. Take the pin out, make sure the material is laying perfectly flat, and iron along the fold to mark the length with a crease. Don't worry—since the legs are stacked, the iron will crease both legs.
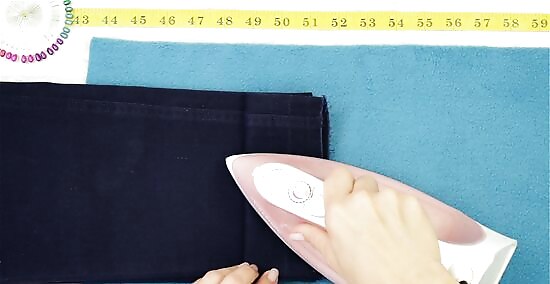
Fold the legs down to create a 2 in (5.1 cm) cuff and iron again. Turn the ends of the pants down so the material goes slightly beyond the first crease. This creates a new fold about 2 in (5.1 cm) above the first crease. Use an iron to press the new crease into your pants. You can make your cuffs smaller if you like. 1 ⁄2 in (3.8 cm) and 1 ⁄4 in (3.2 cm) are both popular. Don't create cuffs larger than 2 ⁄2 in (6.4 cm) though, since that can look unbalanced! If there’s more than ⁄2 in (1.3 cm) of excess material beyond the first crease, trim it down to ⁄2 in (1.3 cm).
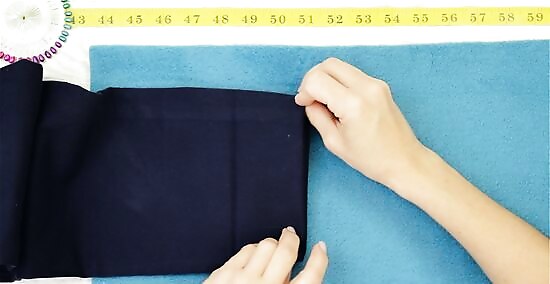
Unfold the legs to the full length, invert the folds, and iron the ends. Separate the legs to make sure the creases are crisp on both pant legs. Then, tuck the material inside the first leg so the end of the pants stops at the first crease. Do the same for the other leg. Run an iron along the end of each pant leg to press the material in place. Now there is one visible crease and the excess material is tucked inside each pant leg.
Sewing Cuffs
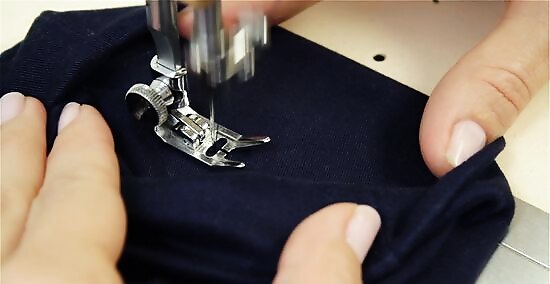
Straight stitch along the visible crease from the inside of the pants. Thread your bobbin with matching thread and arrange the first leg under the needle so you’re stitching on the inside of the leg. Straight stitch all the way around the pant leg along the visible crease. Then, do the same for the other leg. Sew through one layer of material at a time. If it's tough for you to sew on the inside of the legs, turn the legs inside-out and do it that way.
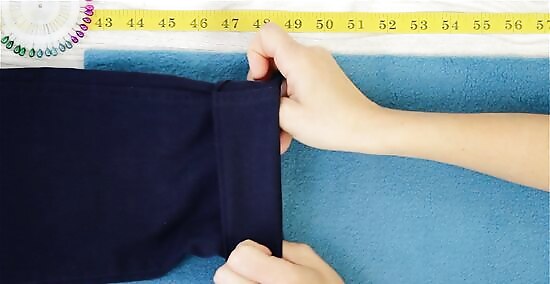
Fold the material up until you hit the row of stitches and iron again. Your turn ups are really taking shape now! Fold the end of each leg up until you hit the new stitches; you won’t be able to fold the material beyond this point. Use your iron to press this new fold into place. Do the same thing for the other leg. Make sure the side seams on the cuffs line up with the side seams on the legs before you iron each cuff.
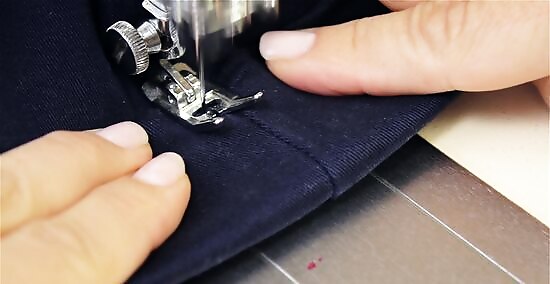
Straight stitch across both side seams on each cuff. These final seam stitches will hold your cuff in place! Simply sew a straight stitch across the inner and outer side seams for both legs. When you sew across the cuff, sew right up the edge, but don’t sew through the edge.
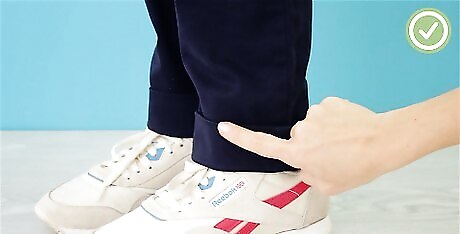
Press the cuffs a final time to create a crisp edge. The hard part is over! Now, you just need to run your iron over both of your new cuffs to press a clean, crisp edge into your pant legs. The sharper the crease, the better your finished cuffs will look.








Comments
0 comment