views
Using the Roadie Wrap
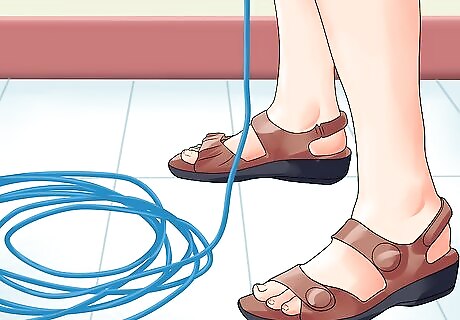
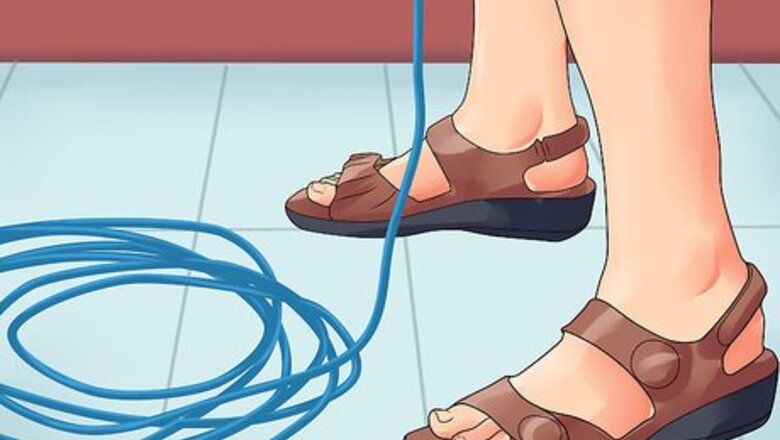
Untangle the line. Especially if your cable has been wrapped haphazardly, you'll need to undo any knots and tangles. As you work out the tangles, drop the cable on the floor in a big pile. Basically, you're making it easier to wrap up, as wrapping a cord from a tangled mess is nearly impossible. This process is known as flaking the line.
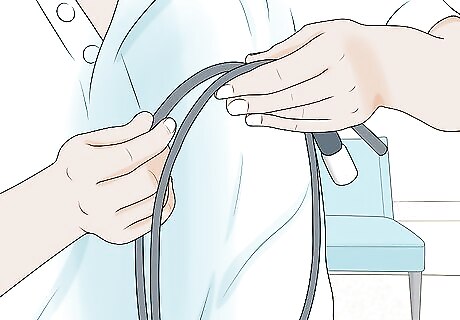
Wrap the cable one way. Hold the end in your hand. Wrap the cord so it goes around your hand and comes back to the same place in your hand. Most people typically wrap a cord this way. Start with just one wrap.
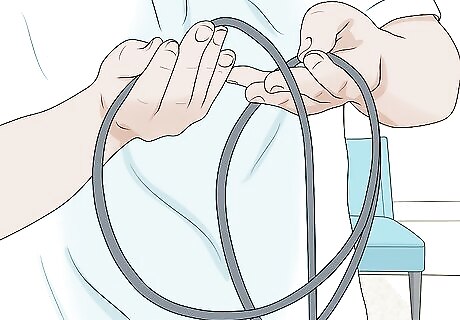
Twist the cable the other way. Now, bring the cable around again. However, instead of tucking the end on the outside as you did in the first loop, twist it towards the inside. Turn the hand holding the end of the cable so the cable fits into it the opposite way.
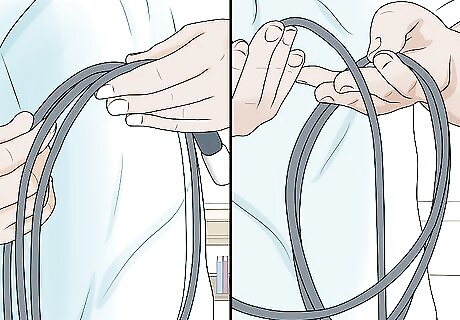
Alternate back and forth. Keep going back and forth between wrapping it one way and wrapping it the other way. This process helps the cable lie flat when you set it down somewhere, and it helps keep it in place.
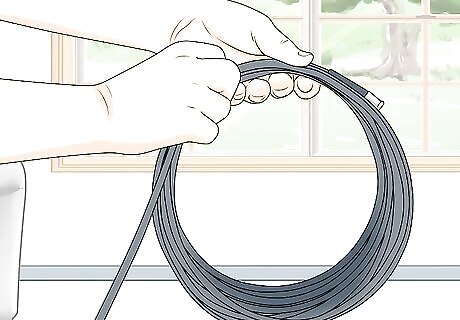
Make each loop the same size. To keep the cable neat and tidy, try to match up the size of the loops as you wrap it around your hand. That way, it's easy to keep the cord wrapped without bits sticking out.
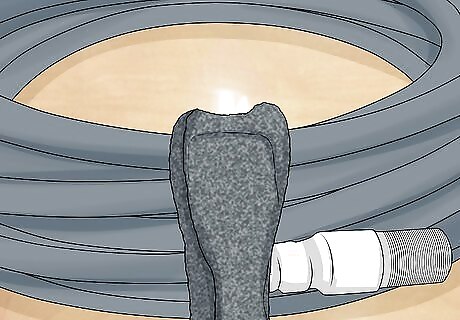
Wrap a strap around the middle. Once you get it all wrapped up, you need to secure the cords with a strap. A velcro strap works well. Wrap it around the cable, going through the middle. Keep the two ends on opposite edges of the bundle.
Applying the Bundle Method
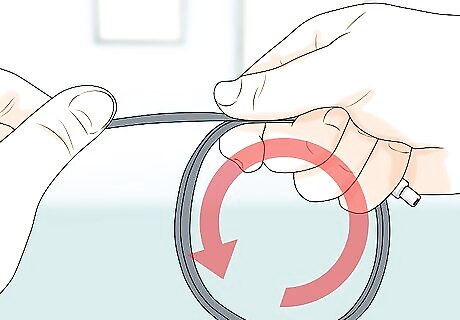
Wrap the cable around your fingers. Grab hold of the cable with one hand. Use the other hand to grab the cable. Wrap the cable around itself, using your fingers as a guide for wrapping. Use four fingers for this process.
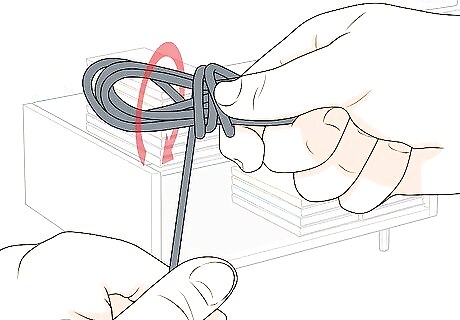
Loop the cord around the bundle. When you've looped the cord around your base hand a few times, pull it off, trying to keep it together as you do. Wrap the cord around the center of the bundle, holding the original loops in place.
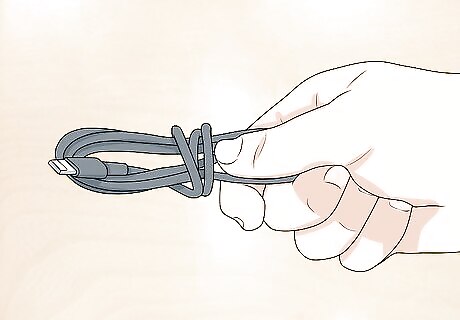
Tuck the end in. Now that you've got your cord mostly wrapped up, you should only have the tail end left. Tuck the end of the cord into one end of the first bundle you created. Tucking it in will help hold it in place.
Using Other Quick Methods
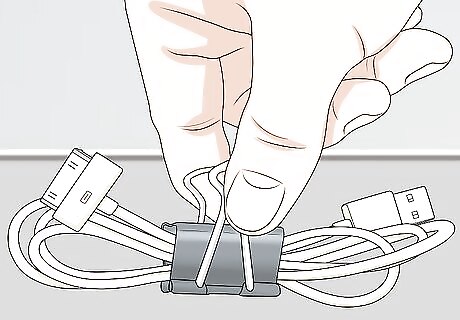
Bundle and secure with a binder clip. Wrap the cable around itself until you have a bundle. Use a binder clip to secure the end of the cable to itself. If the binder clip is big enough, you can wrap it around the whole bundle.
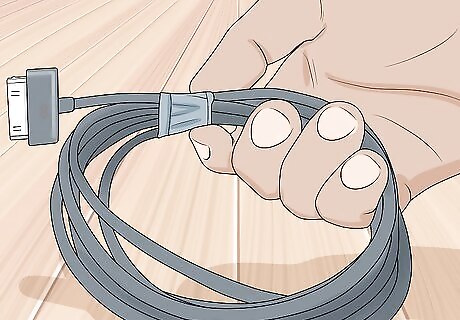
Bundle and tape the cable. Wrap the cable up in a bundle by wrapping it around your fingers. You can also coil it in a loop if you prefer. Wrap a piece of tape around it with the sticky part facing outside, and stick it to itself. Wrap another piece of tape on top of it, sticky side to sticky side, so the cable won't stick to everything.
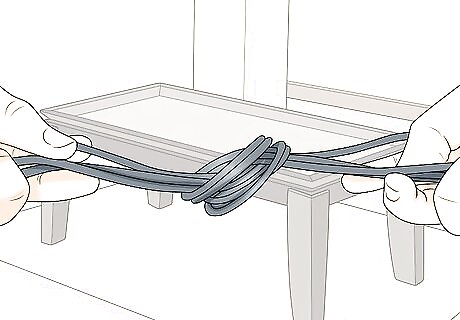
Use the shortening method. Create one loop around your hand. Pull the cable through the middle, and tighten it around the loop. Keep wrapping it through the middle and around the loop. Once you're done, you'll have a neat cable, and you can just let out a little bit of length as needed.


Comments
0 comment