
Prepping the Drywall
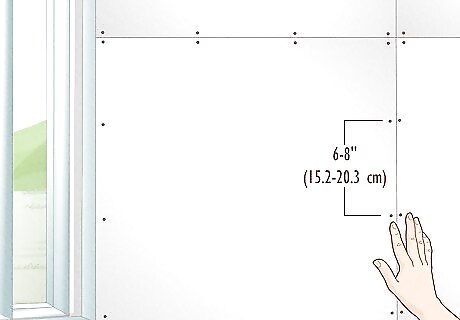
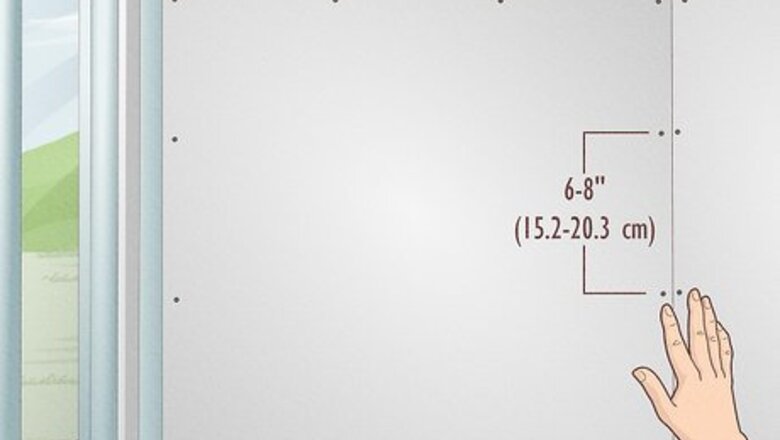
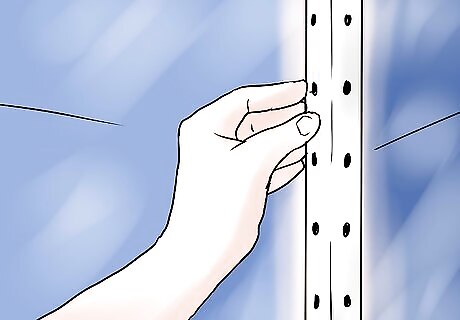
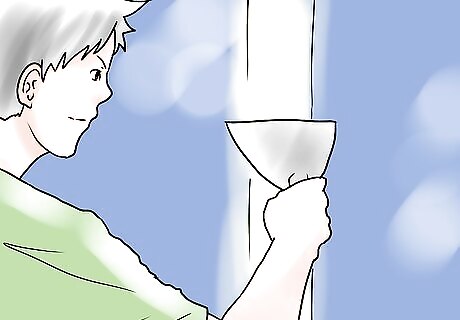
Check that the drywall is attached to the wall studs correctly. Drywall should be fastened to all wall studs it covers, every six to eight inches (15.2-20.3 cm) along the length of each stud. Ideally, it should be supported at each edge every 8 to 12 inches (20.3 to 30.5 cm) in the middle of the panel in a wall framed 24 inches (61.0 cm) on center, giving you top to bottom 5 screws; in a more usual wall with studs on 16 inch (40.6 cm) centers, you will have a row of screws on each edge plus two rows spaced 16 inches (40.6 cm) in from each edge. Drywall screw guns are far easier to work with. Don't mess around with a drill or power screwdriver. Borrow a drywall driver or invest in a counter-sinker designed for drywall applications that attaches to the end of your drill. These tools perfectly countersink every screw you place if you drive them straight. Make sure your screws are correctly countersunk. You want the screws to lightly dimple but not tear the paper coating of the drywall. Tape and Mud Drywall Step 2 Version 2.jpg Run the blade of your drywall finishing knife over the screws to make sure none are sticking out. Remove, countersink or otherwise deal with any screws that are sticking out even a little bit. (This will save you much frustration, since you will have to drive every single one you miss when you are applying the mud.) Avoid drywall nails, unless you simply refuse to borrow a drywall driver. The chances of a nail bending, putting your hammer through the drywall or simply an incorrect countersink on the nail head are great. If you must nail, put them in in pairs about 1-1/2 inches (3.8 cm) apart and give the first another whack after you drive the second. Only use nails to tack up drywall sheets and then secure them with screws.
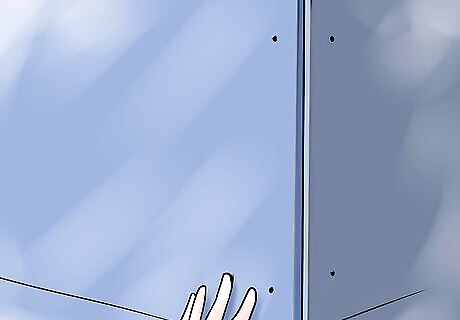
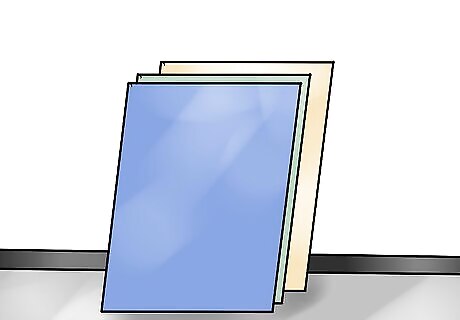
Minimize "butt" joints. The long edges of the drywall are tapered; the short edges (and any edges you cut) are not tapered and will form "butt" joints that are more difficult to finish. Therefore, drywall boards should meet at tapered edges as much as possible and be no more than ⁄8 to ⁄16 inch (0.3 to 0.5 cm) apart. Make sure the corners meet the same way, but don't worry too much about larger gaps — as long as the sheets are attached solidly any gap can be filled later with setting-type joint compound. However, keep in mind that tighter joints makes for a better seal and will also make the floaters jobs easier.

Schedule an inspection, if necessary. If your local municipality requires an inspection before mudding your drywall, schedule the inspection. It's better to be put through the inconvenience of scheduling a walk-through than having to tear the whole thing down after you've taped and mudded your joints.
Applying the First Coat
Understand that you will be putting on several coats. Your basic objective on every coat is to continuously work toward a smooth, flat surface. On the first coat, On inside corners: Keep one edge of your blade running firmly against the drywall on one side and lightly against the tape on the other side. On butt joints: use the drywall as a guide for both edges, leaving a convex curve On taper joints: same, only leaving a concave curve.
Get the right mud. You can buy a dry mix (just add water) or you can buy ready-mixed mud. Both come in different mixes, such as lightweight easy sand, quick setting, or standard grade. The dry mix is cheaper, and you can make as little or as much as you need (providing you're clear on how much you can apply before it sets up). Use it to fill big holes and gaps. On larger surfaces it's generally harder to apply, harder to sand, not as smooth, more time consuming, and a bigger mess. However, it sets up chemically (setting times vary; look at the bag) and so will be ready to re-coat sooner. You can find the dry mix at large home improvement stores. The premixed mud is ready to go after remixing in the bucket, but costs a little more, and may be more than you need for a given job.
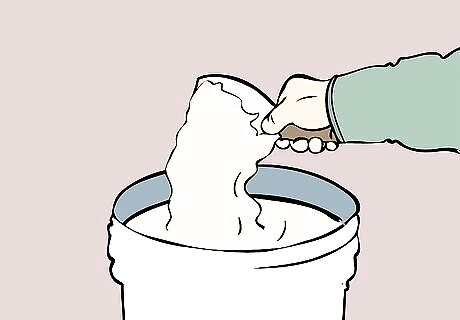
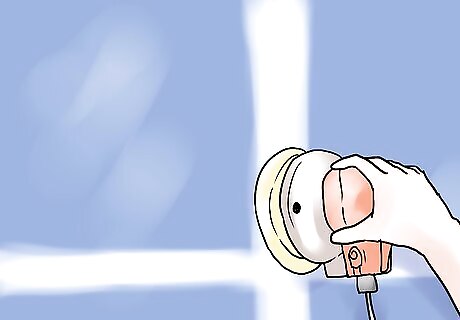
Get enough mud for your job. As a rough estimate, figure about 1 gallon (3.7 liters) of mud for every 100 square feet of drywall. There are several brands and grades of mud. Use the "all purpose" mud for your base (first) coat to seat or cover the tape, and lightweight mud for the final coat. You can also use what is called brown or topping mud; it's actually beige and dries to a very pale color, and has a more plastic texture than regular mud. It dries smoother, has less of a tendency to bubble, and is intended for the final top coat. If there's a watery layer on the top of pre-mixed mud, mix at slow speed with a mixing paddle bit on a heavy duty 1/2" (1.3) drill. Mix until the water is blended in and the compound is smooth (until you don't see any lumps going down the vortex of the whirlpool made by the mixer). Avoid mixing speeds that are too fast, as you make create air bubbles in the joint compound.
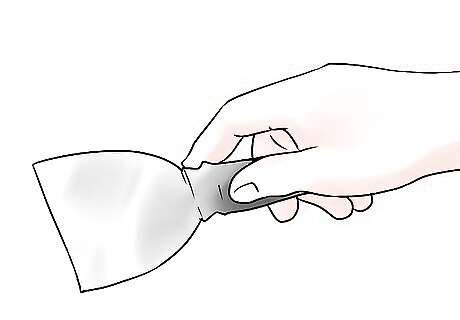
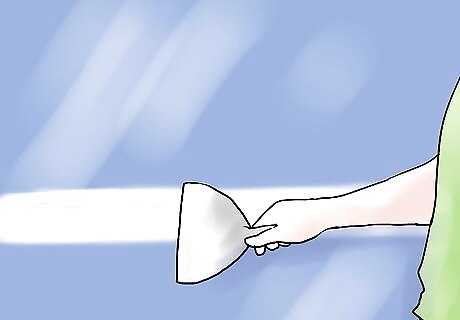
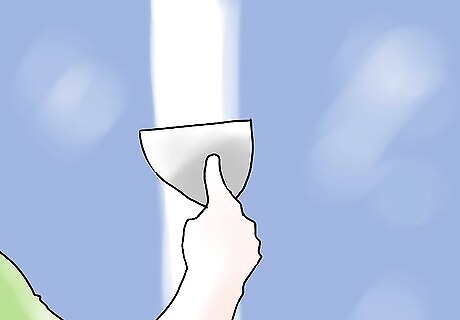
Find the right kind of knife (trowel). Plastic knives have a tendency to get burrs on their edges over time, so check regularly to make sure they still have smooth edges. You will need a 5 or 6 inch (12.7 or 15.2 cm), a 10 inch (25.4 cm) and a 12 inch (30.5 cm) knife and perhaps a putty knife or two for tight spots. A drywall mud pan or plaster “hawk” is also very helpful. Slightly soften the sharp corners of all your knives if they are new. Steel knives and pans can rust, so be sure to clean them well at the end of your work session and dry them thoroughly. However, if your tools do rust, you can always sand them clean.

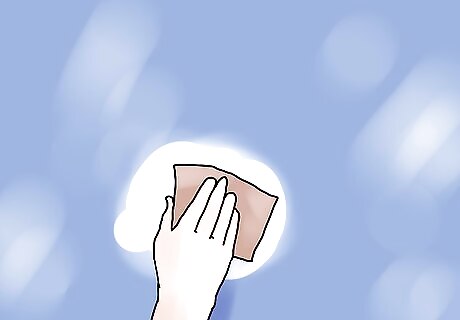
Apply the first layer of mud. Before you start, you may want to mix a little bit of water with the mud for the first coat. You want your first coat to be slightly wetter than subsequent coats. Shoot for just a little more watery than the consistency of sour cream. Using a 5 or 6-inch (12.7-15.2 cm) knife, place a couple inches of mud onto the blade. Press a liberal amount of mud into the seam between the drywall boards. You're going to scrape away any excess mud later on, so don't worry about smoothing it out early on. For this layer, it's better to have too much than too little. Make sure to press in on the paper seam tape until the tape is completely covering the seam and it is flat. Check to be sure there are no air bubbles. You only need to press hard enough to fill the seam and smooth the mud to the wall. The tapered edge (long edge) on a sheet of drywall tapers from about 2.5 inches (6.4 cm) to the edge, so you want to cover the entire six inches (15.2 cm) of drywall from edge of the taper on one sheet to the edge of the taper on the other. Use a bright light held at an angle to better see the tapered area that must be covered. When using the wide blades loaded with mud, it's best to place the loaded blade at a 45° angle to the wall. As you draw the mud and blade down the wall, sharpen the angle until the blade and the wall are nearly parallel.
Smooth out the compound. When all the seams are filled, make a single pass over the freshly-mudded sections to smooth out the compound. Get the joint ready to take the tape, but don't take off so much compound that the joint is completely dry and/or extremely thin. (Think of the first coat of mud as the glue that sticks the tape to the wall; as soon as it dries it's useless. And you have another project fixing it, probably after you think you're all done. So don't lay down more mud than you can cover with tape before it dries anywhere on the seam.)
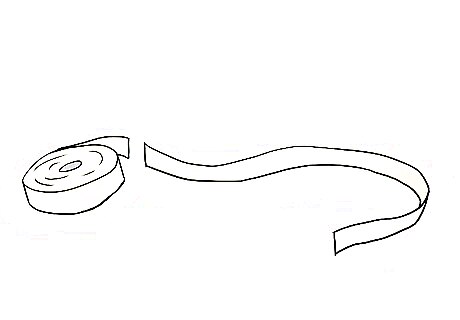
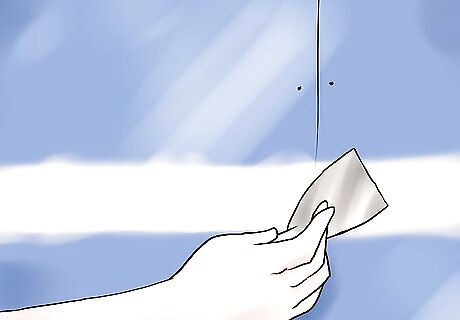
Cut the paper tape to size. Cut it to the length of the seam, with a little extra on each end. Some people recommend soaking the tape in water first. While this may make it a little easier to work with it greatly increases the mess and awkwardness of the tape when actually mudding. On the other hand, soaking the tape will help keep air bubbles from forming under it, and save you the trouble of having to go over and over with mud which can lead to an uneven finished product. The choice is up to you.
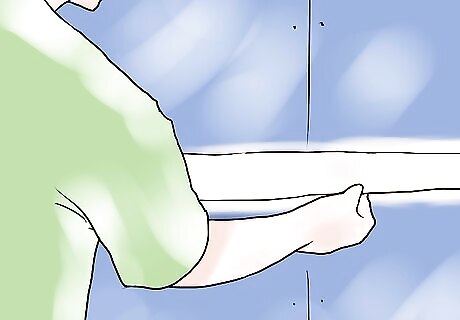
Apply the joint tape. Press the tape into the freshly mudded joint with your hands, starting at one corner and working your way to another. Be sure the center of the tape is as even as possible with the seam between the drywall boards. The tape should be dimpled in the center so it's easier to find.
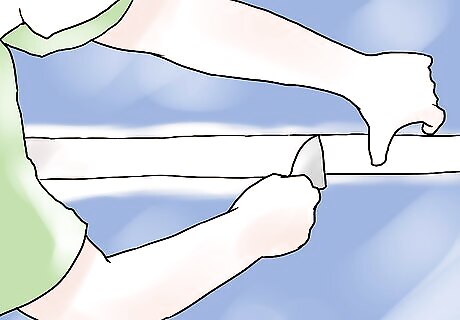
Seat the tape with your trowel. Starting halfway down the joint, hold the knife at about a 25° angle and press the tape firmly into the compound. Pull the knife along the seam in one stroke, smoothing the tape as you go. If your tape starts to buckle, pull it out from the end or simply flatten it out with your hand. Repeat this step from the middle, going the other direction. Do this for all walls and ceiling. Cut around bubbled tape. The tape won't adhere to the wall where the compound underneath is dry. Take a utility knife and cut the bubbled tape away completely and re-mud. (Bubbled tape will end up looking horrible later on.) Smooth out the divot left by the tape with fresh compound.
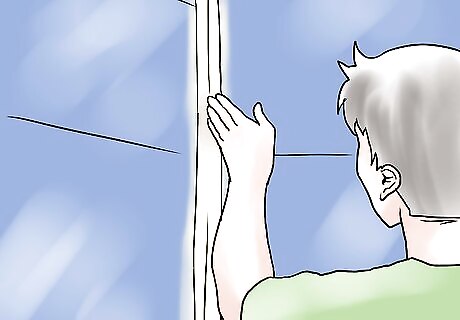
Tape the inside corners. With a 5-inch (12.7 cm) knife, cover at least 2 inches (5.1 cm) on either side of the seam with mud. Cut the tape the full length of the corner. Fold the tape in half along the dimpled center line. Press the paper into the corner, and seal with the knife. Starting halfway down the joint, smooth one side of the crease with your knife, then the other. Repeat the process on the other half. Make sure the center is covered smoothly. Cover one side of the corner tape with a thin layer of mud. Try not to place too much pressure in the corner with your knife as you seat the tape on the compound. Even if you took the sharp corner off your knife you still risk cutting through the tape. The knife naturally rides into the corner; not much added pressure is needed.
Cover the outside corners. Corner bead will help increase the durability of the outside corner drywall, protecting it from bangs and bumps. Nail a metal cornerbead to the outside corners every 10 inches (25.4 cm), being very careful to center the bead (or it will be nearly impossible to mud on the low side). Using the 5-inch (12.7 cm) knife, apply a layer of mud down one side of the bead, smoothing it into the bead and the drywall. To get the right angle, place one side of the blade against the corner bead, and the other side of the blade against the drywall. Smooth the mud in as few strokes as possible. Repeat the process on the other side of the bead. Alternately, you can apply joint compound and fit paper bead on top of the compound, as you would with tape on an inside corner. The process is pretty much the same: Instead of nailing the bead down and covering with compound, cover with compound first, fit the bead onto the corner, and then knife away any excess compound.
Fill all screw holes with mud, and smooth over the surface. Apply a small bit of compound over each screw or nail and knife away the excess with your smaller trowel. Be sure to cover any divot left by the sunken screw or nail, but try not to leave too much excess compound over the divot. You will need a minimum of three coats.

Wrap it up for the night. Verify that all seams have been given a coat of mud and tape, then clean your tools, cover your mud, and let it dry overnight.
Sanding the First Coat
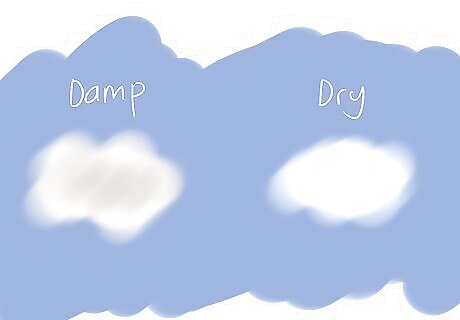
Make sure the first coat is absolutely dry — especially the inside corners at the ceiling. Damp mud will have a darker, grayish color, while dry mud will be white. Depending on geography and humidity, 6 to 8 hours should be sufficient to let the compound fully dry. In humid climates and cold weather, it can take 24 hours or more, so get some fans and heat going.
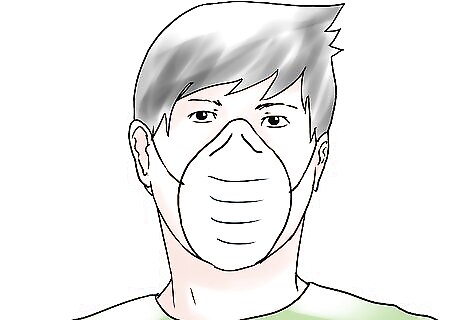
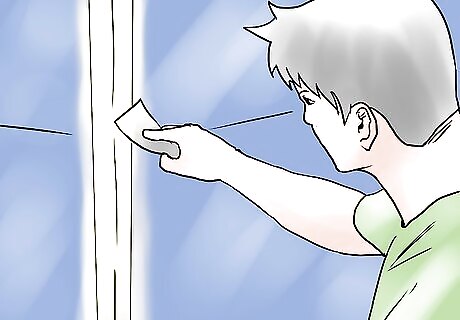
Put on a dust mask every time you sand. Sanding will put a lot of fine white powder in the air, and it's stuff you don't want to be breathing. If you're working near furniture or the kitchen, or any other place you don't want a fine layer of gritty dust lingering, seal the entrances or exits to the room with sheets of plastic. A little prep work on this end will save a lot of cleanup work later.
Knock off. With your larger trowel, lightly knock off any small burrs or excess compound from the tape and screws. Simply scrape them away with a light scraping motion. This makes your sanding both easier and more effective in the end.
Sand gently. If you worked to a smooth surface and there are no major bumps, you don't need to sand. Otherwise, sand the joints gently. Using medium-grit sandpaper on a pole sander, smooth the rough areas — paying particular attention to the edges of the compound — with gentle, even pressure. Don't sand through the mud into the tape or paper surface of the drywall, only the mud around it. Unless your work is really rough, ignore the picture above and simply sand. A power sander will make a terrific suffocating dust storm, it will probably tear up the paper tape and the surface of the drywall, and the drywall dust will drastically shorten the life of the sander. Sand corners with a block sander or corner sander. Be especially careful when sanding corner joints. Don’t worry about sanding pits. They will get filled in with the next coat you apply.
Applying the Next Coats
Use a 10-inch (25.4 cm) knife for the subsequent steps. Apply a thicker layer of compound to all joints and all screw heads. You're back to normal consistency for your second and subsequent coats; you don't want these coats to be as watery as the ones before. Smooth over with a second pass. Apply the compound with downstrokes and then smooth over with horizontal strokes. The goal for the second coat is to fill up the bevel of the drywall so if you were to take your drywall knife and place the edge on the seam at a 90° angle, you would see no gaps between the joint and knife.
Feather the edges again if necessary. "Feathering" means smoothing the outer edges of the compound by increasing the amount of compound applied both above and below the joint. On corner joints, cover the other side of the corner tape (the side you left bare after the first coat) with a thin layer of mud, using the wall and the corner itself as guides. On butt joints, fill the dish on either side of the tape, running one edge of the knife against the tape and feathering the other edge of the knife to the drywall. As you apply successive layers of mud, your feather will grow each time.

Let dry overnight. Again, give it sufficient time to dry before adding more layers of compound.
Repeat the knocking off and sanding process. Start by knocking off any lumps or burrs left by the last layer of compound. Then, use a fine-grit sandpaper, sanding the outer edges of the compound until smooth.

Make sure the mud is dry. When ready, apply the third coat, making the edges as smooth and blended into the wall as possible. Your goal with each successive layer of mud is to increase the size of the joint by adding more compound to the edges (feathering). This builds and strengthens the joint while blending it better into the rest of the drywall. Feathering helps make the joints less distinguishable. When applying the third coat, repeat the same process, only switch from a medium-sized trowel over to a larger trowel. A 12" (30.5 cm) compound knife makes feathering a whole lot easier than a 6" (15.2) knife, essentially cutting your time in half. Let dry overnight. Sand again, making sure that all surfaces are smooth, and that the mud is seamlessly blended into the drywall. Where the light shines across (or down) the wall or ceiling (or where the first coat went on too thick) the butt joints will probably have to be spread out farther with a fourth coat.
Finishing the Drywall Process
Learn how to finish drywall. Taping and mudding are just the beginning if you want to fix up your drywall or if you're installing entirely new drywall. Finishing the drywall gets the drywall ready to be primed and painted.
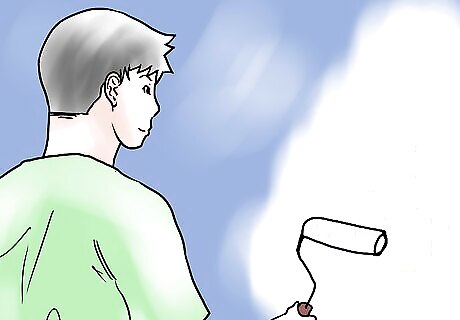
Texture drywall, if desired. If you want your drywall to have a studded, stubbly, or stucco pattern, or if you just wanted to shape geometric designs into your drywall, that's definitely something you can do. Learn how to do it here.
Prime and paint your drywall. In order to paint a beautiful coat over your drywall, you'll want to prime it first. An oft-overlooked step, but absolutely necessary!
Learning about Drywall
Learn about drywall. Drywall comes in a variety of sizes, types and widths. Typically, walls are covered in ⁄2 or ⁄8 inch (1.3 or 1.6 cm) thick drywall board bought in 4x8 or 4x12 foot sheets. There are also many different specialty products on the market such as "green board" which is a moisture resistant drywall with a green paper covering, used in damp areas such as bathrooms and kitchens. Ceiling boards called "CV" boards that are more resistant to sagging, and sheets that are larger than standard to cover longer or wider surfaces. Ceilings and walls are generally faced with 1/2-inch (1.3 cm) drywall sheets. In ceilings you usually use "CV" rated or ceiling boards. There are also lightweight boards available for this purpose. In some instances you may be required to place 5/8-inch (1.6 cm) drywall on your ceilings or outside walls, 5/8-inch (1.6 cm) drywall may be classified as "Fire-rated" or TypeX drywall and stands up to fires longer than traditional 1/2-inch (1.3) drywall does. In some municipalities you can double your drywall in fire risk areas, rather than buy more expensive thicker sheets. The thicker 5/8-inch (1.6 cm) drywall is also useful for sound reduction because of its greater mass. Recording studios sometimes do a double layer of 5/8-inch (1.6 cm) drywall.
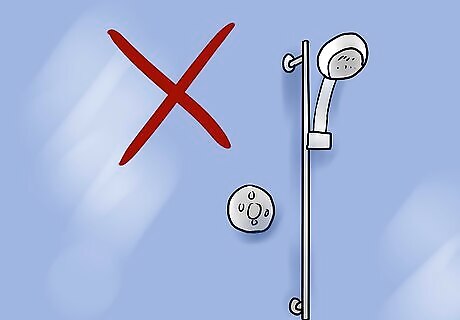
Know where drywall doesn't belong. Drywall should not be used for tub surroundings or showers. The correct material would be cement board with an 6 mil vapor barrier as well as the correct R-value of insulation behind it. Be sure to use either sheathing tape (Venture, 3M, or Tuck Tape) or acoustic sealant on vapor barrier joints to ensure a proper vapor seal. The seams of the cement board need to be finished with a fiberglass mesh tape which is then covered with a "setting type" joint compound or "thin set" tile adhesive. Check your local planning department and municipal building codes for drywall rules and regulations in your area.
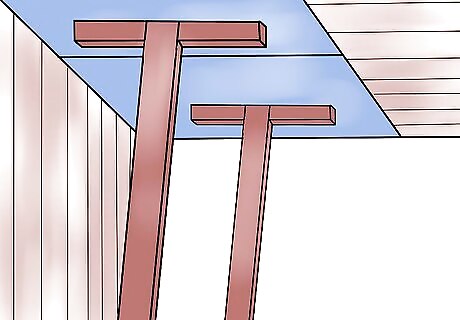
Handle drywall correctly. Drywall looks thin and light—until you lift it! It's one thing to manage drywall on the ground—moving, cutting, and lifting it. It's quite another to attach a sheet of drywall to the ceiling. A drywall lift can be made using 2 x 4s nailed into a T-shape that is placed under the dry wall to hold it against the ceiling as you place a few screws into the panel to secure it. However, if you are installing drywall on your own, or don't think you have the upper body strength to manipulate the drywall, a lift is well worth considering renting.


Comments
0 comment