views
Seasoning Your Pan on the Stove
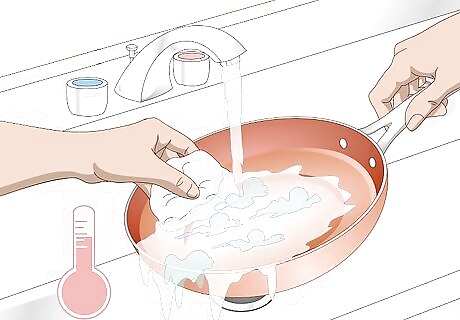
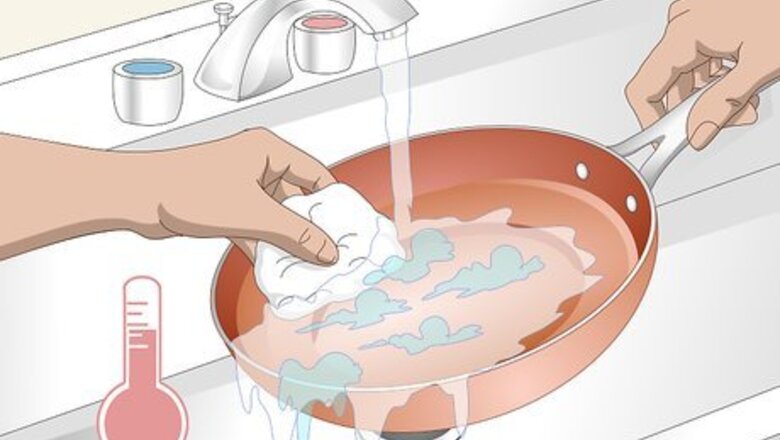
Gently wash the pan with soap and warm water. Be very gentle when cleaning your pan if it’s brand new; harshly scrubbing it could cause tiny abrasions in the surface. Instead, use a soft cloth to softly lather the soap into the pan. Rinse the pan to get all the soap off of it before proceeding. It’s very important to clean newly bought pans to make sure they don’t have any harmful chemicals or substances on them.
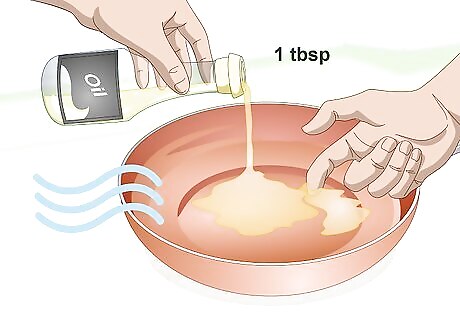
Dry off the pan and put 1 tablespoon (15 mL) of oil in it. Use your fingers or a paper towel to spread the oil over the entire inner surface of the pan. Go with vegetable oil if you have it, or opt for an oil with a high smoking point. Using an oil that heats too quickly can lead you to inadvertently burn your pan. Examples of oils with high smoking points include peanut oil, grapeseed oil, and canola oil. Olive oil heats up relatively quickly, so refrain from using it to season your pan.
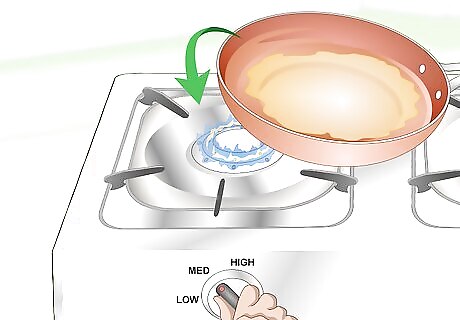
Set a burner to medium heat and place the oiled pan on it. You don’t have to wait for the burner to heat to a certain temperature; simply put the pan on it as soon as you turn on the heat. Medium heat is the middle heat setting on a stovetop dial. For example, if the dial on your stove goes from 1 to 10, then you’d have to turn the dial to 5 to set it to medium heat.
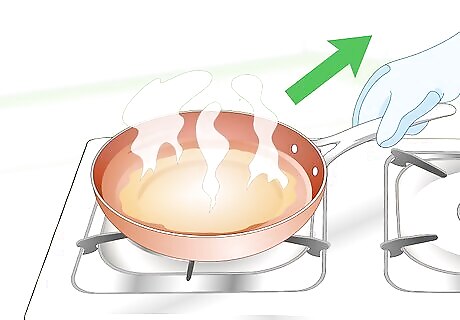
Remove the pan from heat once it starts to smoke and set it aside. It shouldn’t take more than 3-5 minutes for the oil in your pan to start smoking. Be sure to use oven mitts or heat-proof gloves when handling the pan to avoid getting burned. If any puddles of oil begin to appear on your pan during the heating process, gently turn the pan in order to break them up. Don’t forget to turn off the burner once you’ve removed the pan.
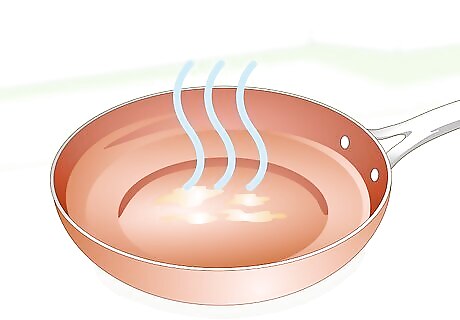
Allow the pan to cool down and wait for the oil to dry. It’s very important to let the vegetable oil thoroughly dry so that all the tiny pores on the surface of the pan become filled in. This process should take about 15 minutes. Leave the pan to cool at room temperature. Don’t put in the refrigerator, as this may warp the ceramic.
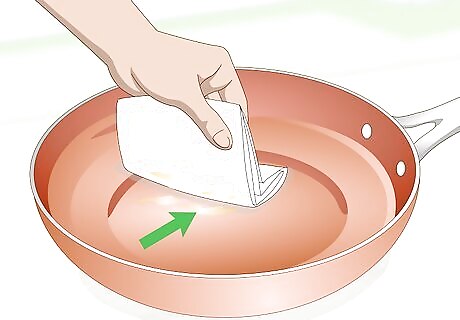
Use paper towels or a soft cloth to wipe any excess oil out of the pan. Most of the oil will have dried after 15 minutes, but the rest of it will need to be gently removed once the pan is cool. After this is done, the pan is ready to use!
Using the Oven to Heat Your Pan
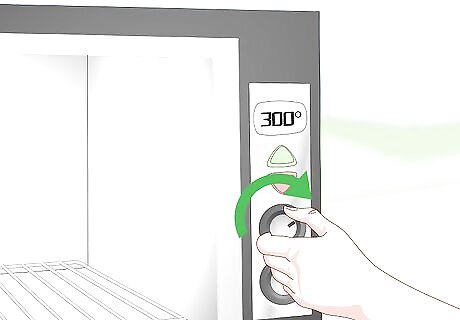
Preheat the oven to 300 °F (149 °C). It should take 10-15 minutes for your oven to preheat. Do not put your pan in the oven before it’s preheated all the way.
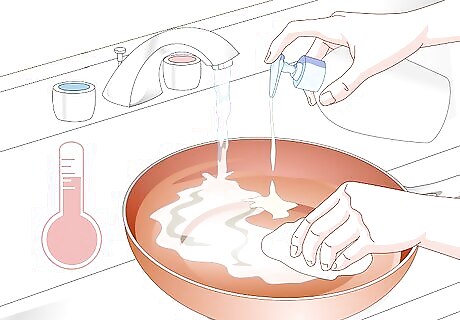
Use warm water and dish soap to gently wash the pan. Lather the soap into the pan with a soft cloth without scrubbing too harshly. Be especially gentle if the pan is brand new, since you may inadvertently cause tiny abrasions in the surface. Once you’ve cleaned the whole surface, make sure to rinse all the soap off of the pan. Cleaning the pan will also ensure you remove any harmful chemicals or substances that may be on it if it’s brand new.
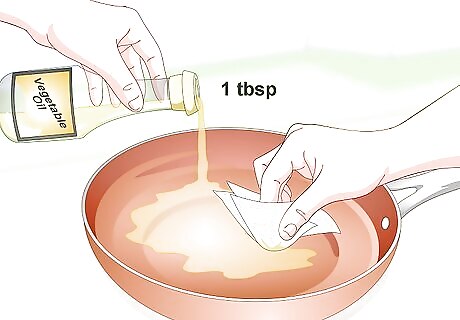
Make sure the pan is dry and soap-free, then add 1 tablespoon (15 mL) of oil. Use vegetable oil or another oil with a high smoking point to oil the pan. Spread the oil around with your fingers or a paper towel, making sure to spread it over the pan’s entire inner surface. Examples of oils with high smoking points include peanut oil, grapeseed oil, and canola oil. Avoid using an oil that heats too quickly, such as olive oil, since this may accidentally burn the pan instead of seasoning it.
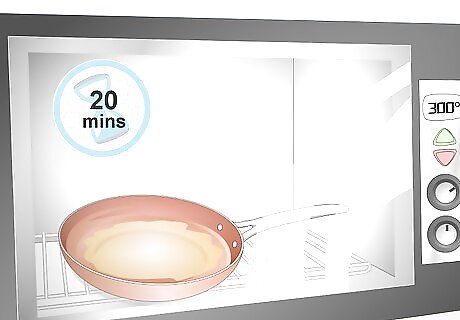
Place the pan in the oven and let it cook for 20 minutes. Place it on the middle rack of the oven for the best results. If you see smoke coming off the pan before 20 minutes have passed, go ahead and remove the pan. Note that you may not see smoke come off of the pan using this method, even though the pan is still being adequately seasoned. Use oven mitts when putting the pan in the oven to avoid getting burned.
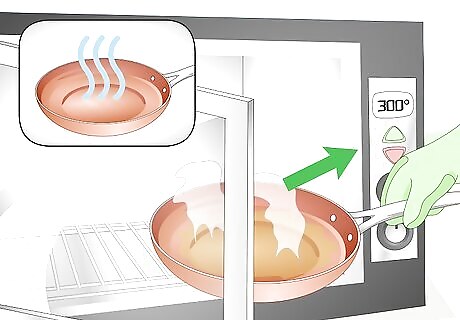
Remove the pan from the oven after 20 minutes and let it cool. During this time, the oil you put on the pan will dry and fill in the tiny pores on the pan’s surface. This process should take about 15 minutes. Be sure to use oven mitts to remove the pan so that you don’t get burned. Don’t put the pan in the refrigerator to cool it, since this may cause the ceramic to warp. Instead, leave the pan out at room temperature.
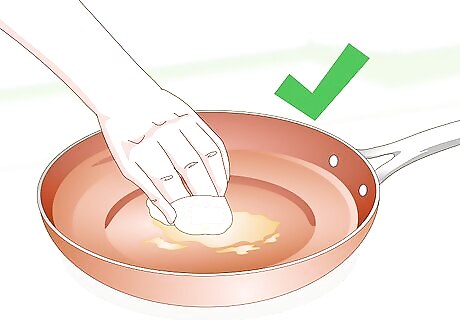
Wipe any excess oil off of the pan after it’s cooled down. You’ll need to remove any oil that hasn’t dried on the pan after 15 minutes before you can cook with it. Then, it’s ready to be used!


Comments
0 comment