views
Changing your Location to Indonesia
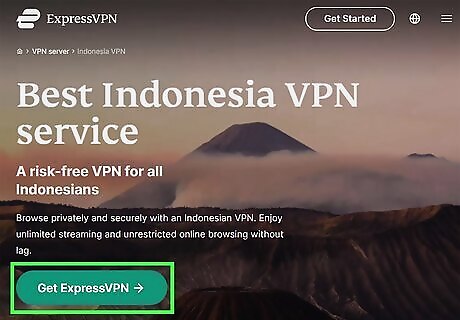
Connect to a VPN with an Indonesian server option. If you don't already have a VPN service that allows you to select a location, you'll need to get one. The most secure and reliable VPNs are those you have to pay for, such as ExpressVPN, CyberGhost, or NordVPN. These services all have free trial versions, so you can try them out before making a purchase. Another option is to use a free Indonesian-based proxy server, but these are less secure, and could even steal your passwords. There's no other way to change your name on Facebook to a single name unless you're connecting through an Indonesian IP address. Keep in mind that using a name other than your own violates Facebook's name policy—if someone reports you, your account could be suspended. Before signing up for a VPN, double-check to make sure it has servers in Indonesia. After connecting to your VPN, make sure you choose the option to connect with an Indonesian server. Using a VPN based in a country other than your own can cause some unusual effects, such as websites (including Google) appearing in the wrong language.
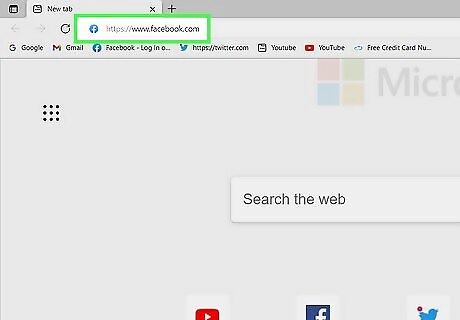
Go to https://www.facebook.com in a web browser. If you’re not already signed in to your account, enter your username and password to do so now.
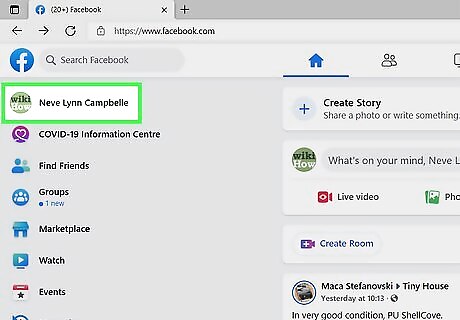
Click your name. It's in the upper-left corner of your feed. This takes you to your profile.
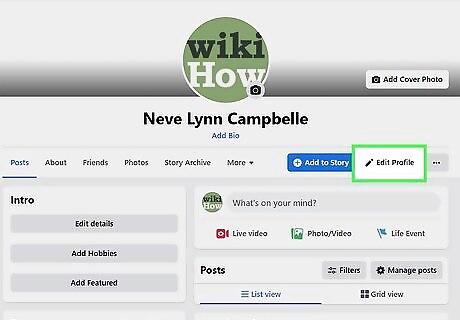
Click the Edit Profile button. It's toward the top of your profile below the cover image.
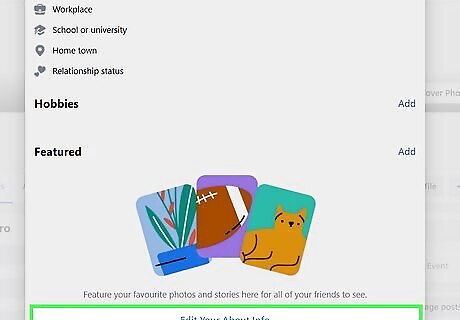
Click Edit Your About Info. It's at the bottom of the pop-up window.
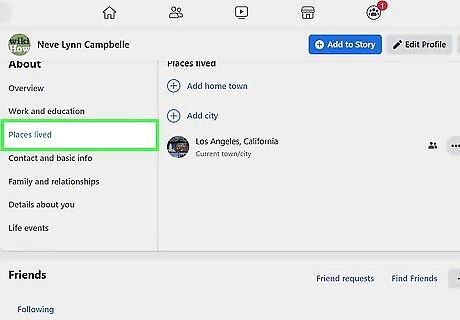
Click Places Lived. It's in the left panel.
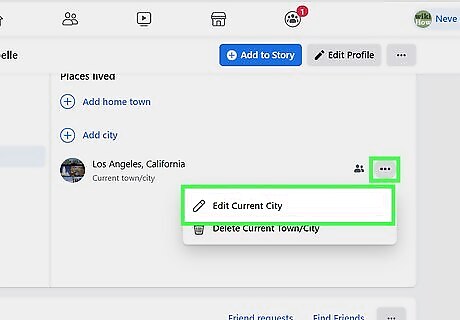
Click the three dots next to your hometown and select Edit City. Now you can edit your hometown.
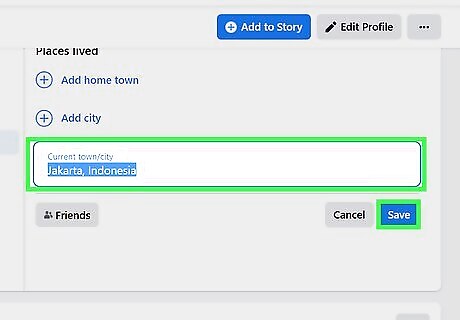
Enter Jakarta, Indonsia and click Save. You are welcome to add a different town in Indonesia—just make sure the location is actually in Indonesia. Once saved, Facebook will change your hometown.
Changing Your Name
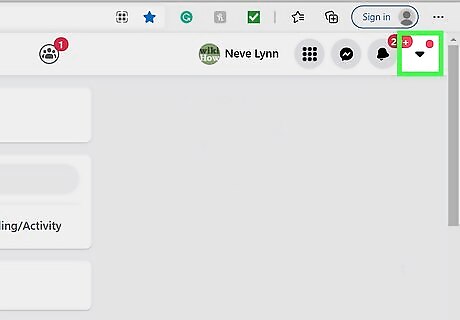
Click the down-arrow at the top-right corner of Facebook. It's right next to the bell icon. A menu will expand.
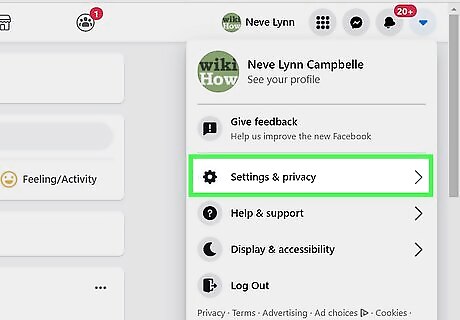
Click Settings and privacy on the menu. Another set of options will expand.
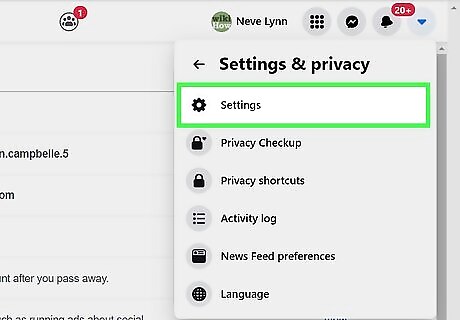
Click Settings. It's near the top of the menu.
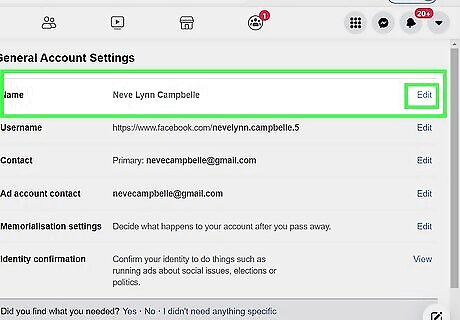
Click Edit next to your name.
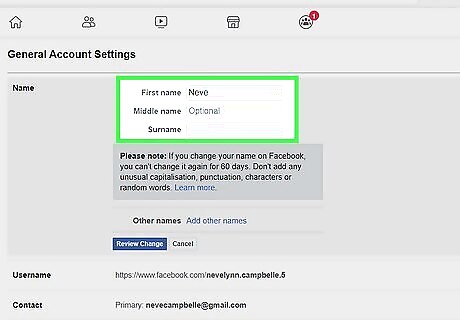
Enter your first name and remove your last name. Type the name you want to go by into the "First" field, and remove your last (and middle) name.
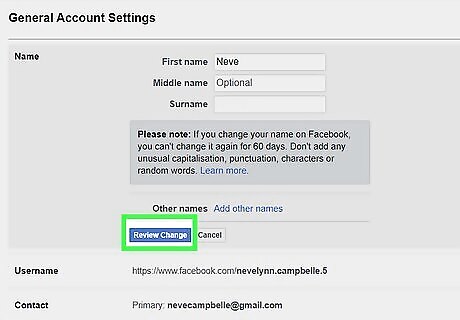
Click Review Change. It's the blue button below the name fields. A confirmation window will appear, displaying how your name will appear on your profile. If you see an error that says you can't enter your last name, it's likely due to the IP address you're using is not actually in Indonesia. Go into your VPN settings and try a different Indonesian IP address if possible. As long as you've followed all of the above steps and are definitely connecting from Indonesia, you should not see an error.
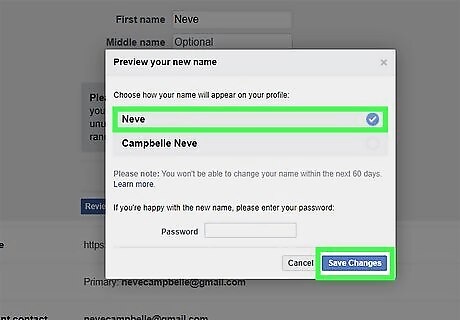
Enter your password and click Save Changes. Once your changes are saved, your new Facebook name will be active.


Comments
0 comment