views
Marking the Door Location on the Wall Plates
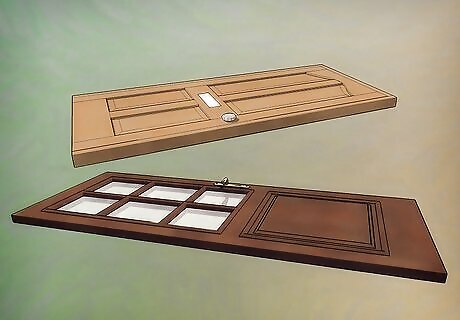
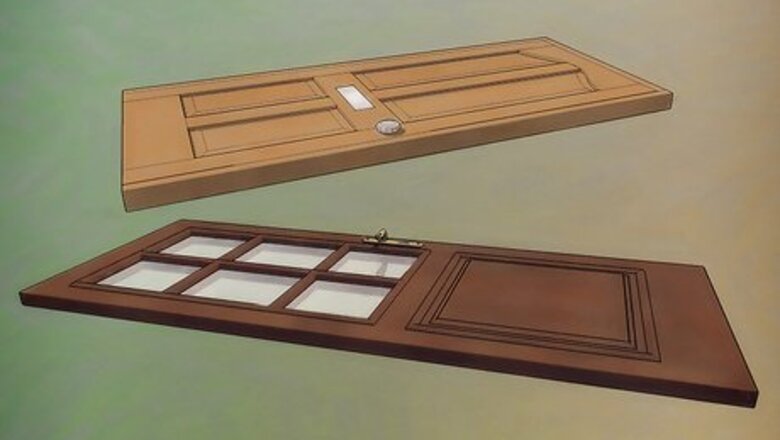
Choose a door. Since doors come in so many different dimensions, you’ll first have to decide the type of door you want to install. Most doors are going to be 30” or 32” wide and 80” tall; however, this is far from universal. Choosing a door will allow you to make all of the proper measurements for the doorway. If you haven’t decided on an exact style of door, at least decide on an exact size, so you can get started on the doorway. Write down the dimension of the door size you decide on for reference.
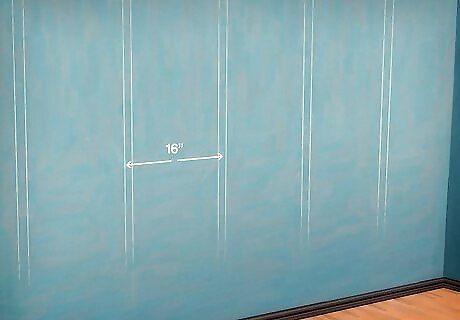
Decide the door placement. If you’re deciding where the door will go while framing the rest of the wall, then you can easily insert the doorway into the wall framing. Walls typically have studs placed every 16” in the top plate and bottom plate that frames the way. Decide on the location of your door in the wall and skip the studs that would block the door while still maintaining the 16” gaps on either side.
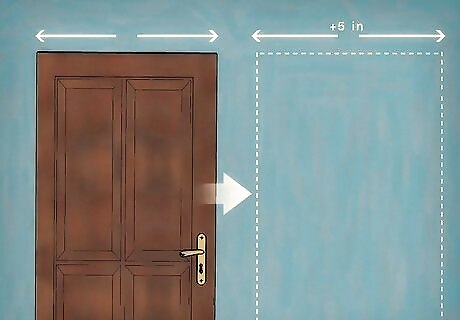
Measure the king stud placement. In place of the missing studs around the doorway, you’ll insert what are called king studs. These are regular studs, but instead of the normal 16” apart, they go directly on either side of the doorframe. The distance between your king studs will be the width of the door you chose as well as an additional 5”. If 5” seems like a lot, it’s because another stud called a trimmer stud will be inserted on each side between the king studs and the door as well.
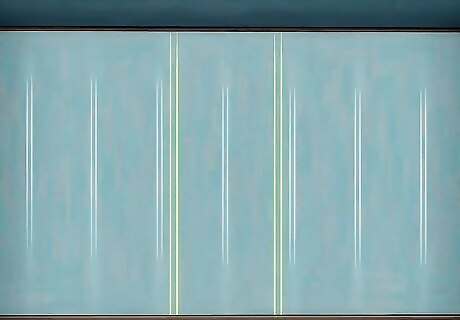
Mark the king and trimmer stud location on both the top and bottom wall plates. Measure this space by placing the king stud and trimmer stud measurements together and marking the space where each stud begins and ends on both the top and bottom wall frame plates. Mark the space for the king stud with a K and the trimmer stud with a T for easy reference.
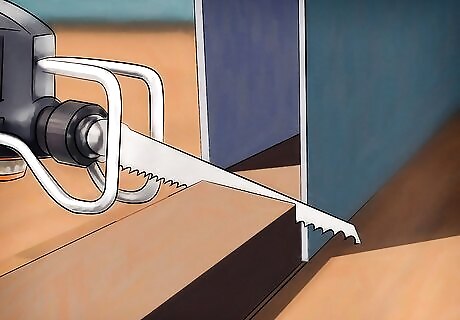
Cut halfway through the bottom plate where the door will go. If your wall frame already has a bottom plate running the entire length, you’ll have to remove the portion that would block the door. Use the exterior edge of your mark for the trimmer stud on the bottom plate where the trimmer stud ends and the doorway begins. Only cut halfway through for now to give the frame continued stability while you finish the rest of the doorway.
Building the Doorway Header
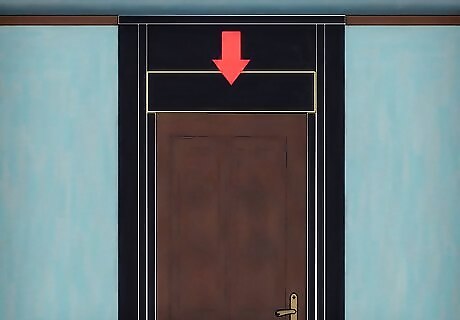
Measure the necessary header dimensions. The header goes above the doorway to provide additional support to the doorway since it doesn’t have the regular distribution of wall studs. The header goes directly between the king studs, so the length needs to be the same door-width-plus-5” measurement that you used to place the king studs. Since the bottom of the header marks the top of the doorframe, you need to measure the vertical placement by taking the height of the door and adding 2” for jambs and flooring. For example, if you have an 80” door, then you’d mark the placement of the bottom of header on the king stud 82” from the bottom (not the top) of the bottom wall plate. Notice that the header width measurement does not include the trimmer studs. That’s because the trimmer studs actually attach to the bottom of the header and not the top wall plate. To picture it, the king stud and trimmer stud will form an L around each side of the header with the king stud as the vertical line and the trimmer stud as the horizontal line. Since your trimmer studs will attach to the bottom wall plate on the bottom and header on top, they should be 80.5” long for an 80” door (the 82” height from the bottom of the header minus the 1.5” width of the bottom plate since planed 2x4s are actually 1.5” wide).
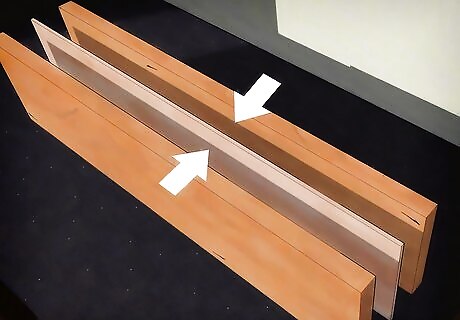
Cut the header boards. The header is actually comprised of two boards (either 2x4 or 2x6) with a 0.5” piece of plywood or OSB board sandwiched between them. Measure each board to the door-width-plus-5” specification and cut them evenly. The 0.5” piece of plywood or OSB board is simple to explain. Each planed 2x4 wall stud is actually 1.5”x3.5”, so the depth of the doorframe is 3.5”. However, sandwiching two of those planed 2x4s (or 2x6s) together only creates a 3” deep header. The additional 0.5” board is to make the header flush with the rest of the doorframe.
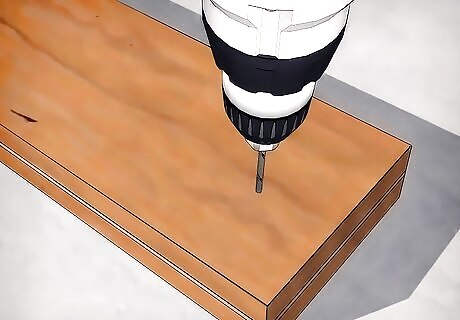
Assemble the header. Nail the three boards together perfectly aligned to ensure that they fit snugly between the king studs. Use 12D nails to assemble the header.
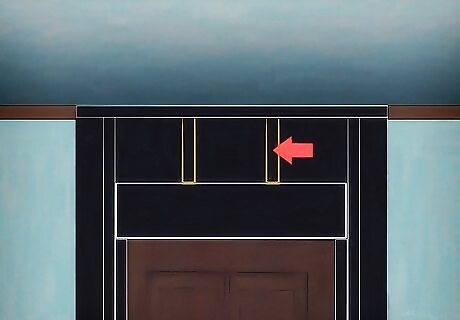
Measure and cut any cripple pieces. If the space between your header and the top plate of the wall frame has a gap, then you can measure that gap and cut short lengths of 2x4 called cripples to add additional support between the header and top plate.
Assembling the Header, King Studs, and Wall Plates
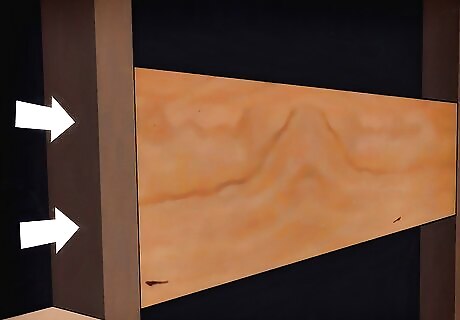
Attach the header to the king studs. Since you previously marked the height of the bottom of the header on the king studs, you can now line the header up with those marks and nail it to the king studs. Use at least four 12D nails on each side.
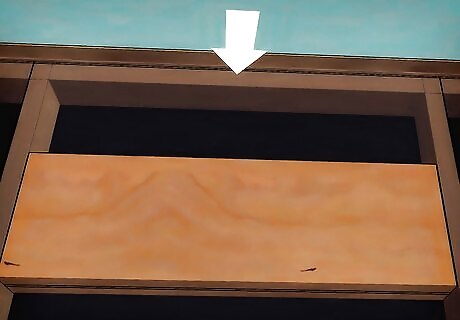
Attach the top and bottom wall plates to the king studs. Using the marks on the top and bottom wall plates where you previously placed a K for the king studs, attach the plates to the king studs. Again, use 12D nails. Make sure that each connection is flush and perfectly perpendicular as you go. If you are building the frame for the entire wall while framing the doorway, then this is also the point where you will install the rest of the wall studs.
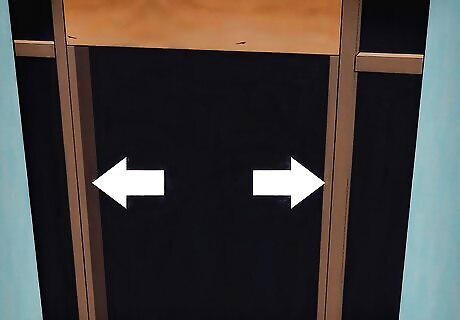
Attach the trimmer studs. Now that the header, king studs, and bottom wall plate are together, you can install the trimmer studs. If you have not yet cut the trimmer studs, double check your measurement by measuring from the bottom of the header board to the top of the bottom wall plate. Using 12D nails, nail the trimmer studs from the bottom of the wall plate as well as to the king studs. When nailing to the king studs, nail from the trimmer stud into the king stud, so that in the event of any protruding nails, they’re inside the wall rather than inside the doorframe.
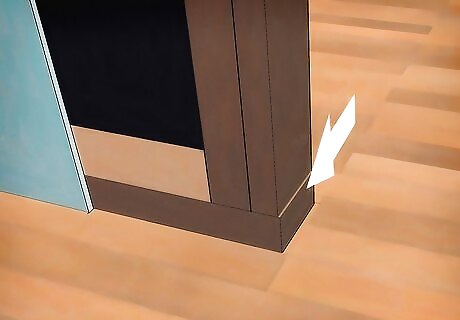
Finish removing the half-cut bottom plate piece. Your half cuts in the bottom wall plate should now be flush with the edge of the trimmer studs. Finish cutting away this portion of the bottom wall plate so that the space remains flush with the trimmer studs.
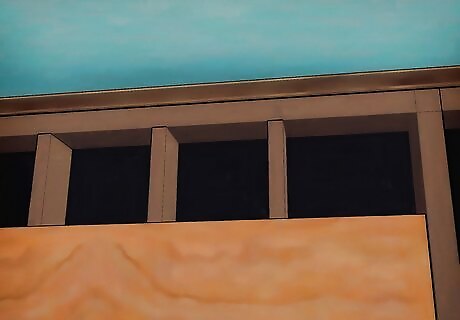
Attach any cripple studs. Now that you have the rest of the doorway framed, you can attach any last cripple studs if you had a gap between your header and wall top plate.




Comments
0 comment