views
Before you start: This article will be doable only if you have already upgraded to the anniversary edition of Windows 10. Learn how to do it here.
Checking Your Computer for Compatibility
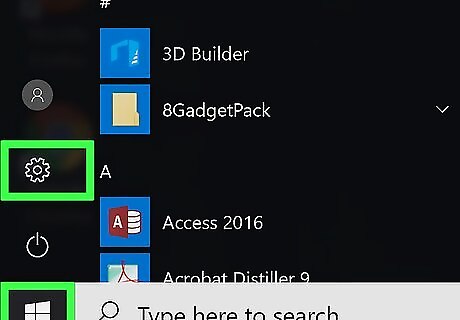
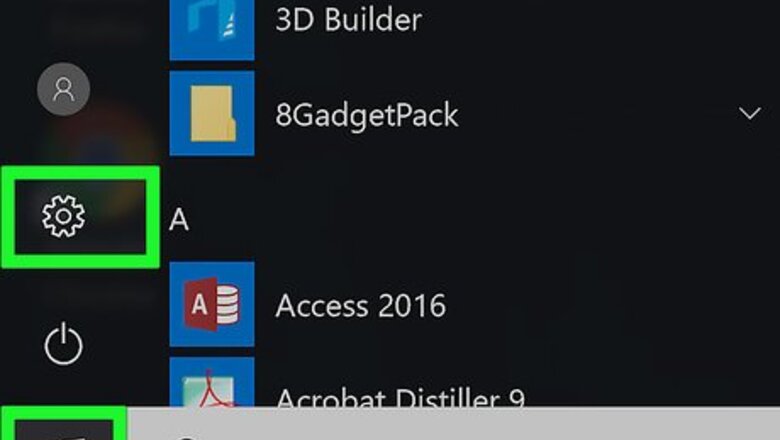
Open the Settings app. Press the Start Windows Start button and then the Settings gear on the lower-left corner of the menu.
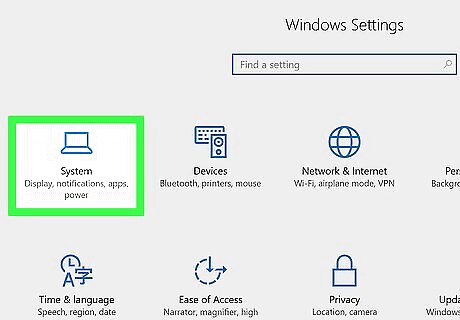
Click the System category.
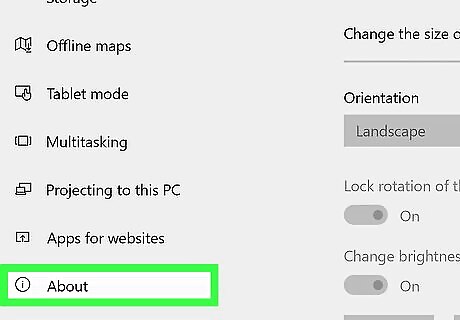
Select About from the left pane. This will list a bunch of information about your computer.
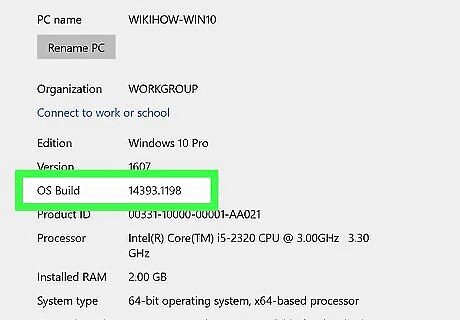
Ensure that your "OS Build" is above 14393.0.
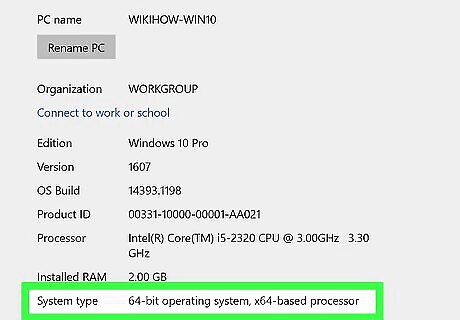
Ensure that your "System type" is "64-bit operating system".
Enabling Developer Mode
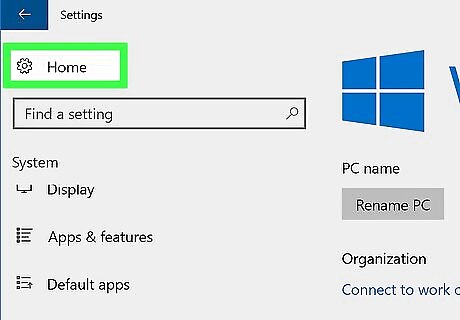
Click the Windows Settings Home button at the top-left of the Settings app.
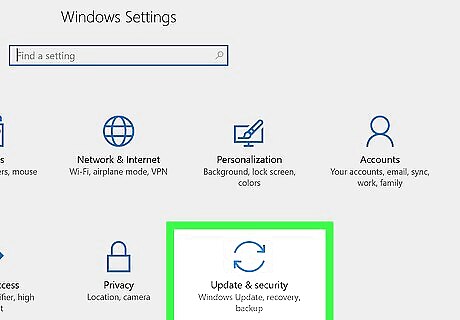
Click on Update & security.
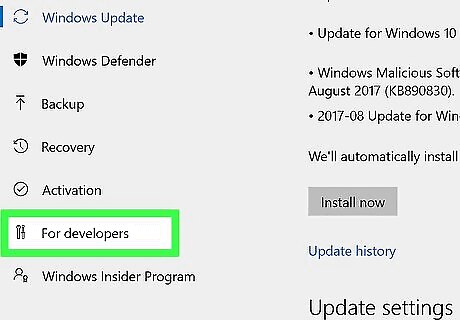
Click on For Developers on the left pane. It's second from the bottom of the list.
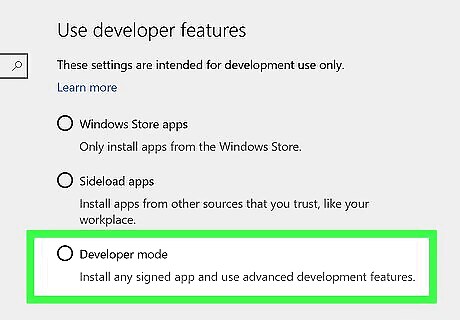
Click on the radio button next to "'Developer Mode".
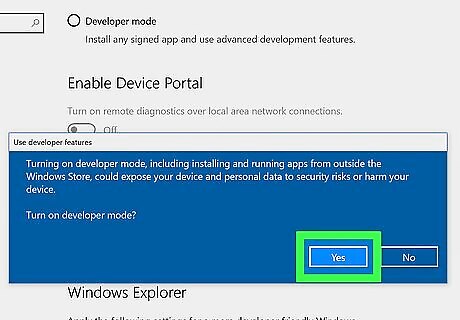
Confirm the warning. Windows 10 will display a warning for all of the implications that should be considered before turning Developer Mode on. Carefully read through all of these warnings and then press the Yes button.
Turning on Windows Subsystem for Linux
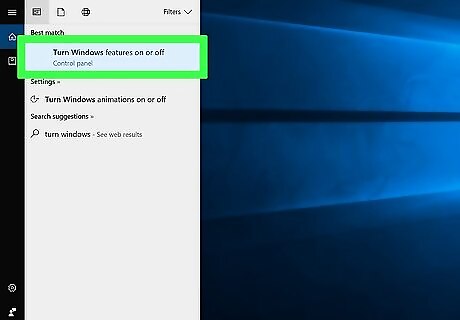
Navigate to the "Turn Windows Features On or Off" window. It can easily be accessed by typing in turn windows in the search bar.
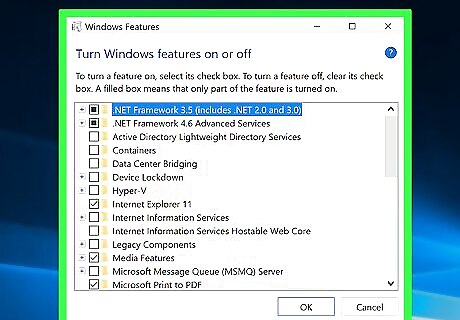
Wait for the list to load.
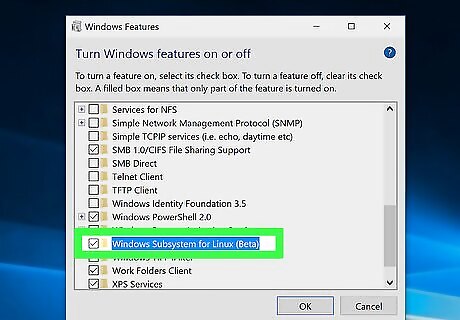
Check the box Windows regchecked next to "Windows Subsystem for Linux (Beta)". Scroll down to the bottom of the list to find it.
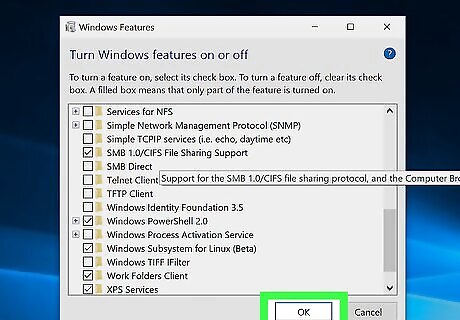
Click on the OK button. Windows 10 will now start to download a bunch of files.
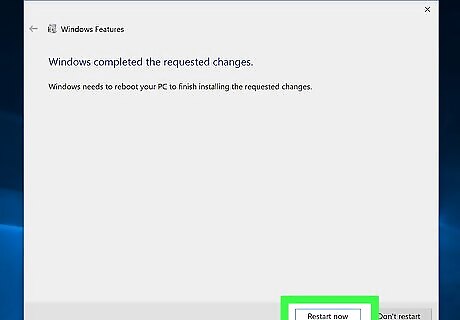
When prompted, restart the computer. Your computer will display a screen indicating that it's updating. This is actually Windows 10 setting up the Windows Subsystem for Linux.
Post-Installation Setup
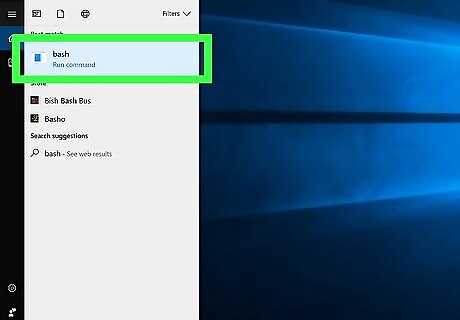
Open Bash. This is easily done by searching for bash in the search bar.
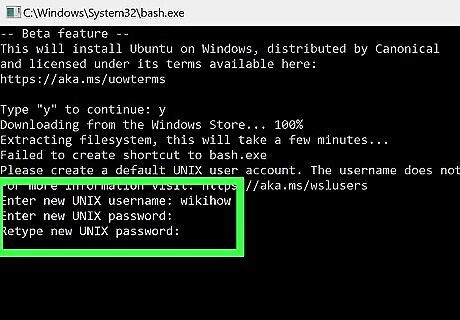
Enter a username and password. Upon opening for the first time, Windows Bash will prompt you to create a username and password. Note that the username and password do not have to be the same as the username the password used to log into your Windows 10 account.





Comments
0 comment