views
Stretching For a Needle
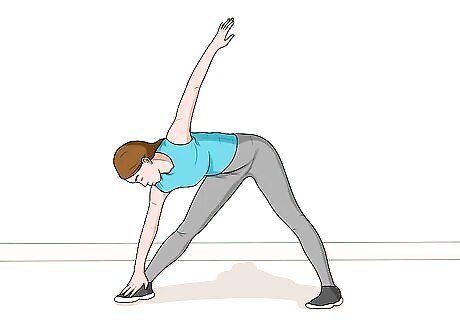
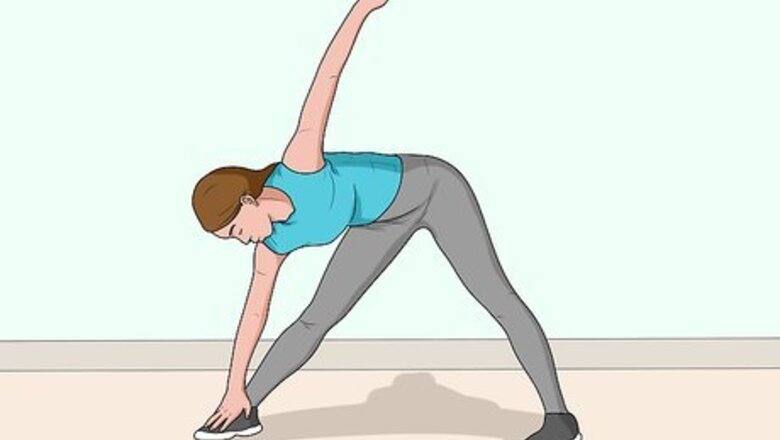
Know your natural flexibility. Everyone's body has tight areas and looser areas. Stretching early and often helps keep you limber. Remember, you will become less flexible as you get older, so start early.
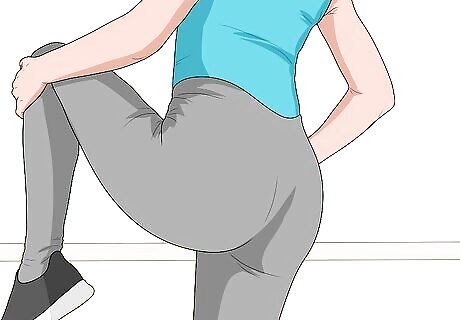
Learn your muscles' names. Do you know where your Gluteus Maximus is? Probably! What about your Iliopsoas or your Semitendinosus? These muscles are important to your needle! You have to overextend your back, torso and leg muscles to do a needle. Learning the muscles' names and how they work within your body will make stretching for this position easier. Tighter muscles are typical around the back and torso. These areas will need extra stretching.
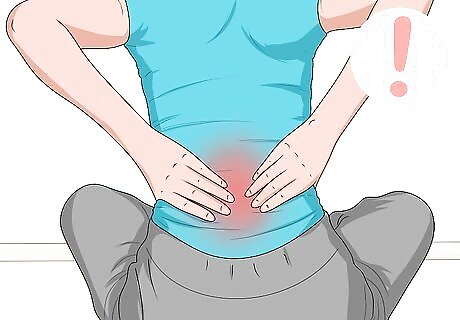
Identify problem muscles. Muscles have a long memory. If you have injured a muscle, it might be tighter than the rest. Give it extra love and attention, and extra stretching to prevent future harm. Muscle tears can occur. If they do, they can reduce your motor skills, as well as create scar tissue. Be careful!
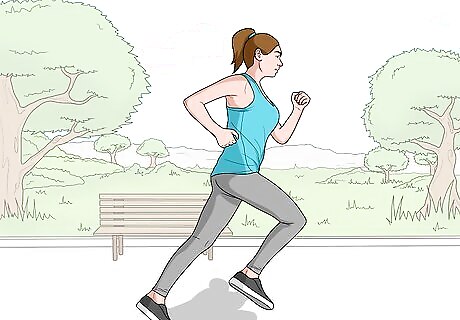
Warm up your muscles before stretching. Do jumping jacks, brisk walking or jogging to warm up your muscles. Don't stretch with cold muscles. Working on a needle with cold muscles can hurt your posture and form, which may result in injury.
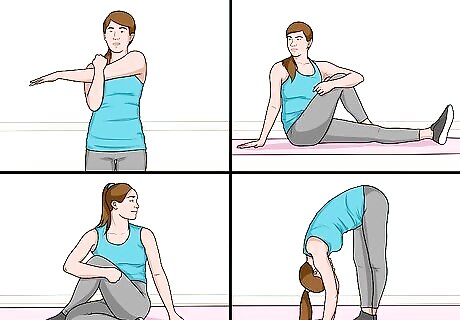
Develop a routine for stretching. A routine is important for preparing your body for exertion and contortions involved in doing a needle. Stretching prepares your body for the needle posture. Also, stretching triggers your muscle memory and believe it or not, can remember what to do! Remember, stretching is not itself a warm-up. Start with major muscle groups. Shoulders, torso, glutes, thighs, and back.
Breathe consciously and regularly. Breathing is key to the optimal performance of your mind and body. In the middle of a routine, you're exerting all of your energy and breathing is essential. With time, the resistance and tightness will release. Keep breathing!
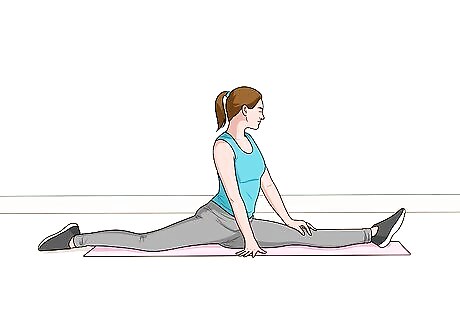
Perfect the splits for both legs. It can take time to perfect the splits while on the floor. It can take even longer to do it with both legs! But, it's important to the needle posture, so don't rush this step. Most people have one leg that is more flexible than the other. But, stretch both legs equally. Your more flexible leg might end up being your supporting leg. If so, this is another reason to stretch both legs equally. Alternately point and flex your front leg's foot while in the splits. Keep your back leg's knee rolled towards the ground, not twisted to the side.
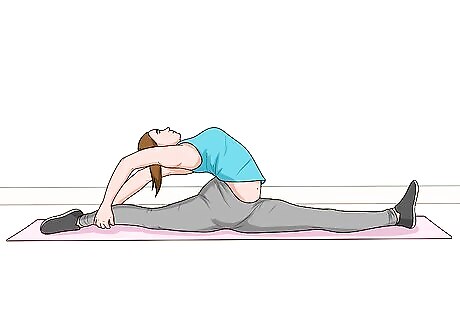
Lay back with hands overhead while in the splits. Once you are in the splits on the floor, you need to stretch your chest, shoulders and back muscles. To do this, reach backwards and hold your back leg with both hands. Breathe calmly and regularly during this process.
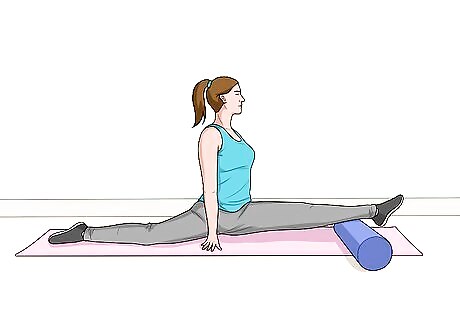
Hyperextend splits for both legs. Once you're comfortable with the splits on the floor, you need to move onto to gently hyper-extending your splits. Place your front leg ankle and heel on a few inches of gymnastic mat, rolled up yoga mat, yoga block, or even a rolled up towel, and descend into the split position. Gradually increase the height of the mat, block or rolled towel until you have flexibility and no discomfort while hyperextended.
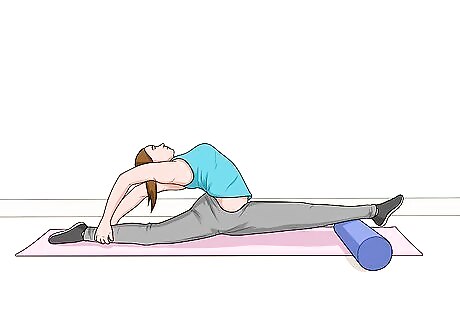
Lay back with hands overhead while in hyperextended splits. This motion results in the posture that you'll have in the needle while standing up, except here you are supported by the ground. Check in with your body and see if how it feels to move into this position slowly, and don't forget to be patient if you encounter tightness in your muscles. Continue leaning backwards until you can do so without discomfort. Remember that this is the posture you must acquire to do a needle.
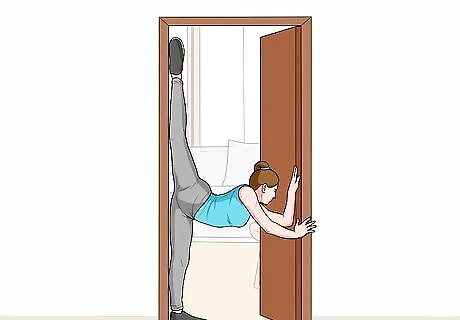
Stand in splits against doorframe. This is the same posture you were in on the floor, but this time you are balancing while standing upright. Use the doorframe as a buttress for your upper leg and body. Depending on where you place your standing leg, you can increase or decrease the stretch and hyperextension.
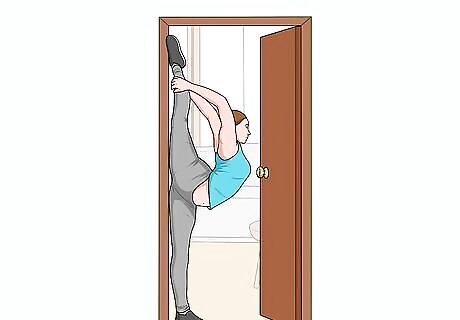
Lean back against your upper leg and the doorframe. Do this with your hands overhead while in the splits. Again, take it slowly here, since you are using different muscles when you're standing versus sitting on the floor.
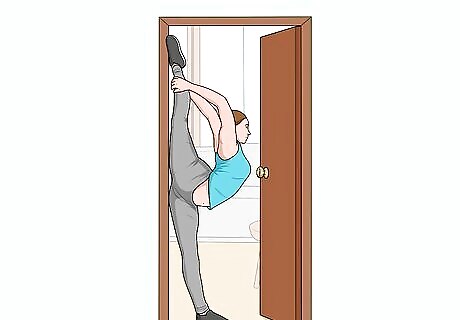
Hyperextend splits while standing against doorframe. Sink into the splits, or the hyperextended splits, while holding onto your upper leg with both hands behind you. This is the posture that most closely approximates the free-standing needle, so take your time in perfecting your balance and comfort. Take your time and be patient!
Kicking Up a Needle
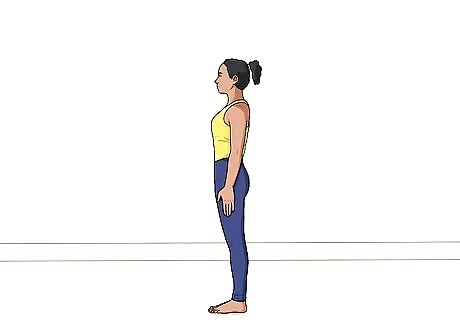
Stand perfectly straight, with shoulders and hips aligned, facing forward. This is the correct posture for kicking into the needle and will minimize injury. Do not transform a scorpion into a needle as the way to get into the needle position. Though it may be easier for stretching, moving from a scorpion into a needle will twist and tweak your posture and balance, making injury more likely. Going from a scorpion into a needle also takes longer and shifts your balance. This is not good when you're up in the air!
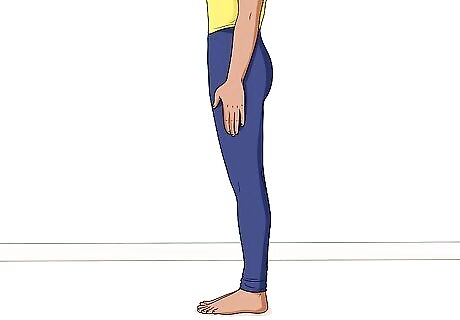
Balance your weight on your supporting leg, and engage your core muscles. Aligning your shoulders and hips is essential for elegant, energized posture in the needle.
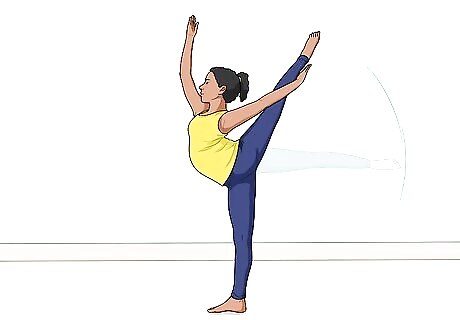
Kick off the ground with other leg, foot and toe pointed as soon as it leaves the ground. Kicking off of the ground with a strong punch sweeps your leg all the way towards the back of your head. It can be difficult to do this motion at the beginning. If it is, try holding your leg out in front of you at a forty-five degree angle and let gravity help you to get enough momentum to kick the leg higher and higher.
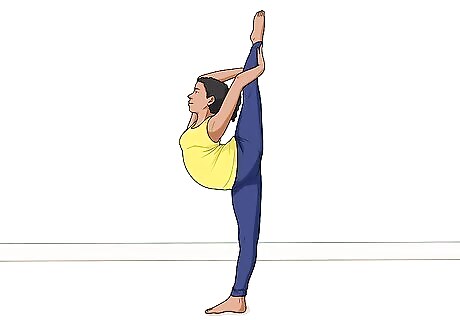
Catch straightened leg with both hands. Once you've caught your leg, re-point foot and toe, and smile! Luckily you have two hands to catch this wild leg, so at first touch, grab on tight, expand your chest and drop your shoulders, and show them your smile!
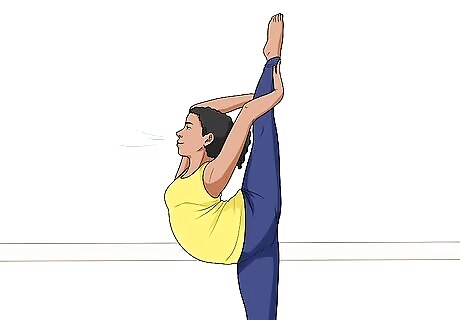
Balance yourself, breathe, and deepen your position. If you have more than a millisecond that you need to hold the needle, balance yourself, breathe, and relax into the position.
Holding and Balancing a Needle (Ground and Aerial)
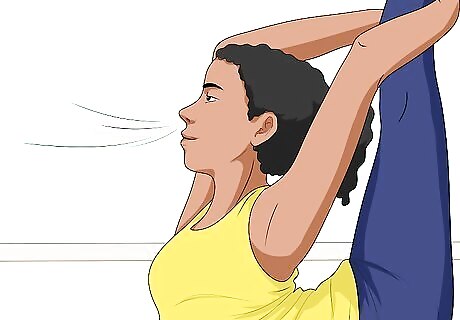
Breathe deeply while you are in the needle. Breathing deeply keeps you calm and centered in this difficult posture, and allows you to function optimally during the stunt.
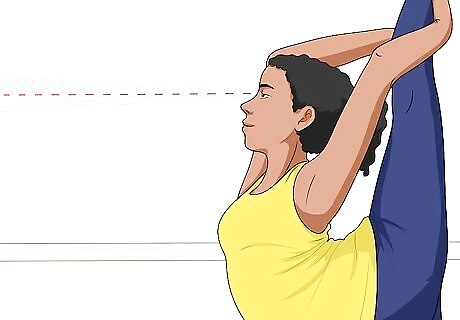
Focus on a spot far away on a wall slightly above your eye level. This is a tried and true tip from the ballet world, called "spotting," which results in activating your core and refocusing your center of gravity while spinning or in the air. "Spotting" prevents loss of balance and centers your posture.
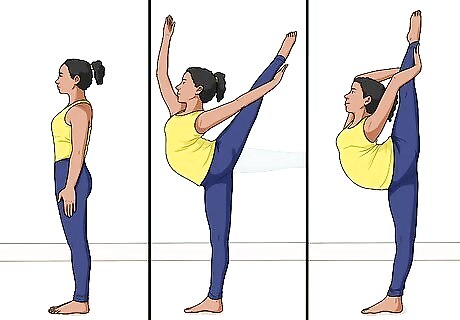
Stand on various surfaces, repeat needle. Remember that you'll be in the needle in unpredictable circumstances: perhaps you'll be moving sideways or dismount with a twist.
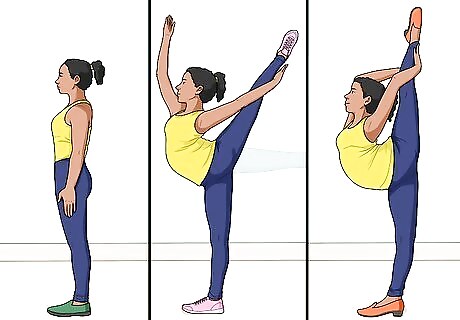
Wear different shoes, repeat needle. Wearing different shoes, including shoes other than your cheerleading shoes, changes the placement of your toes, the ball of your foot and heel, which mimics the movement of your foot while it's in the hands of your bases. Better to practice ahead of time so that you can handle all sorts of circumstances.
Refining Your Needle
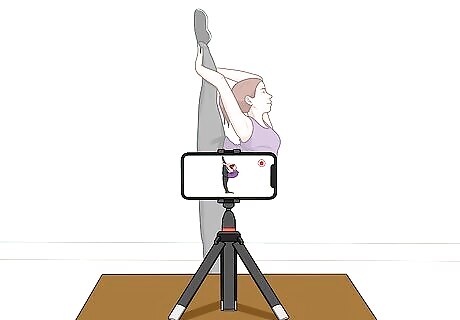
Observe yourself in a mirror, or video yourself. Or, do both at the same time and grab a friend to video your technique. Look over the footage together to see what looks good, what doesn't and tweak your performance so that your needle looks strong, elegant and flawless.
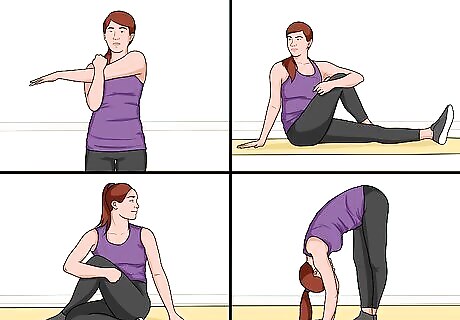
Stretch more to make movements easier. Depending on your body, this posture will continue to challenge you, so don't stop challenging yourself while stretching.
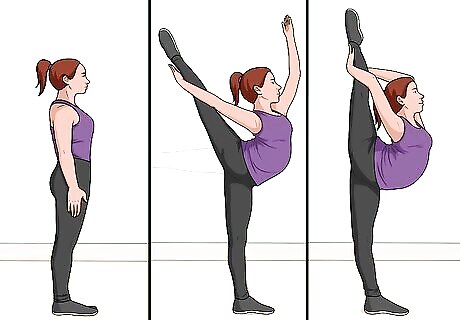
Adjust your posture, approach and execution to perfect your needle. Practice, practice, practice, and repeat as many steps as necessary.
Releasing a Needle
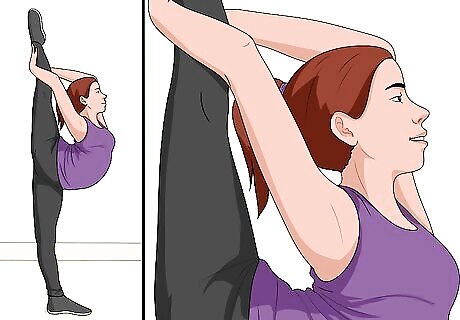
Point toe and smile. This puts an exclamation point (!) on your impressive needle, and energizes your body for the release and dismount.
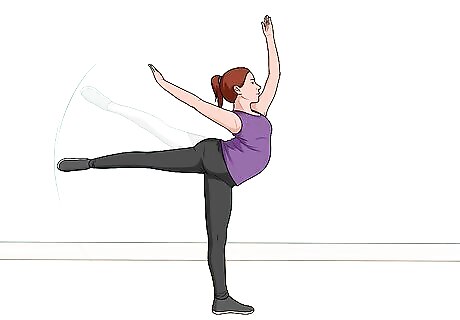
Release your leg from your hands. There is no need to make this more forceful than it will already be. Remember, you have tension and gravity to help you, so try to make your dismount elegant.
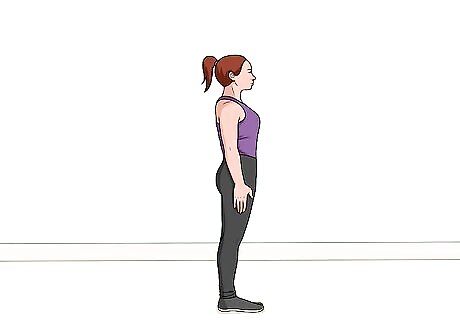
Let go. Stand up tall, bring your hands down to your side, and extend and straighten leg as it descends.
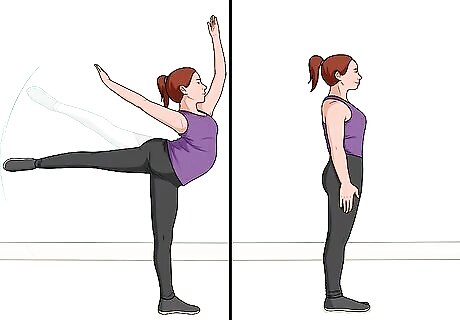
Bring both feet together, standing tall. Remember how gymnasts who vault always have trouble sticking the landing? Take your performance to the next level by releasing the needle with control and certainty, bringing both feet together and stand tall, with a smile - of course!



Comments
0 comment