views
Deciding on Your Tattoo Elements
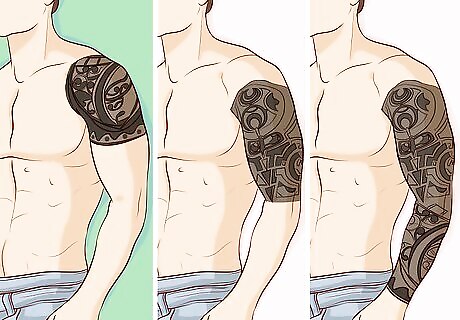
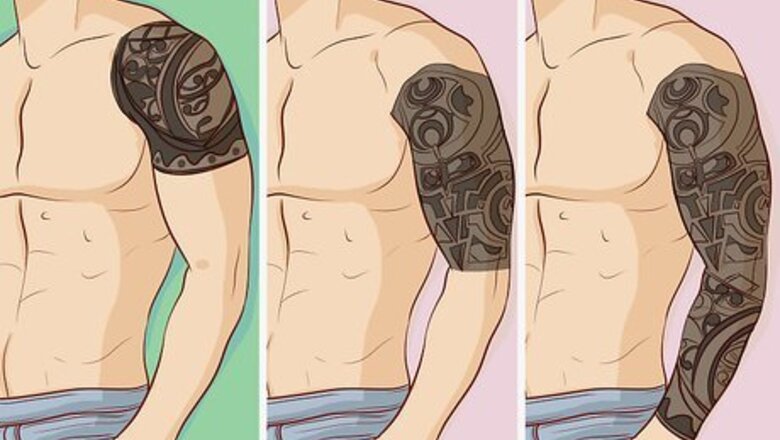
Determine if you want a full or partial sleeve. To begin the process of designing your sleeve, consider whether you want to tattoo your entire arm, or whether you want a partial sleeve that may be easier to cover up. This will help you determine how to proceed with your design, as well as how many sessions you’ll need to plan with your artist. There are 4 popular types of tattoo sleeves, including the following: A quarter sleeve, which covers from the top of your shoulder midway down your upper arm to your elbow. A half sleeve, which reaches from the top of your shoulder to your elbow. A full sleeve, which covers from the top of your shoulder to your wrist. A Hikae sleeve, which is a Japanese style sleeve that runs continuously from your chest to your elbow or wrist.
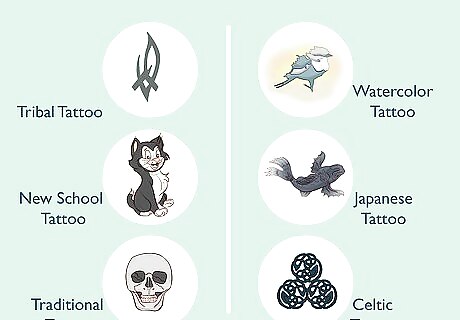
Consider what style(s) you want to include. There are several different tattoo styles that you can choose to include in your sleeve design. In many cases, artists specialize in 1 or 2 styles, so determining what styles you want to include will help you pick an artist. A few popular styles include tribal, new school, traditional, watercolor, Japanese, and Celtic. If you want your sleeve to be more uniform and have a clear flow, you may want to stick to just 1 or 2 styles.
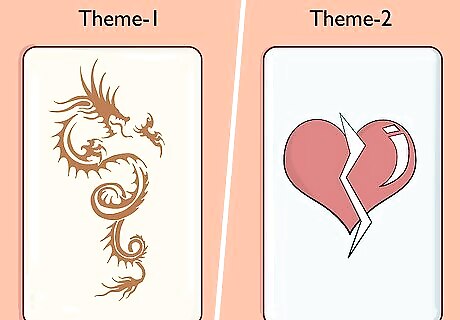
Conceptualize the major theme(s) of your tattoo sleeve. Getting a tattoo sleeve is a big decision, so it’s important that you conceptualize 1 or 2 themes that you’re passionate about. Your theme could be a genre you’ve always loved, or a message concept that is particularly meaningful to you. Whatever you choose, make sure it’s something that you know you’ll love for the rest of your life. For example, if you’re passionate about fantasy novels or movies, you could conceptualize a fantasy theme with tattoos including dragons, romance, and other thematic elements. Your theme could also be a message or feeling, such as harmony, heartbreak and redemption, or peace. You can then choose symbols and motifs that express that theme for you.
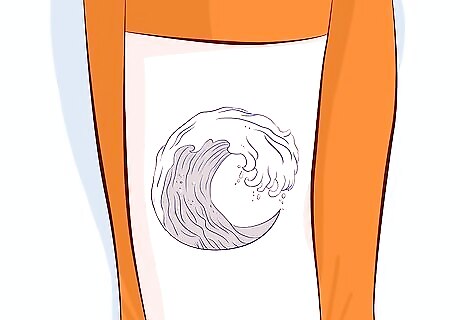
Select a few of your must-have symbols and designs. Once you’ve decided on the major theme(s) of your sleeve, choose a few symbols that represent the themes that you want to include. While your tattoo artist will certainly have some ideas as well, it’s helpful for you to pick out a few symbols to present to your artist to help them understand what you’re going for. For example, if you want your sleeve to represent harmony, you may choose symbols and motifs relating to nature, such as waves and clouds, if you feel harmony with nature. If your major theme is heartbreak, for example, you may want to include heartbreak symbols like hearts, roses, a shipwrecked boat, or waves crashing into a heart.
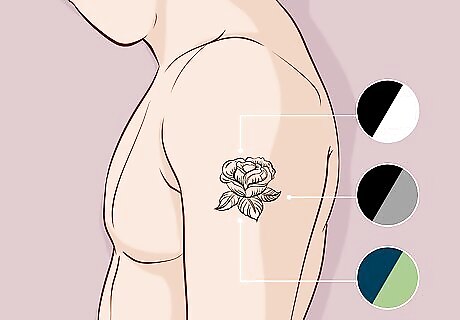
Decide what colors you want to include. The colors you include in your sleeve will impact the overall look and meaning of your tattoos, so it’s important that you decide ahead of time exactly what colors you want to include. In addition, your sleeve will be on your arm forever, so make sure you pick colors you love and that you won’t get sick of. For example, if you want your sleeve to have a more muted vibe, you may want to stick to black and white or greyscale color scheme. If you want your sleeve to really stand out, you’ll likely want to choose a few colors that will pop. Keep in mind, however, that colors tend to cost more and do tend to fade faster than black and greyscale options. In general, tattoo colors that are significantly lighter or darker than your skin tone tend to show up best. For example, if your skin has a pinkish shade and warm undertones, pinks, faded reds, and yellows won’t show up as much as darker shades of cooler colors, such as blue and green.
Determining the Tattoo Sleeve Layout
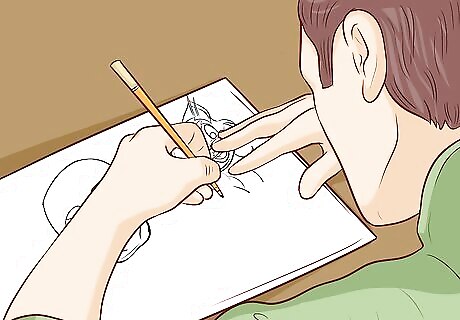
Sketch out the larger, more meaningful pieces first. Once you’ve decided on the major elements of your sleeve, start putting your ideas down on paper by sketching out the largest pieces first. The largest pieces of your sleeve are generally those that hold the most meaning, so you’ll likely spend a bit more time on these pieces than the connective elements. The number of large tattoo pieces depends on the look and meaning you’re going for, as well as how large your sleeve tattoo will be. If you’re only doing a quarter sleeve, for example, you’ll likely want to stick to 1 or 2 larger pieces in addition to the connective elements. If you want your sleeve to have a singular focus, try choosing a few larger pieces that speak to that main message or theme. For example, if you want your sleeve to signify how you’ve overcome obstacles, you could choose a 1 to 4 larger pieces that fit this theme, such as a shipwreck and a mountain.
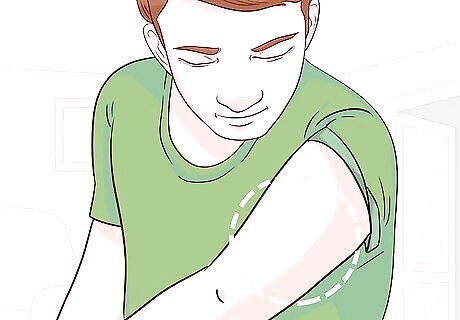
Decide on the placement of all the major sleeve elements. After determining what major symbols and images you want to include in your design, you can start deciding where you want these major pieces to be located. The placement of the largest pieces will determine how the stories, themes, and messages unfold across the sleeve, so deciding on the layout will help ensure that your sleeve flows in a meaningful way. When deciding on the placement, keep in mind that your artist will likely complete these elements first. Since tattoo sleeves generally take several sessions over the course of months and even years to complete, you may want to consider whether the placement of your larger pieces will look good on their own for a time. In addition, consider any injuries or sensitive areas that might impact the placement of any elements of the design. For example, if you have chronic wrist pain, you might want to avoid having any full color elements on your wrist so the artist won’t have to spend as long drawing the design.
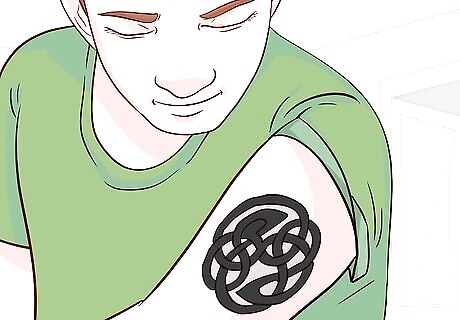
Use patterns or continuous motifs to connect the larger tattoos. Once you’ve sketched out and decided on the placement of the larger pieces, you can start sketching out the patterns and motifs you want to use to connect these pieces. The background elements of your sleeve should both support the meaning and add continuity to the design. Tribal patterns and naturally-occurring continuous elements such as smoke, flames, swirls, water, or vines, for example, are great options for background and connective designs that help you create a continuous, flowing sleeve. For example, if your sleeve signifies how you’ve overcome obstacles, and your larger pieces include a shipwreck and mountain, you could then sketch out relevant motifs or patterns to connect these, such as gusts of wind or waves.
Collaborating with a Tattoo Artist

Look at several artists’ work to decide who you want to collaborate with. While you’ll determine a lot of the design elements and layout yourself, ultimately, your tattoo sleeve will be a collaboration between the artist you choose and yourself. Therefore, it can be very helpful to spend some time researching the artists in your area to see whose work aligns most with what you want. To find tattoo artists in your area, trying doing an internet search for studios nearby. Then, you can go to each studio or artist’s website to look at their work. Looking at an artist’s Instagram profile is also a great way to look into their past work and get a sense for their aesthetic.
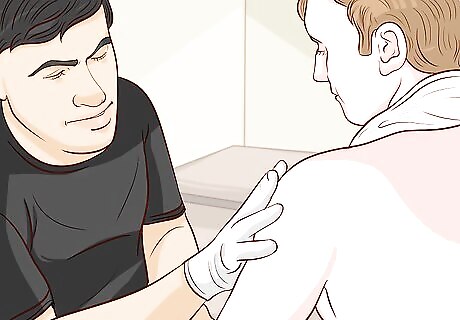
Meet with any potential artists first. Before choosing an artist to do your tattoo sleeve, it’s helpful to meet with 1 or 2 of the artists whose work you like. That way, you’ll be able to talk with the artist one-on-one, show them your designs, and make sure they understand and are able to execute your vision. Many tattoo artists will provide a free 1-hour consultation, during which you can discuss the sleeve design you’ve created and make sure you’re on the same page. During the first meeting with an artist, make sure that you speak up about any concerns you may have. Remember that tattoos are meant to last forever, so it’s important that you are 100% confident with an artist before moving forward. Bring pictures of tattoos you like to give your tattoo artist an idea of what you're going for.
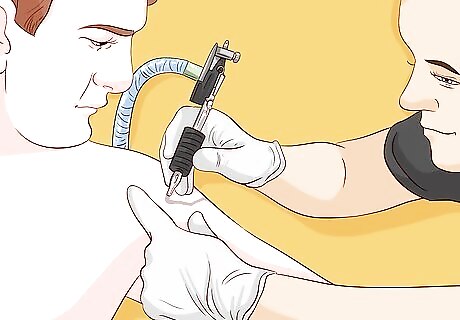
Work with your tattoo artist on finalizing the sleeve design. Once you pick an artist, start working with the artist to collaborate on the final sleeve design. Let them know why you’ve chosen each element of your design, and how you imagine the final product to look. Your artist will be able to work with the design you’ve given them and finalize the design for your sleeve based on what you tell them you want. If you have any existing tattoos on your arms, make sure the artist is aware of them so they know they’ll need to incorporate them into the final sleeve design.





Comments
0 comment