views
Clearing the Ice Off Your Car
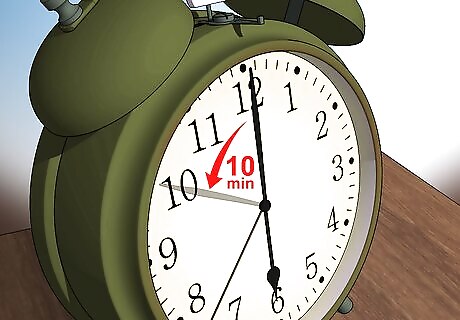
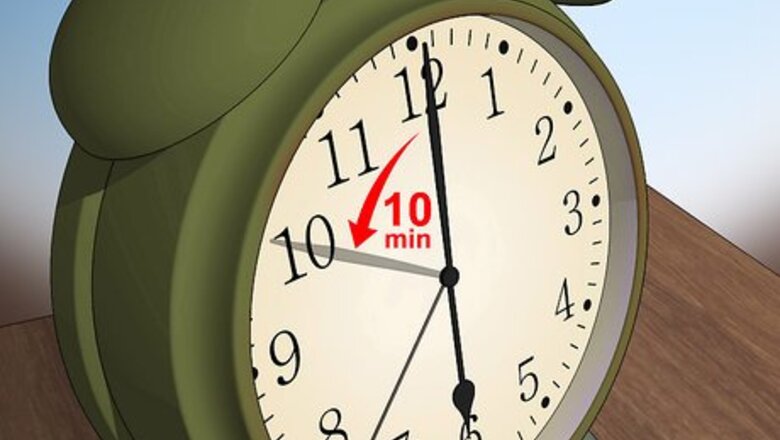
Give yourself time to work. Once winter rolls around, adjust your morning routine to allow time to de-ice. Start setting your alarm to go off at least ten minutes earlier than normal. This way you can do a thorough job without feeling rushed (and potentially botching the job!).
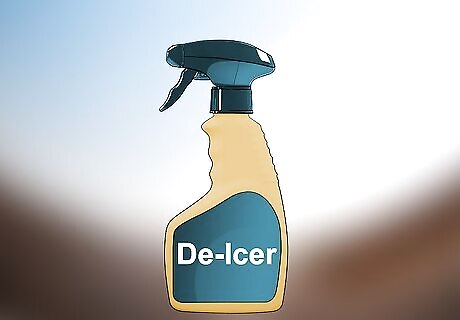
Keep formulated de-icer on hand. There are a couple of household ingredients that you can potentially use as a homemade substitute, but only use those as a last resort. For the best results, go with a product that was specifically designed to do the job without damaging your car in any way. Always stock up on some professionally-made de-icer before winter arrives. De-icer can be found online, at auto parts stores, and the automotive sections at stores like Walmart and Target. Be sure to keep one can of de-icer in your car just in case it ices over somewhere other than home.
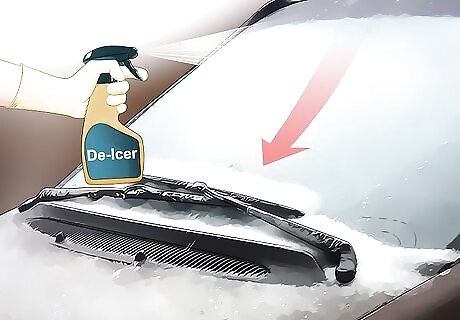
Spray windows from the top down. Give your windshield and other windows a generous spray of your de-icer. Start at the top and then work your way down to the bottom. This way the de-icer will start running down the windows, which means it will cover more ice without you having to waste more product.
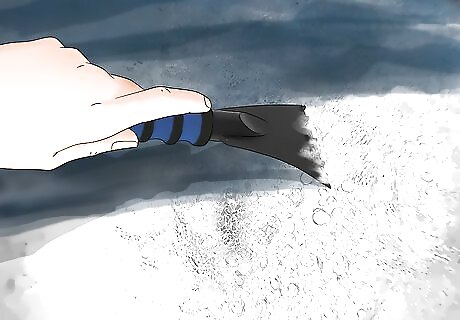
Scrape and brush off the ice. Definitely use an ice scraper for this, and not some other tool. Again, you want to protect your windows from damage, so use a tool that’s meant for this specific job. Apply plenty of pressure with each stroke, and scrape as far as you can reach in one long, continuous motion. Don’t chip away over one tiny area, because this could scratch the glass underneath. Use the scraper’s brush end (or a separate brush if it doesn’t have one) to clear the loose ice off the window. If the ice is being stubborn, spray it with more de-icer to loosen it up instead of hacking away at it. If your reach is short, choose a scraper with a nice long handle to extend it further.
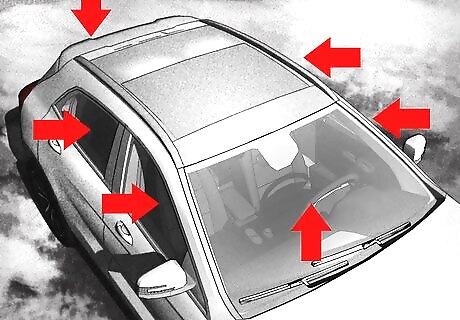
Clear all of the ice from each window. Once you’ve cleared the driver’s side, you may feel the urge to just leave the passenger-side of your windshield and all the other windows as they are if you’re in a rush. Fight that urge and take the time to remove all the ice. Keep in mind that local laws may require you to do this. Even if they don’t, take the time anyway. Don’t limit your field of vision when driving.
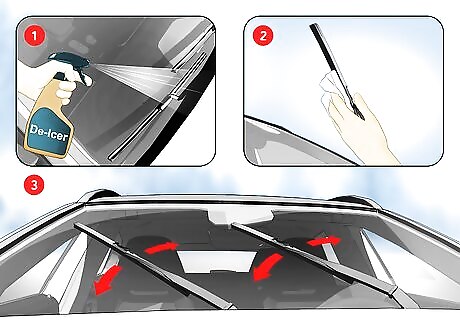
De-ice and test the windshield wipers. Now that all the ice has been cleared from the windshield, make sure the wipers haven’t frozen to them. Spray the wipers with de-icer if necessary so you can raise them. Then spray some de-icer into a cloth and rub it over the wipers’ blades. Set the wipers back down into place. When you start the car, turn them on to make sure they function normally.
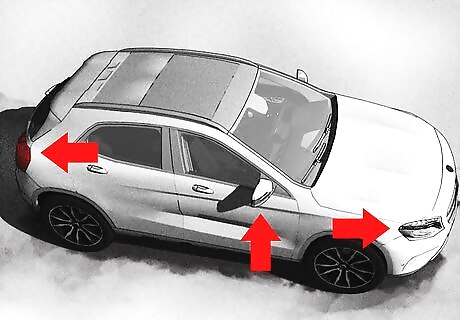
Check other areas. Your windows are the most obvious things that need to be cleared, but keep in mind local laws probably state that others need to be, too. Once the big job is done, scan your car to see if ice or snow is blocking anything else that needs to be uncovered. If needed, de-ice your: Tail and headlights Turn signals License plate(s)
Substituting Homemade De-Icers
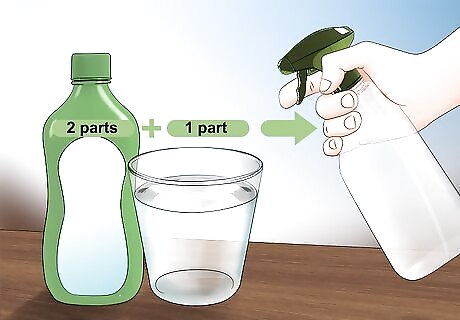
Make an alcohol solution. If you find yourself without any professionally-made de-icers handy, go with rubbing alcohol, which is arguably the most effective substitute (and risk-free as far as damaging your car goes). Mix one part water with two parts alcohol, fill a spray bottle with that, and use it just like you would with a store-bought spray can. If you’re really in a pinch, you can also mix the same ratio of water with hard liquor instead.
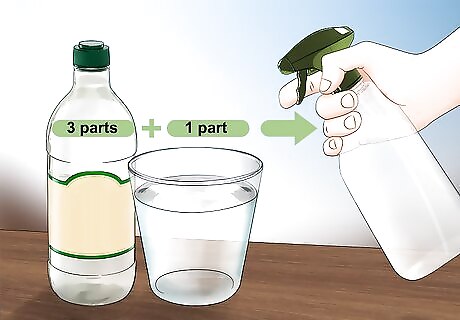
Make a vinegar mix if necessary. If you don’t have any alcohol on hand, try distilled white vinegar instead. Combine one part water with three parts vinegar. Then fill your spray bottle and go to work on that ice. Just be aware that: This solution may not be as effective as the alcohol. It could require more elbow grease and repeated applications. Vinegar can potentially damage the glass, as well as your car’s paint if they come into contact.
Run your wipers afterward. Once you get the ice off, try to remove as much of your homemade solution as possible. Start your car and give your windshield a squirt of wiper fluid. Then run the wipers to remove both that and the solution so it doesn’t linger and potentially ruin the glass.
Making the Job Easier
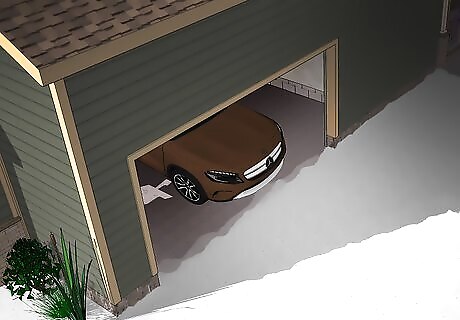
Park in the garage if you have one. Obviously, the best way to make your job easier is to get rid of the need for it. If you have a garage, use it! Even though the garage probably gets pretty cold at night, your car will be exposed to far less moisture in there, so ice shouldn’t accumulate.
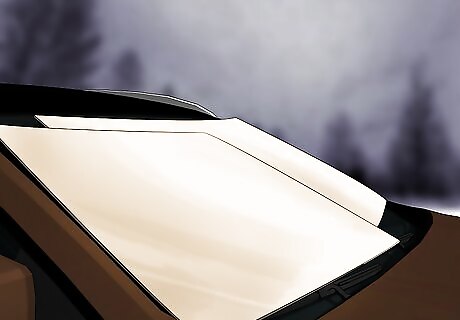
Cover your windows at night. If you don’t have a garage, don’t worry. Prevent ice from building up on your windows by blocking them from the elements. Use a car cover, tarps, towels, or even cardboard as a barrier between the glass and moisture.
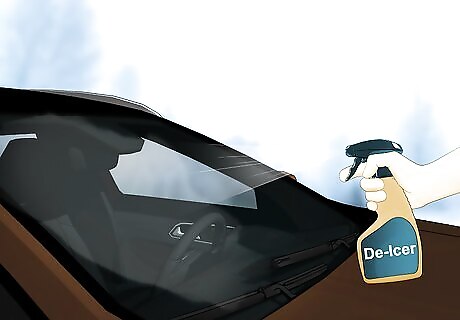
Give the windows a preemptive spray of de-icer. If it’s pretty much guaranteed that your car is going to be iced over in the morning, give it a preventive treatment the night before. Spray the windows with your de-icer. Melt the ice as soon as it accumulates without having to get out of your warm cozy bed.
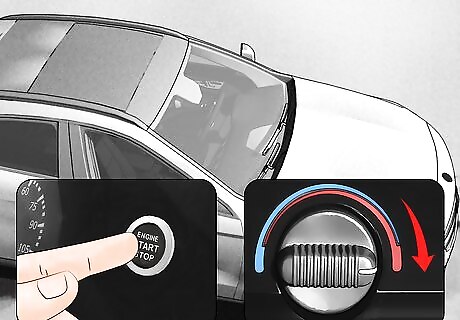
Heat the car while you work. This can be a waste of fuel and money (not to mention causing more air pollution), so don’t make a habit of this. But if you’re short on time, start the car and turn the heat on. Warm the glass up from the inside while you work on the outside.




Comments
0 comment