views
Performing a Basic Cleaning
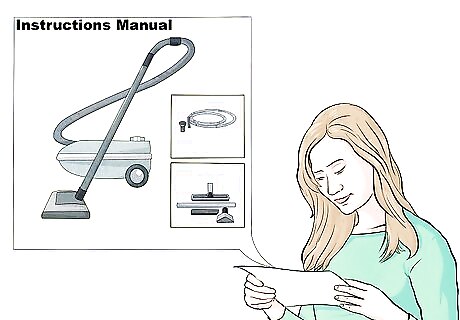
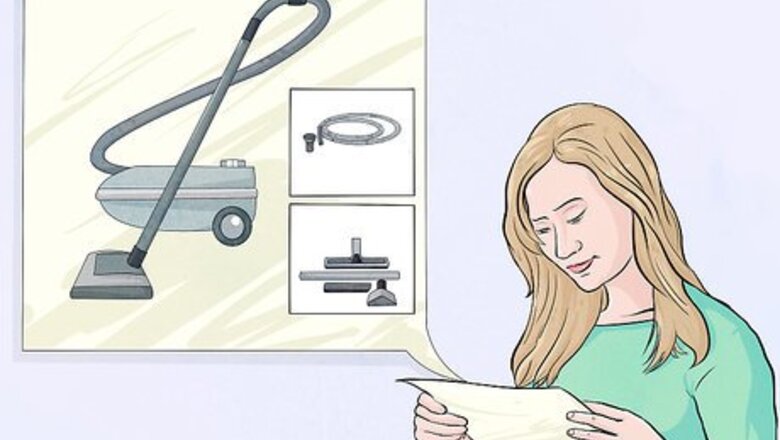
Read the vacuum’s instructions. There is a lot of variability between vacuums. Before cleaning yours, read the instructions for directions on how to break apart and clean your vacuum.
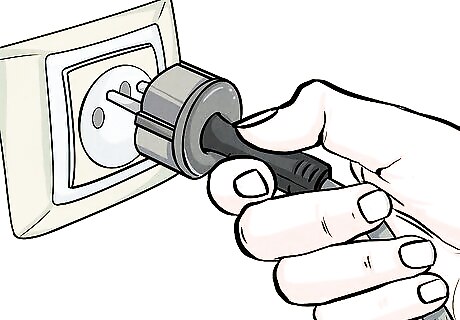
Unplug the vacuum. It can be hazardous to apply water to the vacuum when it is plugged in. None of these steps should be executed while the vacuum is plugged into an outlet, even if it is turned off.
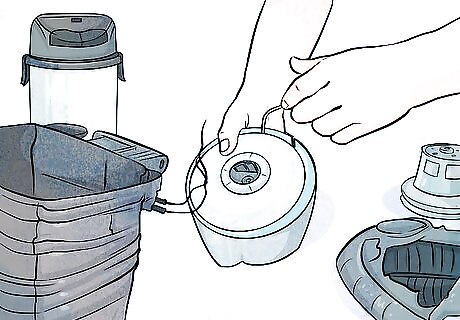
Take apart the vacuum cleaner. You will need to be able to reach around all the insides of the vacuum to clean it up. Remove the canister and take the filter out. Break down any moving parts that can be deconstructed.
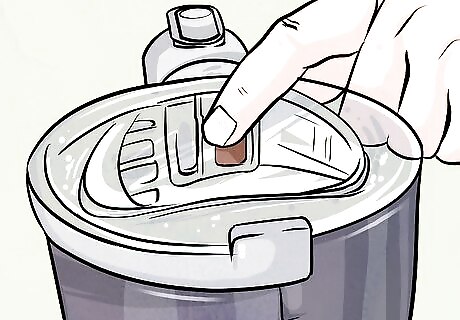
Empty the canister. Open the canister and drop the insides into a garbage bag. Consider performing this outside or in the garage to avoid spreading dust or dirt around your house. You might need to shake the canister to help jostle some of the dirt out of it.
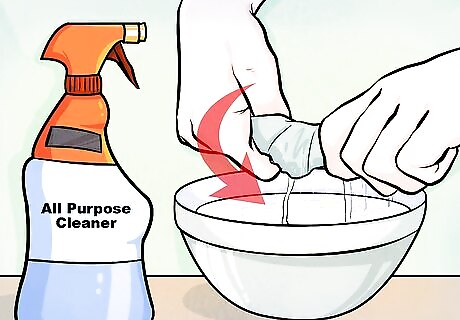
Wet a cloth. Wet a microfiber cloth. Apply a little bit of all-purpose cleaner or vinegar mix to the cloth. Squeeze the cloth to remove all excess moisture.
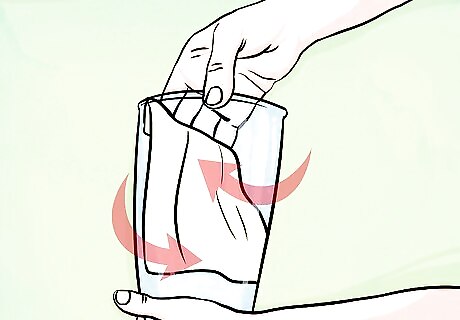
Wipe down the vacuum. Use the cloth to rub down the outside and the inside of the canister. Wipe down all parts of the vacuum that are accessible, including the cord and the outside of the hose. Do not, however, apply moisture to the plug itself or any other electrified components.
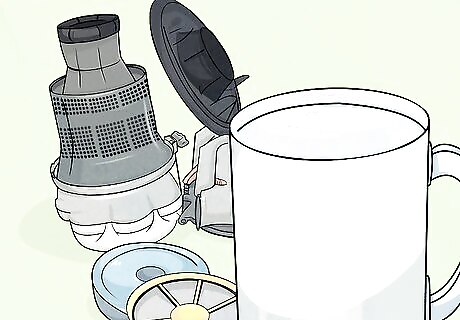
Wash the filter. The filter is generally at the top of the canister and is one of the most important parts of the vacuum. Remove it from the canister and run cold water over it. Do not use soap. Let water run through it until no more dirt or grime is coming off.
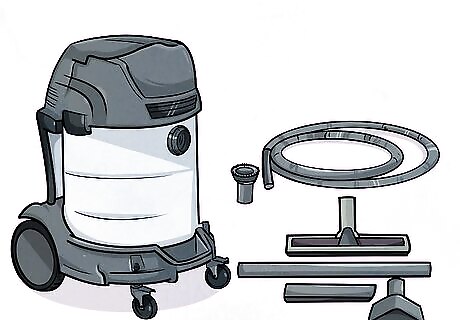
Allow everything to dry in a warm spot for a day. It is particularly important that you not reinsert components of the canister, like the filter, until they have dried. Putting moist objects in a confined space can encourage the growth of bacteria. Leave the vacuum out in the sun, if possible.
Cleaning the Beater Bar
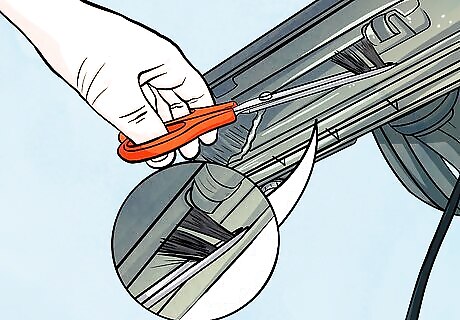
Cut hair out of the beater bar. The beater bar, the bottom part of the vacuum where dirt is sucked in, often accumulates dirt and hair. Use scissors to cut and remove any hair that is stuck in the bristles. This part in the process can be particularly unsanitary. Consider wearing disposable gloves.
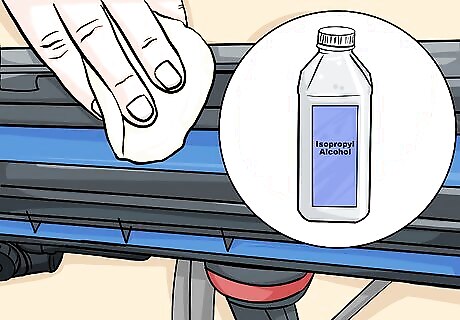
Disinfect the beater bar. Apply rubbing alcohol to a cotton swab. Then rub the cotton swab over the beater bar to disinfect it. Rub the cotton swab over other parts of the vacuum that come into contact with the floor. These areas are particularly susceptible to picking up dirt and disease because they are constantly coming into contact with dirtiest parts of your house. Try to avoid spreading alcohol on rubber pieces of the vacuum.
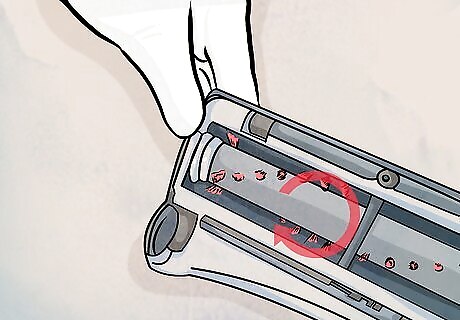
Spin the beater bar and continue disinfecting. For most models, you will need to use your hands to spin the beater bar around so that you can disinfect all sides of it. Some models will allow you to detach the beater ball, which will make it easier to reach all sides. Read instructions to see if your beater ball can be removed. It will make the process easier.
Cleaning the Hose
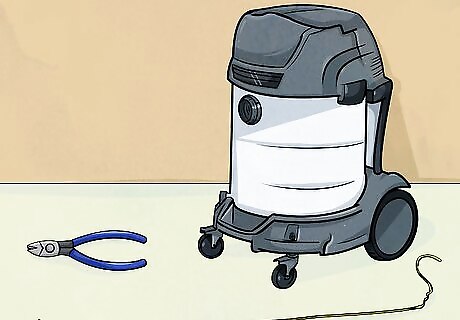
Use a wire hanger to remove clogs. Straighten out a wire hanger leaving only a slight curve at the end. Insert it into the hose and use the curved end to scoop out any clumps of dirt that are clogging up the hose. Be careful not to poke at the hose itself; you do not want to poke a hole in it.
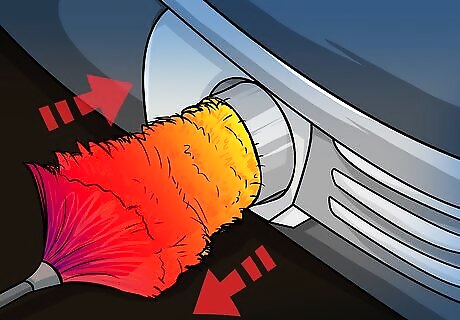
Dust the inside of the hose. Wrap a broom or mop handle in dryer sheets. Use duct tape to firmly attach the dryer sheets to the stick. Put the stick inside the hose and maneuver it so that the dryer sheets rub gently against the hose, picking up dust. Be gentle, so as to not break the hose.
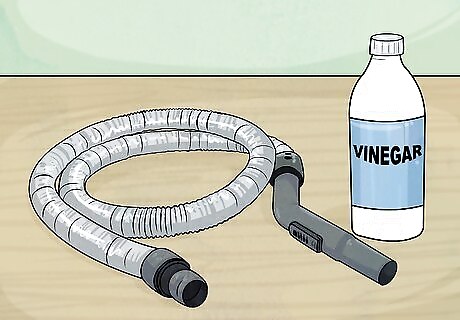
Sanitize the hose with a vinegar solution. Tape paper towels to the end of a broom or mop handle. Wet the paper towels and apply a vinegar solution to them. Rub the inside of the hose with the paper towels to kill germs and reduce odor. For the vinegar solution mix one part vinegar to two parts water.
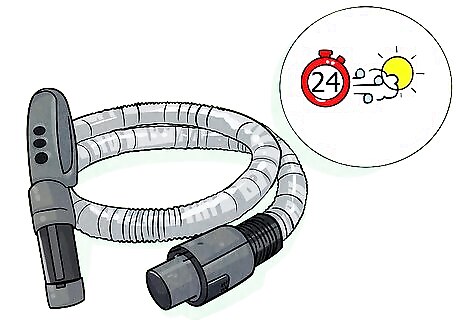
Allow the hose to dry for a day. Again, it is important that moisture does not get trapped in the canister. If you have sanitized the hose, allow it to sit in a warm spot for 24 hours to dry.


Comments
0 comment