views
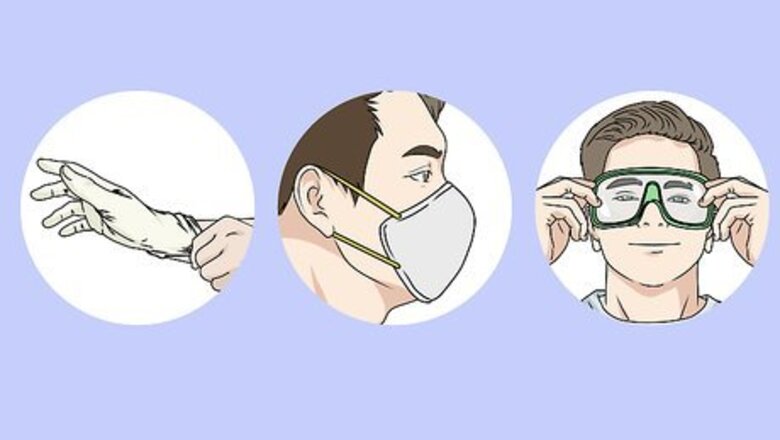
- Every form of 3D printing resin can be toxic, and you must wear nitrile gloves, a face mask, and eye goggles if you’re going to change the FEP film out on your own.
- To change the film, remove the vat on your printer, pour the resin into a container, scrape the residual resin off with a plastic scraper, and then use a screwdriver to unlock the vat housing.
- Clean the vat with isopropyl alcohol and rinse it off before replacing the film, but dispose of the old film, resin, and alcohol by soaking by placing them in an airtight trash bag.
- You can tell your FEP film needs to be replaced if it is visibly bumpy, dented, or deformed and your 3D prints are coming out with scratches or damage.
- You do not necessarily need to change the FEP film if it only has some minor blemishes and your prints are seemingly unaffected.
Disassembling the Resin Tank

Put on gloves, a mask, and eye protection. Since you’ll be in contact with the resin during the film-changing process, it’s important to cover up your skin. Put on latex or nitrile gloves, a construction mask, and some clear eyeglasses or goggles. Resin can cause skin or eye irritation if it sits on your skin for too long.
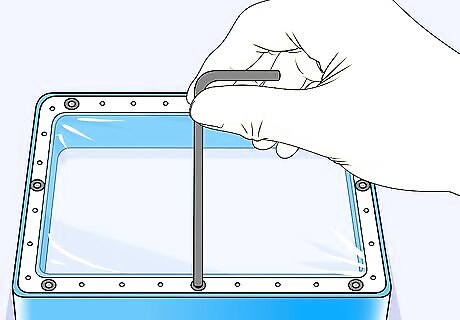
Loosen the 8 screws on the resin tank with an Allen wrench. Flip over your resin tank and look for the darker-colored screws. Use your Allen wrench to unscrew each one and put them aside to use later. Try not to lose any screws, as you’ll need them to put your resin tank back together. You can find Allen wrenches at most hardware stores.
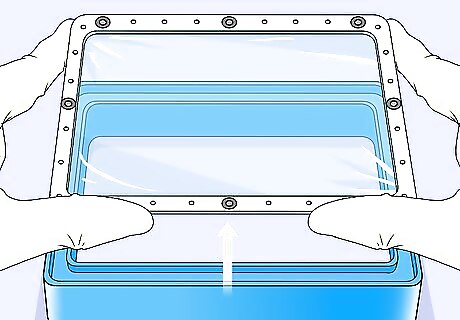
Take the metal plate off the bottom of the resin tank. Once you unscrew all of the Allen wrench screws, you can gently pull the metal plates away from the plastic body of the resin tank. Set the plastic part of the resin tank aside to work with later.
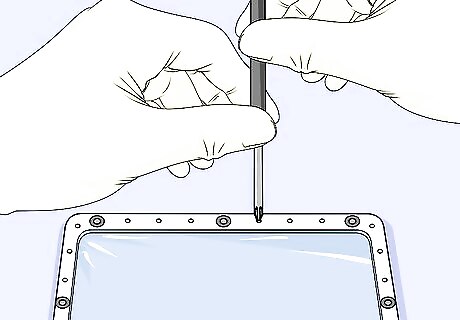
Use a screwdriver to remove all of the other screws. Grab a Philips-head screwdriver and unscrew the screws that are holding the 2 metal frames together. Keep all of the screws in a safe place where you won’t lose them so you can use them to reassemble the resin tank. There are usually 10 to 12 screws holding together the metal plates.
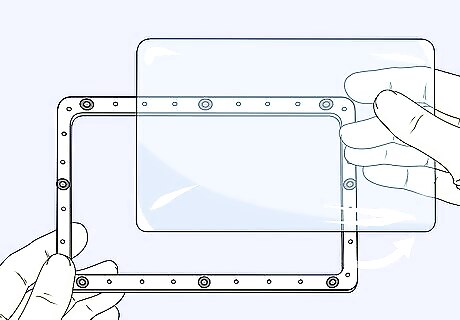
Pop out the old FEP film. Take the top metal frame off and then gently pull the FEP film away from the bottom frame. You can throw away the old FEP film since you won’t need it anymore. Make sure you wear gloves when you come into contact with the FEP film because it could still have some resin on it.
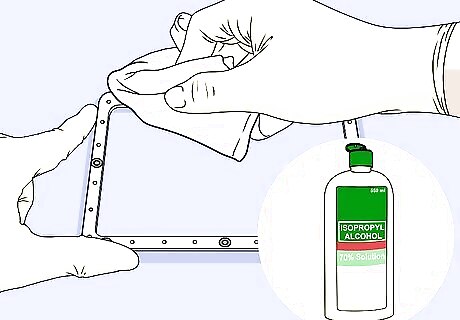
Clean your resin tank with isopropyl alcohol. Since your resin tank is deconstructed, it’s a great time to get rid of any residual resin. Dab a clean towel in isopropyl alcohol and run it along the metal frame and the inside of the plastic body of the resin tank to clean it off.Tip: If there is any dried resin stuck to the tank, take a box cutter and carefully scrape it off. Make sure you always cut away from yourself to avoid any injuries.
Adding New FEP Film
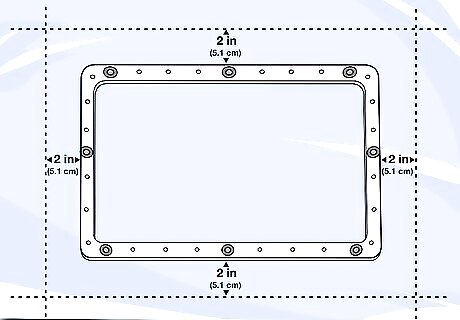
Cut your new FEP film to be 2 in (5.1 cm) larger than the resin tank. Use scissors to cut your new sheet of FEP film about 2 inches (5.1 cm) wider and taller than the metal frame it’s going to sit in. Your measurements don’t have to be exact, but you need to leave some excess on the outside so you can cut it down later. You can buy new FEP films online. As long as it is labeled “FEP film,” it is the right film for your resin tank. If you have a paper cutter, use that instead of scissors to make perfectly straight lines in your new film.
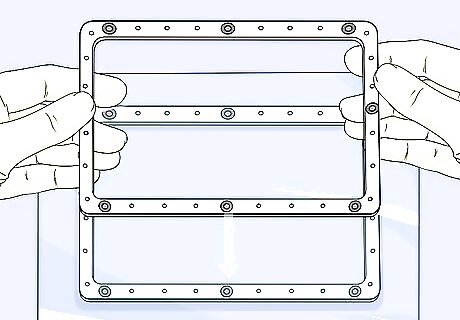
Sandwich your new FEP film in between the 2 metal resin tank pieces. Make sure the new film is mostly centered between the 2 plates. Adjust the film now if you need to, since you won’t be able to later on. Line up the screw holes on the metal plates to make sure they are situated correctly.
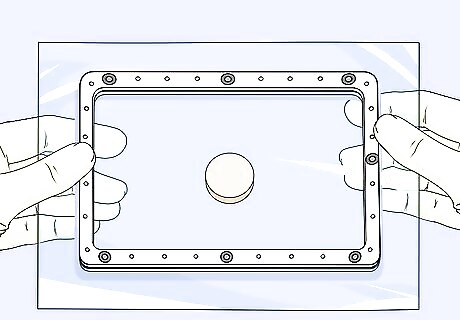
Place your film and the metal frames on top of a bottle cap. Put a bottle cap down on a flat surface, like a table. Center your metal frames with the film sandwiched between them over the bottle cap so that they are propped up on the table.Alternative: If you don’t have a bottle cap, you can use another small object that stands 8 millimetres (0.31 in) tall, like a block of wood or a lid to a glass jar. The bottle cap creates a bulge in the FEP film so that it is pulled taut while you are connecting the metal frames.
Reassembling the Resin Tank
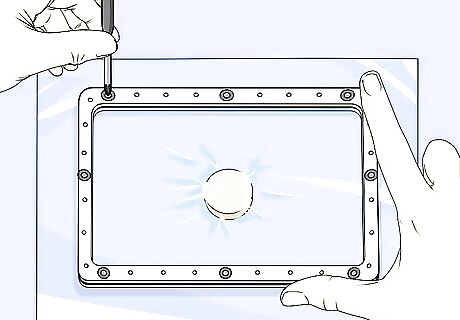
Put the screws back into the metal pieces with a screwdriver. Gather up the screws that you took out with the screwdriver, not the Allen wrench. Use them to connect the 2 metal frames back together by lining up their screw holes and then using the screws to connect them. You may need to use a little bit of force since you will be pushing the screws through the new piece of FEP film. Make sure the film stays taut and even while you attach the screws.
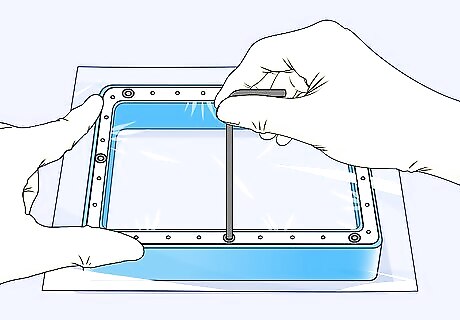
Reattach the metal frame to the resin tank with the Allen wrench. Lift the metal frames off the bottle cap and then place them onto the bottom of the resin tank. Use your Allen wrench to put the screws back in so your resin tank is reassembled.
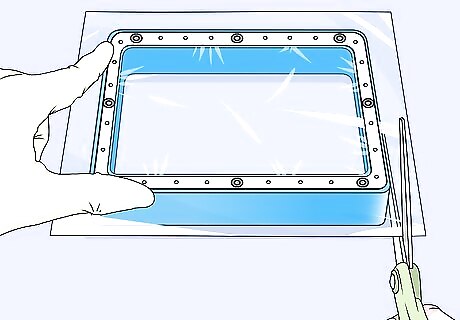
Cut away the excess FEP film with a box cutter. Hold the edges of the excess FEP film in one hand and use a box cutter to slice them off. Cut the film as close to the metal pieces as you can so that nothing is sticking out.Tip: You should replace your FEP film any time it becomes bent or deformed to keep your resin tank in proper working order. You can now put your resin tank back into whatever machine you were working with.
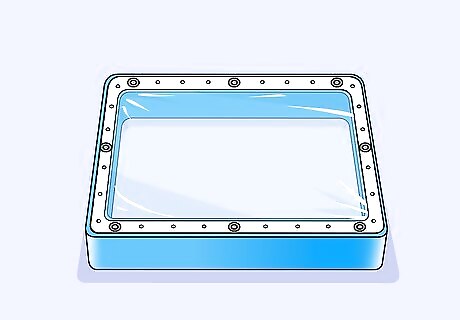
Finished.


Comments
0 comment