
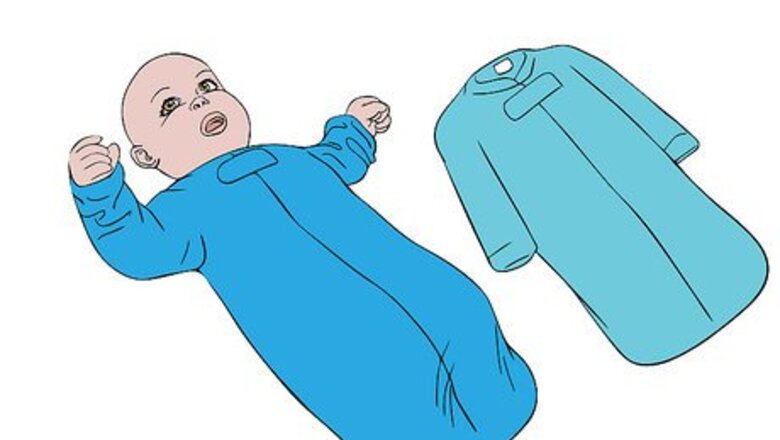
Placing Baby's Arms Through the Armholes
Determine a place to change the sleep sack. Find a safe and sturdy, firm but padded changing surface to use for the sleep sack change, if one is available. If not, you can change your child on the floor. Things that can be used include items you'd typically use to change their diaper, such as wipes, that can also be used for their sleep sack changes.
Gather all the items you'll need and lay them down on the changing surface. You'll need at least the child, their new sleep sack, and any other clothes that may also be needed for the changing time. (This will differ depending on the situation.) Ensure that the child can lie down and not roll off or hurt themselves.
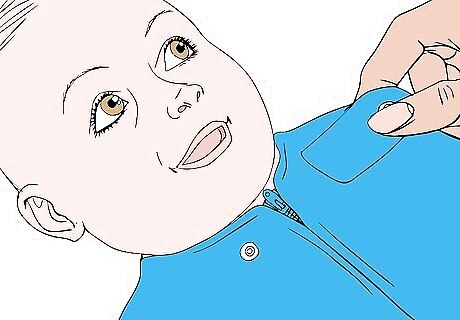
Open the zipper tab flap. This zipper flap should currently cover the child's zipper (if one is included).
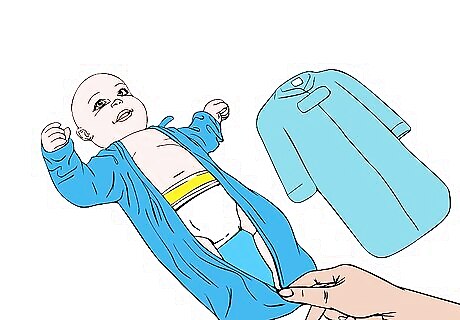
Open the garment, using the zipper. Most sleep sacks zip from top to bottom, but some are bottom to top, so it may differ on where you will find the zipper.

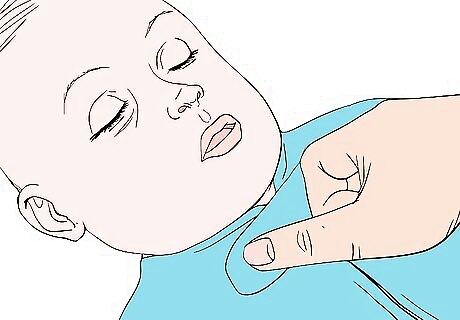
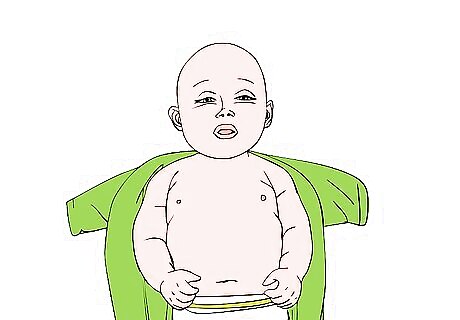
Reach down into their sleep sacks for either of their hands. You'll find them in the arm slots.

Pull their arm gently, using a firm but gentle, almost rocking inward motion toward their face and body.
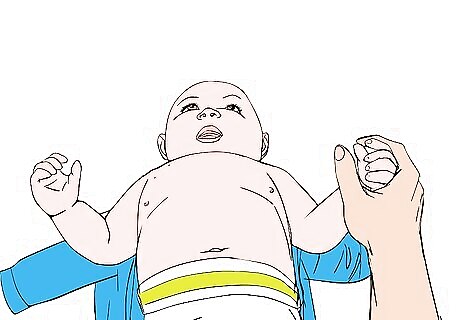
Remove the other arm. Repeat the same process.
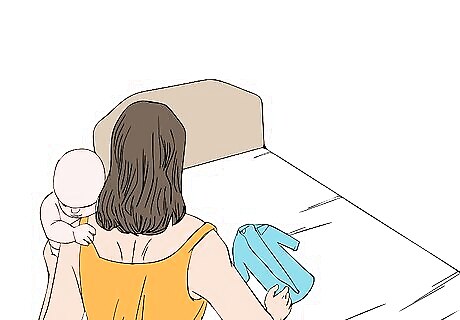
Grab your baby for a moment. You will need to switch sleep sacks, and due to their overall style, you need to grab and hold the baby for a moment or two. Make any other clothing adjustments that may be necessary. Change their diaper, if necessary.
Switch the sleep sacks on the changing surface. Most parents hold their baby on their shoulder - as if to burp them, but use whatever works for you. Keep the zippers to the garment-facing in the same direction, completely open, to make for a fuss-free and super-easy change. Unzip the zipper to the new garment and place this one in approximately the same position as the old one was, flat open with the neck area above the base.

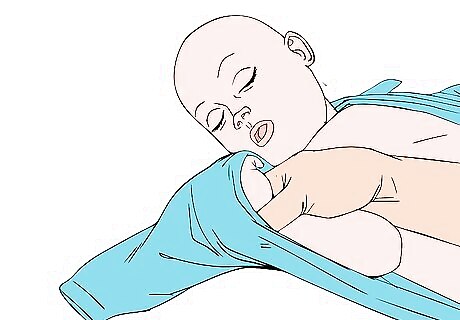
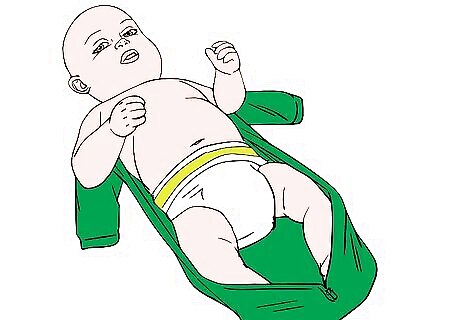
Place the baby back down onto this new sleep sack. Ensure the back of their neck lies within the neckline of the garment and that their hands lie in what will shortly be inside the garment's arms. Keep only their feet lying inside the sleep sack.
Put the baby's arms into their sleeves. Grab each of your baby's arms and put them into their sleeves. If it has attached mittens, you may want to re-cover them in these, while having your kids make a relaxed fit as it enters the mitten.
Zipper the garment. Some zip up, others zip down; it all depends on the direction of the garment's zipper.
Close the zipper tab-flap if customized with one. Most snap shut with snap closures, others with velcro, rarely with a button. The zipper-tab flap won't allow your baby to play with their zipper if their nimble fingers get close enough to the zipper.
Placing Your Baby's Arms At their Side and Into the Sleep Sack
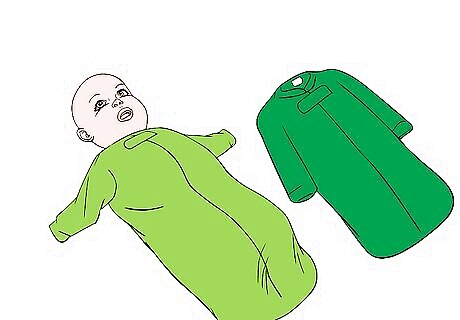
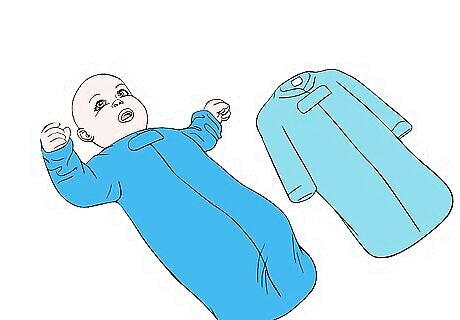
Gather all the items you'll need. Lay the child down onto the surface, along with a new sleep sack nearby. Ultimately, it's the child and their new sleep sack; however, you may need other clothing like a new diaper or other accessories.
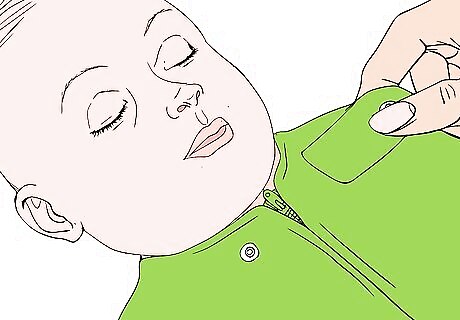
Open up the zipper tab flap on the baby's used sleep sack.
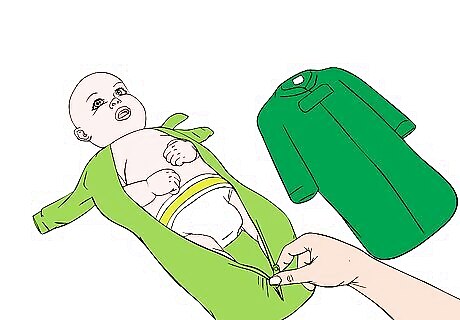
Zip the garment to open it up. Most sleep sacks zip from top to bottom, but some are bottom to top, so it may differ on where you will find the zipper. Work quickly, because once unzipped, the baby will be getting cold without clothes.

Flare back each side of the sleep sack. Start with the baby's zipper and move towards their shoulders. However, this step is easily missed and these babies get small rub rashes on their exposed spots. With this version, their hands will be easily uncovered, and you won't have to worry about much of the hassle with removing hands.
Pick up the child from the sleep sack and bring them up to your shoulder for a few seconds so you can switch their sleep sacks.

Switch the sleep sacks on the changing surface. Most parents hold their baby on their shoulder - as if to burp them, but that's your choice. Make for a fuss-free change, and keep the zippers facing in the same direction, completely open. Again, ensure the necklines are in the same direction and spread out. Make sure the shoulder edges of the sleep sack are flared, with the zipper section readied last.
Put the baby back into this sleep sack. Match the sleep sack's neck with the baby's neck as you place them back down on it. With this version, you won't have to worry as much about the armholes as you would have had you been using the above method.
Use your hands to keep your baby's arms inside the sleep sack. Hold your hands on your baby's arms (at least one hand holding their arm is necessary) to ensure your baby's arms are kept inside their sleep sack.

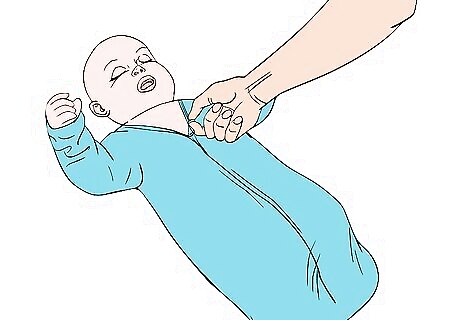
Zip the garment up. Be careful, as the baby's hands are closer with this version and are easier to get caught because of their size, especially when it zips up. As it is zippered, move the location of your arms and keep your eyes on the other arm so that your little fingers don't get in the way as the sleep sack is being re-zipped. Instead, it may be easier to drape your left hand over their left arm onto their right shoulder, blocking the arms from impeding the zip, yet not enough to avoid zipping up the garment with your right hand. This should be done as a safety measure, not enough to do anything to endanger your child.

Remove your arm from your baby's shoulder. Do this when the zipper is at least 6 inches above the height of the tips of their hands, and the zipper can easily slide up.

Continue zipping until the zipper stops. Unless you're concerned the garment may open up, there's little need to worry about the snap tab with little hands inside. However, for consistency and comfort, you may choose to close the zipper's snap tab.


Comments
0 comment