views
- This is kind of a tall order for a DIY project if you don’t have experience with various power saws, planers, routers, and sanders.
- It really cannot be understated how important it is to take precise measurements when you’re cutting the casings yourself, since the individual boards must sit perfectly flush.
- Start by cutting the sill and fitting that in the window frame, since the sides of the window will all rest on top of that; the head board can go on last to cover the seam between the sides and the top of the window.
- Fill the nail holes and gaps with wood putty and sand the boards with 180- to 220-grit sandpaper before sanding, priming, and painting the casing.
- If you’re going for a more natural look, you can use a varnish to seal the wood and protect it, but unsealed wood may warp dramatically over time.
Cutting the Window Sill
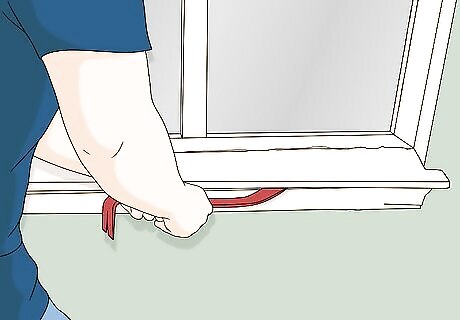
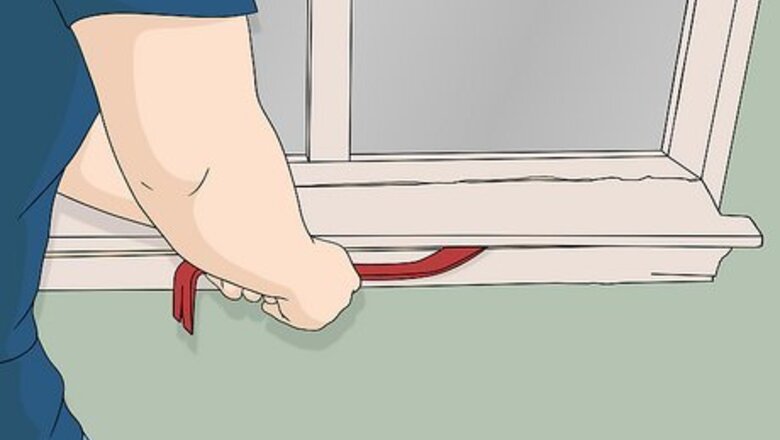
Remove any existing trim. If you’re redoing a window that already has trim installed, you’ll need to get rid of the old before you can put in the new. Use a utility knife to score the caulk lines around the edges of the window trim, including the top piece, sill, and apron. As you cut, pull up on the window sill, since you'll likely need to cut through multiple layers of caulk and paint. Then, pry up the old casing with a crowbar or the claw end of a hammer. Cut and pry carefully to avoid damaging the window jambs or any part of the surrounding wall. Spread out your force by placing a piece of wood under your pry bar. This will lower the risk of damaging the surrounding surfaces. If you’re starting from scratch with a blank drywall window opening, you can get straight to measuring and cutting your new casing.

Measure the window opening. Stretch your tape measure along the top, bottom, and both sides of the window. Next, find the depth from the front edge of the opening to the bottom sash. Write these numbers down on a notepad and keep it handy—you’ll be referring to them frequently later on. Rather than simply recording the length and width of the opening, make sure you measure each side separately. There may be small discrepancies in the dimensions of the opening. Round off to the nearest ⅛” (.32cm) to give yourself a little room for error.
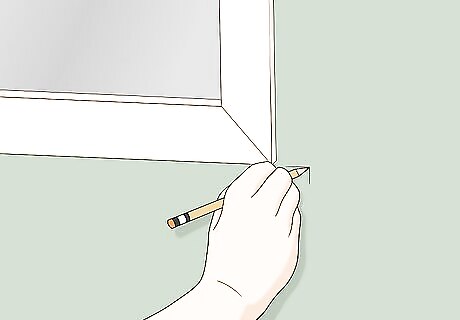
Mark the desired length of the sill. The sill can reach as far as you like beyond the edges of the window—in most homes, the sill is 2-3” (5-7.6cm) longer than the window itself on either side. Once you’ve decided how far the sill should extend on either side, double this measurement and add it to the length of the window opening. For example, if you’re adding trim to a window that’s 28” (71cm) wide and you want the sill to come out 3” (7.6cm) on either side, the total length of the sill piece will be 34” (86cm). A sill that’s slightly wider than the window opening will create the appearance of support across the bottom.
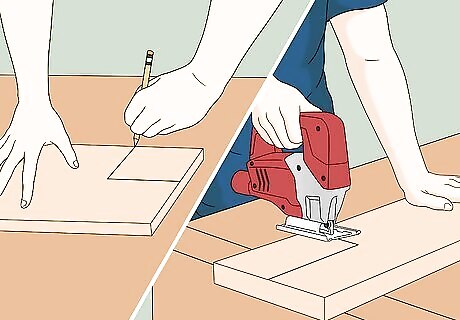
Cut and notch the sill piece. Take a piece of MDF board and saw it to the length you just chose for the sill. Then, use a pencil and straightedge to trace two lines on either end of the board—one for the distance that the sill will extend beyond the window (3” or 7.6cm, in the above example) and the other for the depth of the window opening. Cut along these lines with a jigsaw. To avoid mistakes, make each cut individually, stopping the saw and repositioning the board after each line.

Check that the sill is properly fit. Put your sill in the window, then use a rubber mallet to tap it into place. Make sure it fits all the way. If it doesn't, remove the sill and make more notches. Test the fit again before nailing the sill into place. You may need to do this several times. Don't rush, since you want a good fit.
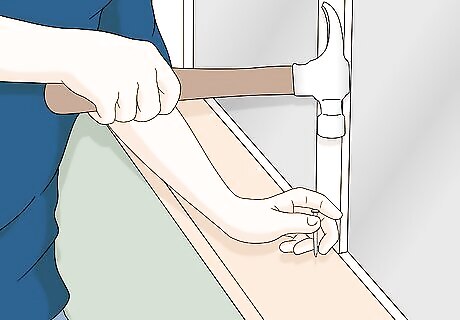
Nail the sill into place. Slide the notched sill piece into the bottom of the window opening, making sure it sits flush against the stool (the flat piece of wood embedded just below the window). Secure the sill using 6d finishing nails, driving them about six inches apart. Recess the nails into the wood using a nail set. This will make the nail holes easier to fill and paint later. A nail gun can save you a lot of time in the long run compared to a traditional hammer.
Installing the Head Casing

Determine a length for the head casing. The simplest way to find out exactly how long your top piece needs to be is to subtract 2” (5cm) from the sill length. That way, you can ensure that the rest of the trim will be proportional to the sill. A window that’s 28" (71cm) wide might therefore have a head casing that’s between 30-33” long. It’s common for the upper casing to be about an inch (roughly 2.5cm) shorter than the sill on either side. If you’re using the same casing for the top and sides of the window, the distance that the top piece extends on either side should be equal to the width of the trim.
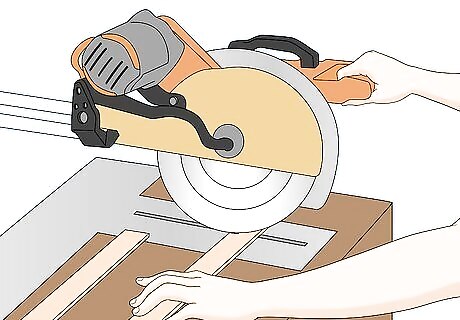
Cut the head casing. Draw a line with a pencil to indicate the appropriate length of the top piece. Make a perpendicular cut straight across the casing. Mark the length of the top piece from the end of the casing to save yourself an unnecessary cut.
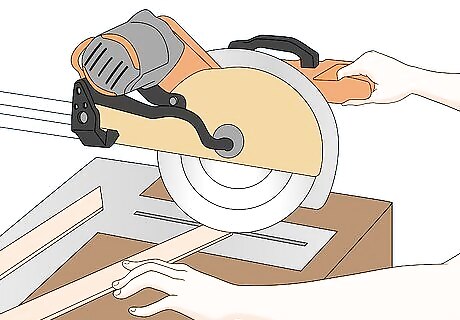
Use a miter saw to cut sloped casing. For windows with a uniform trim on the top and sides, you’ll need to cut the edges of the top piece at a 45 degree angle. This can be accomplished using a miter saw. Cut the casing one one side, then turn it over and make a second cut in the opposite direction. Before you cut your sloped casing, mark your window measurements on your trim piece. Then, cut your 45 degree angle moving away from the measurement lines on both sides of your trim. The shorter part of your head casing piece needs to match your window measurement. The edges of the finished top piece should now fit together perfectly with those of the side casing. If you don’t have access to a miter saw, you can also use a miter box and a normal handsaw to achieve a precise angle.

Nail down the head casing. Rather than aligning the top piece flush with the upper edge of the window opening, raise it up by ⅛” (.32cm) to leave a subtle reveal line. Fasten the head casing using finishing nails, remembering to space them out every few inches across the length of the board. Use a level to confirm that the top piece is even before nailing it down. The reveal line will lend the appearance of added depth to the finished window. If your side and head cases look a little misaligned, you can fix this with a long finish nail. Drive the long finish nail into the top of the side casing and into the head casing, which should straighten them.
Fitting the Side Casings
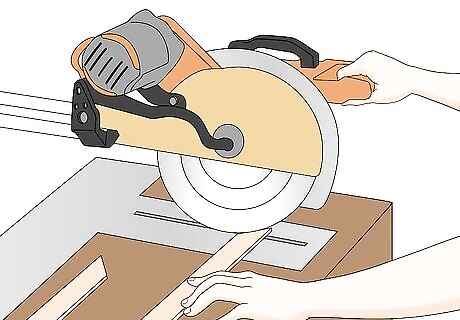
Cut two pieces of casing for the sides. Refer to the measurements you took earlier for the window’s vertical edges. For linear trim, cut the side casings straight across so that they can be installed right between the head casing and sill. For angled trim, use a miter saw to cut one end of each piece at a 45 degree angle. Be sure to mirror the cuts on each piece so that they’ll fit together with the head casing.
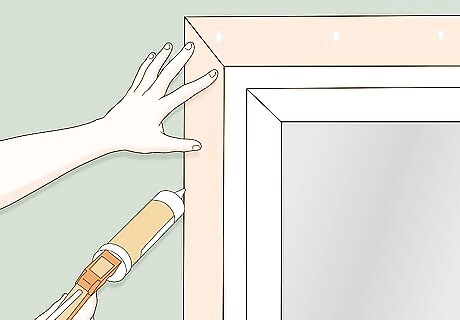
Glue the side casing into place. Stand one end of the trim on the sill and line up the other end with the bottom of the head casing. Make sure the piece is even with the jamb—there should be no reveal or overlap. When you’re satisfied that they fit together properly, squeeze a small amount of wood glue onto the backside of the trim and press it into place. Perform a couple mock-ups before you secure the casing permanently. If possible, have someone else hold the trim so you can inspect it from a distance. A little adhesive will help hold the trim in place while you fasten it.

Nail down the casing. Drive the nails 4-6” (10-15cm) apart down the length of the trim. When you’re done, repeat on the opposite side. To make mitered casings extra secure, fasten them together from the outer edge at the point where they intersect.
Finishing the Window
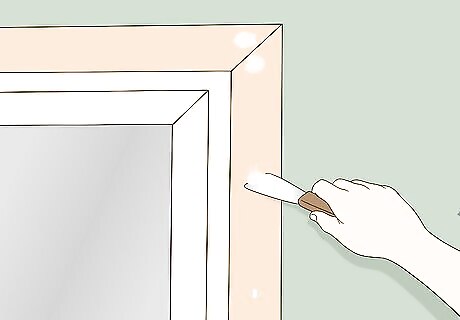
Fill all nail holes. Scrape a small amount of wood putty into each hole. Use a putty knife or trowel to smooth the wood filler over the nail hole as best you can. Once it’s had time to dry, sand the putty with a high-grit sandpaper or sanding block to finish blending it. Most wood fillers will take between 15 minutes and an hour to dry completely, depending on the depth and number of holes.
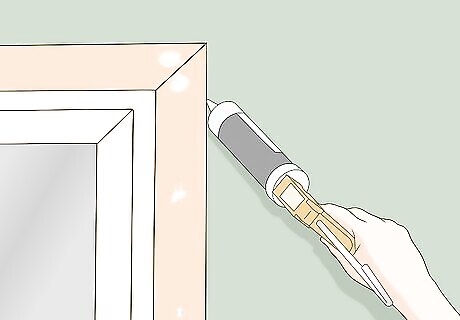
Caulk around the edges of the casing. If necessary, run the tip of the caulk gun between the new casing and the wall to fill in any remaining gaps. Do the same in the lines where the trim meets, around the sill and anywhere else you find open crevices. As long as you’ve measured, cut and nailed the casing carefully, there should be no need to caulk.
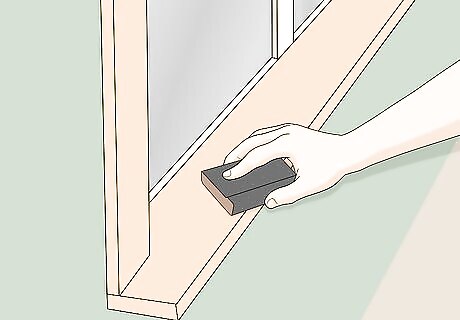
Sand inside the window jamb. Run a sheet of high-grit sandpaper over the inner edges of the new casing and the exposed drywall around the opening. After this area has been smoothed and painted, the new casing will run seamlessly into the window jamb. Use just enough force to wear down swelling, splinters, and other inconsistencies and prepare the materials to accept paint. If you caulked around the new trim, cut or fold the sandpaper into a small strip and go over it until it’s no longer visible.
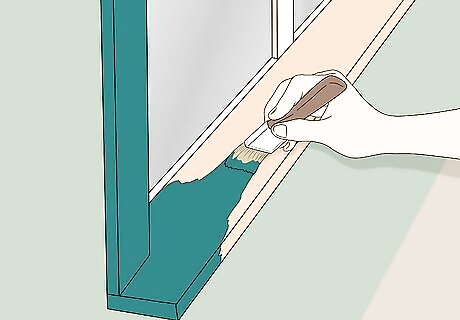
Prime and paint the casing. Brush on a single coat of primer and allow it to dry overnight. Follow up with 2-3 coats of interior acrylic paint, letting each coat dry to the touch before applying the next, until you reach the desired coverage and depth of color. When you’re done, you’ll have a beautifully accented window to show for your efforts! Use painter’s tape to mask the surrounding wall and avoid stray drips and streaks. Choose a shade that matches the rest of the trim throughout your home. Be prepared to give each coat of paint 4-6 hours of drying time before reapplying.


Comments
0 comment