views
Note: There are no joysticks made specifically for Mac OSX, and they generally do not run well on recent Macs. There may be variations in set up and calibration dependent on the model and age of the joystick. These steps apply most readily to Microsoft Windows 7.
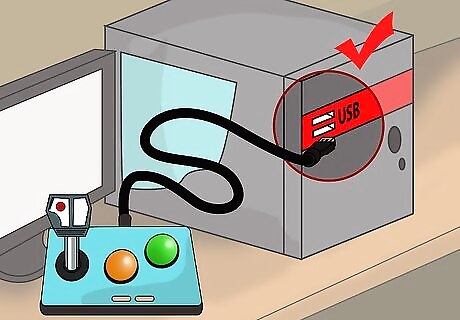
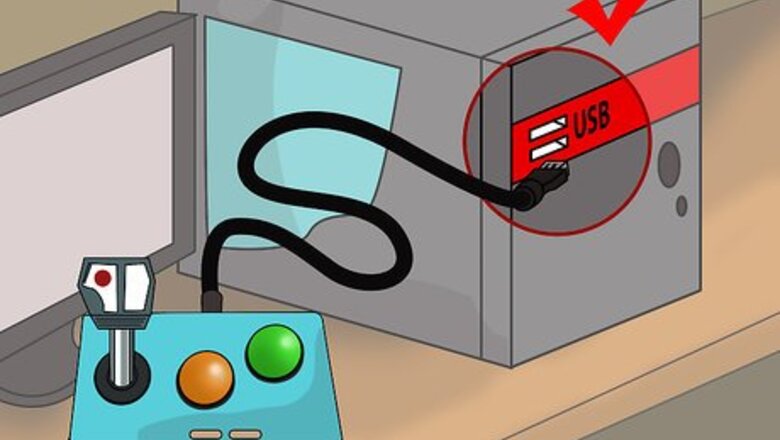
Make sure your joystick is correctly plugged into the computer and turned on (if wireless).
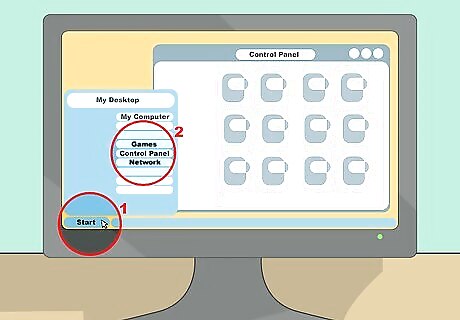
Open the Control Panel. Note: The navigation path to this control may differ depending on how your version of Windows is customized; however, the Control Panel can generally be found through the Start Menu or under My Computer.
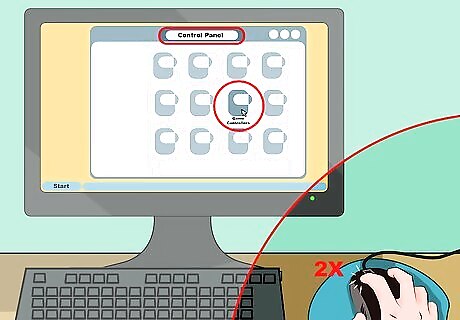
Double click the Game Controllers link, or equivalent.
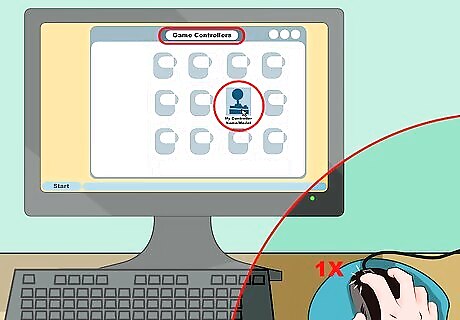
If your joystick appears in the Game Controllers section, highlight it by clicking on it once. If your joystick does not appear, check your connections, and make sure it is fully plugged in, or that your computer can handle all the USB memory.
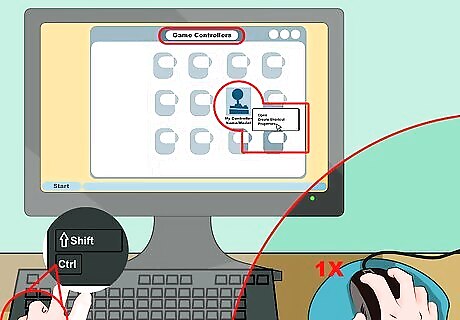
Hold down the "Shift" and "Ctrl" (control) keys, and click on "Properties."
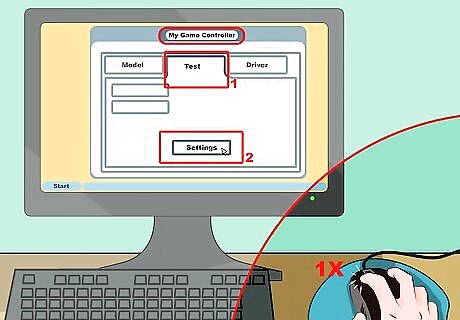
Click on the "Test" tab, and then the "Settings" tab.
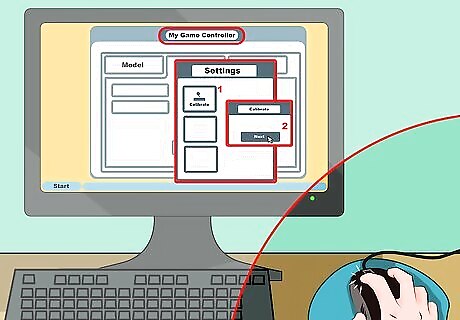
From the new pop-up window, click the "Calibrate" button under the Settings tab, then click "Next."
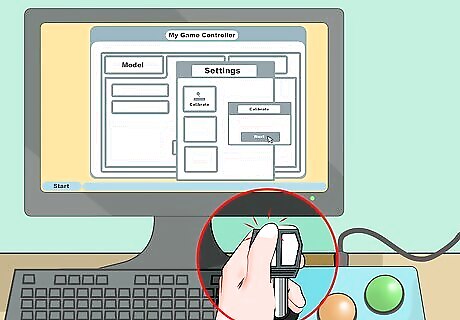
Click the left thumb button on your joystick.
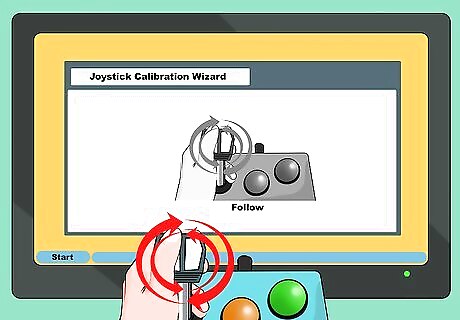
Follow the directions of the Device Calibration Wizard that appears. For axis calibration, move your joystick in full circles, and make sure the '+' sign traces all four sides and corners of the square. On the next screen, click the left thumb button on the joystick again. This should bring you to the next screen. Move the throttle back and forth several times, then click "Next." Now, for Z calibration, rotate your joystick several times, then click "Next," then "Finish" and then "OK."






Comments
0 comment