views
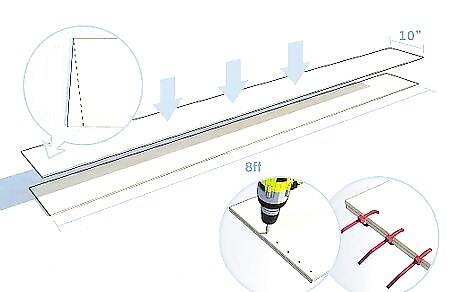
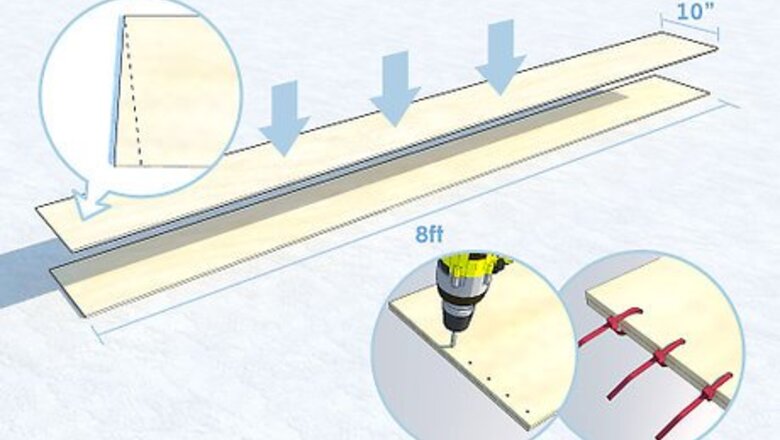
Cut out two strips of plywood 10 inches (25.4cm) wide by 8 feet (2.4 m) (243.8cm) long. Put a slight slope onto each end, if you like.Put the two strips on top of one another, and drill a series of 4 holes through both, at each end. Use small cable ties to fasten them together.
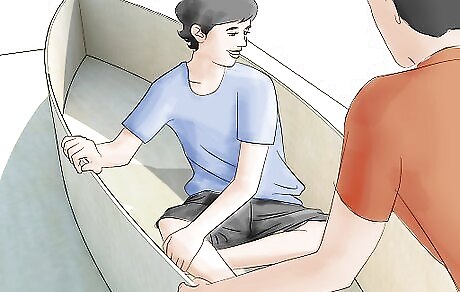
Get your child to sit on the remaining sheet of plywood, and pull open the two strips of plywood, lifting them over the child's head and onto the plywood (or you could just make a decision for your child, the wider the better). The child can then decide what shape the canoe should be, by pushing the sides out. The wider the canoe, the more stable it will be on the water.
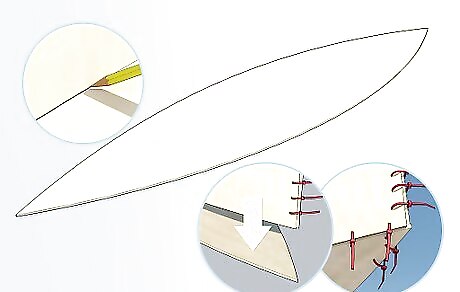
Hold the sides carefully, and get someone to draw around the shape on the bottom sheet of plywood.Cut out the bottom of the canoe, and fasten it to the sides with the cable ties. Plop the "tails" of the cable ties on the outside of the boat.
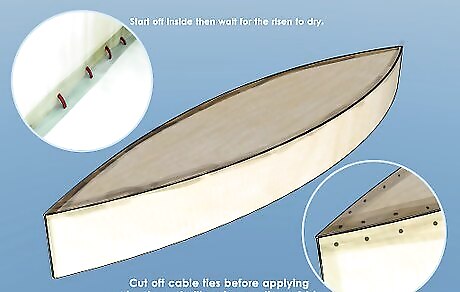
Use polyester resin and 2 inch (50.8mm) wide glass fibre tape to seal the seams. When the resin has dried, turn the boat over and cut off all the cable ties. Use an electric planer to tidy up the outside before using the resin and tape on the outside seams. A small deck can be added at each end, or simply a "stick" across between the gunwales to keep the sides apart.
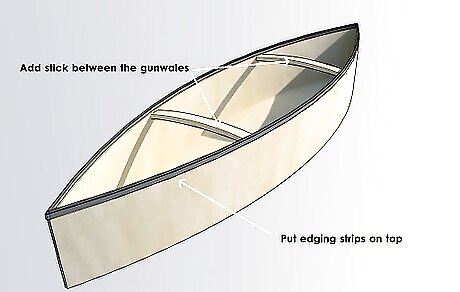
Put edging strips along the top (gunwale) of the canoe.
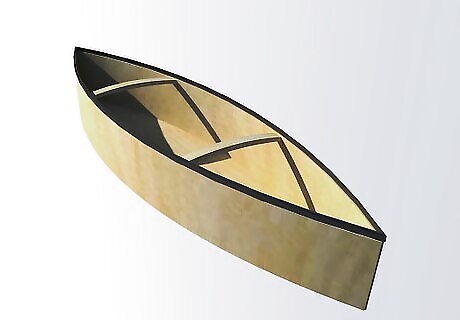
Coat the whole boat with exterior varnish.
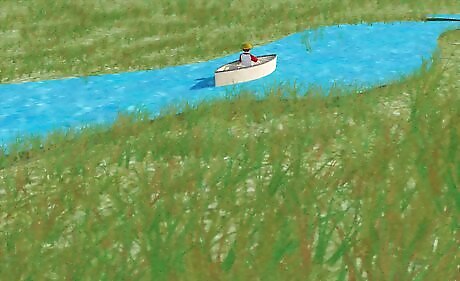
Work fast. You can complete the whole job in two to three weekends.
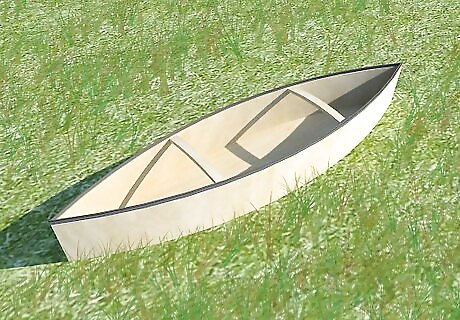
Finished.


Comments
0 comment