views
Determining How Much Salt to Use
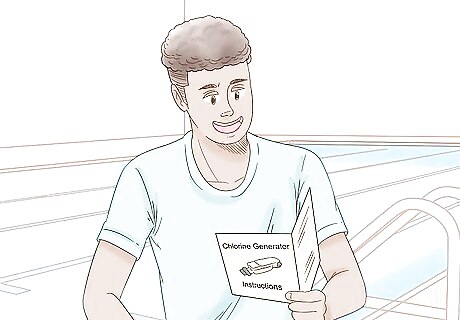
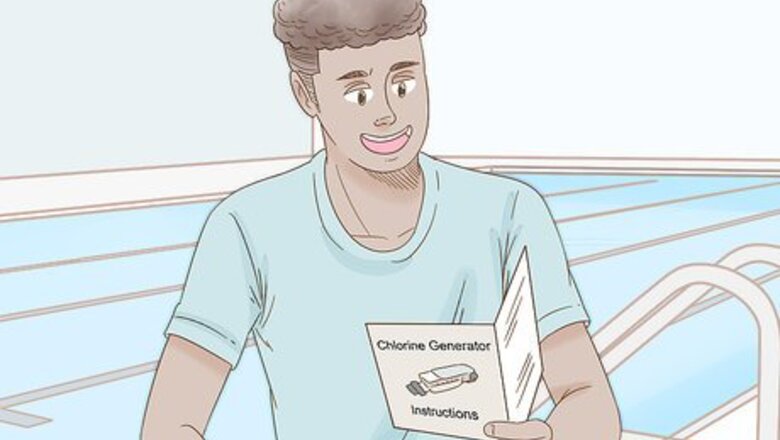
Read your chlorine generator's instructions to find its target salt level. Different systems require different amounts of salt in order to function properly. To find out exactly how much salt you need to add, consult the literature that came with your salt chlorine generator. This information is critical, so it should be one of the first items you come across. With some systems, important information like salt concentration and frequency of applications might be displayed directly on the generator itself for ease of reference.Tip: Most salt chlorine generators work best at a concentration of 2,500-4,500 parts per million (PPM). Your generator will likely fall somewhere between these two figures.
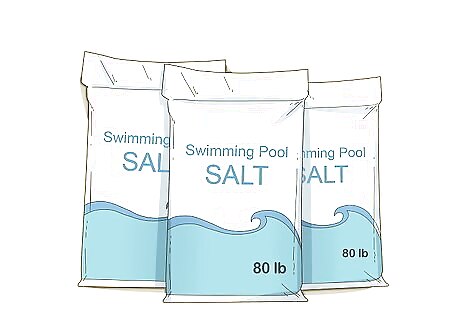
Purchase a few bags of salt intended for use in swimming pools. You can buy swimming pool salt from your local pool and spa specialty retailer. Any type of food-quality, non-iodized salt will do. Ideally, however, you should shop around for a product with 99% purity or higher. Swimming pool salt is typically sold in 40–80 lb (18–36 kg) bags. You'll most likely need at least 2-3 bags for a single treatment. However, it's a good idea to go ahead and stock up, as you'll be treating your pool periodically. High-purity salts dissolve faster and are easier for salt chlorine generators to process than lower-purity ones.
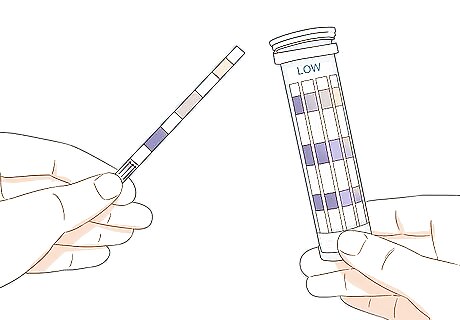
Test the salinity of your pool using a salt test strip. Fill the small vial included with the test kit with water from your pool, then insert the test strip and let it sit for the length of time specified by the instructions. When the strip changes color, remove it from the water sample and compare it with the color chart displayed on the test kit's packaging to determine the salinity. The depth of the color will tell you approximately how much salt is currently in your pool. Like your salt chlorine generator, the concentrations indicated by salt test strips are given in parts per million. Get in the habit of checking the salinity in your pool at least 2-3 times a week to make sure your generator is operating at its targeted salt level.Tip: Keep in mind that salt test strips often have a range of error between 200-300 PPM. For a more accurate reading, consider purchasing a digital water quality meter from your pool supply vendor.
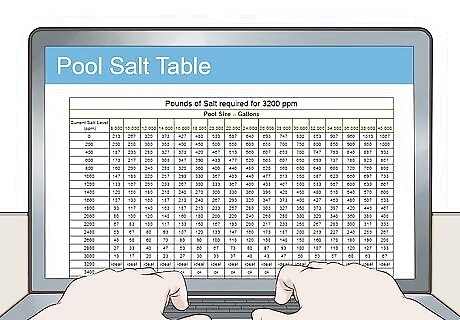
Look up a salt table to find out exactly how much salt to add. Your salt chlorine generator or packaged salt product may include some general guidelines for treatment. If not, you can pull up a useful reference chart online by running a quick search for “pool salt table.” One of these tables will tell you how much salt to use for a pool of a given size, shape, and volume. Most salt tables provide measurements in both pounds and PPM, which can make it easier for you to pour in just the right amount. For a 12 ft (3.7 m) circular pool that holds 3,000 gallons (11,000 l) of water, you'd need to add 87 pounds (39 kg) of salt, or about 2 whole bags, in order to bring it up to the recommended concentration. Never add salt to your swimming pool indiscriminately. Doing so could lead to deterioration of the walls, floor, and other surfaces over time.
Adding the Salt
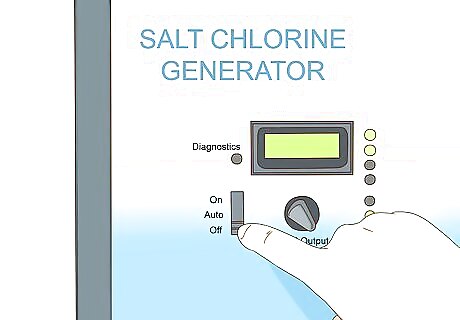
Turn off your pool's salt chlorine generator before adding the salt. Head down to your pool's control unit, locate the switch that corresponds to the generator, and flip it to the “Off” position. Adding the salt while the generator is operational can place excess strain on it, potentially resulting in damage and costly repairs. Some salt chlorine generators may need to continue running during treatment to process the salt. Refer to the literature included with your generator to find out whether to turn it off or leave it on.Tip: Make sure you leave the pump on. The gentle circulation of the water will help the salt dissolve faster.
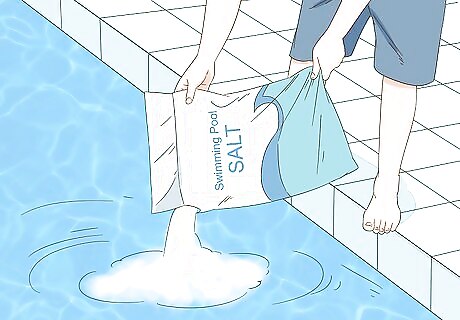
Walk around the pool pouring in the salt a little at a time. Snip the corner off of a bag of salt and begin shaking it in while you slowly circle the pool. This will help distribute it more evenly throughout the water. Try to sprinkle the salt 1–2 feet (0.30–0.61 m) away from the edge of the pool to keep it from piling up around the walls or simply drifting into the skimmers. In order to ensure that it dissolves properly and prevent surface deterioration, it's better to let the salt infuse gradually than to dump it in all at once. Some experts recommend adding a greater proportion of salt to the deep end around the main drain. The reasoning behind this is that the more water there is, the faster the salt will break down as it sinks.
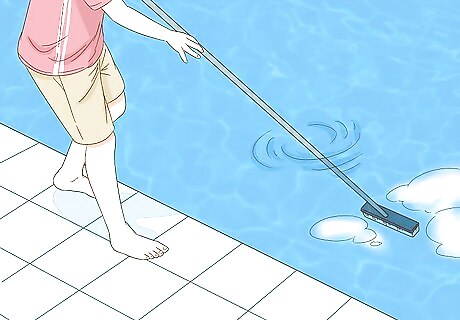
Use a brush to disperse salt that's settled at the bottom of the pool. If you happen to notice any places where the salt has piled up, make a few passes with a long-handled pool brush to spread it out. Focus on low-lying spots, such as the area around the main drain. The motion of the brush will also encourage the salt to dissolve more rapidly. If you have an above-ground pool that doesn't have a main drain, it can also help to plug a vacuum into the thru-wall skimmer input and turn the vacuum head upside down to pull water up from the bottom of the pool and keep it moving.
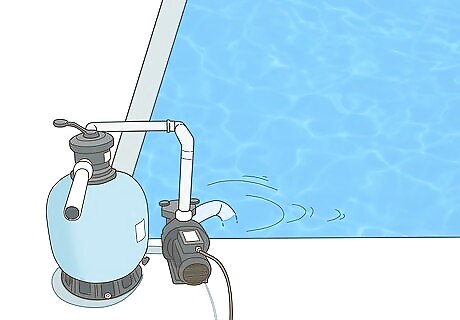
Continue running your pool's filter until the salt dissolves completely. For most standard-sized home swimming pools, this will take 18-24 hours, depending on the water temperature and strength of circulation. Be prepared to wait up to 48 hours for the salt to break down fully in an especially large pool. Hold off on taking a dip until after the salt has had time to dissolve entirely. It isn't dangerous, but it may taste or feel unpleasant.
Balancing Your Pool's Salt Levels
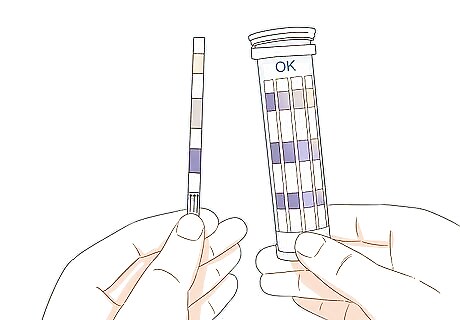
Check your salt levels again to see if they're within the targeted range. The morning after you add the salt, collect another sample and drop in a fresh salt test strip. After a few minutes, note the difference in color. The shade on the test strip should match that of the ideal salinity for your pool as indicated on the product packaging. If the salinity still looks a little low, simply add more salt to bring it up to the recommended level. Once it's there, allow up to 48 hours for all of the salt to dissolve entirely. Remember that in most pools, the salt concentration needs to fall within the 2,500-4,500 PPM range to ensure proper sanitation.
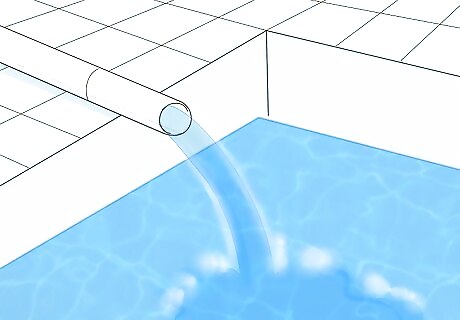
Dilute your pool with fresh water to correct over-salination. Don't worry if you accidentally add too much salt. You can correct your mistake easily by simply replacing some of the water. Set your pool to drain from the main control unit, then refill the missing water with fresh water from a nearby hose. A good rule of thumb is to drain and replace about 1/8th of your pool's water at a time until it reaches the recommended concentration. To find out how much 1/8th of your pool's total volume is, calculate the average depth in either inches or centimeters, then divide that number by 8. For a pool that's 10 feet (3.0 m) deep, for example, 1/8th would be 15 inches (38 cm) of water. When you're done, test the water again to make sure it's at the optimum targeted level and wait another 18-48 hours before switching on your generator.
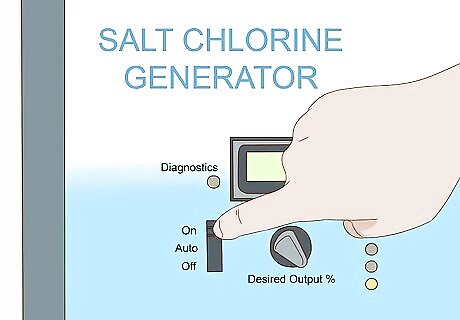
Turn your generator back on when you're finished making adjustments. After you've achieved the optimum salt concentration for your pool, head back down to the control unit and flip the generator switch over to the "On" position to restore power. It will then go to work converting the fresh salt into chlorine to sanitize the water in your pool. Happy swimming! You're free to dive in as soon as you get your salt chlorine generator up and running again.




Comments
0 comment