
views

Open your Adobe Illustrator application.
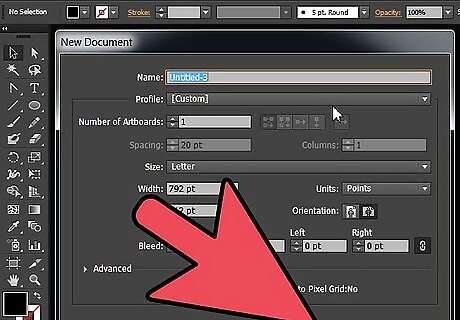
Open an existing document or create a new print or web document in the dialogue box that pops up.
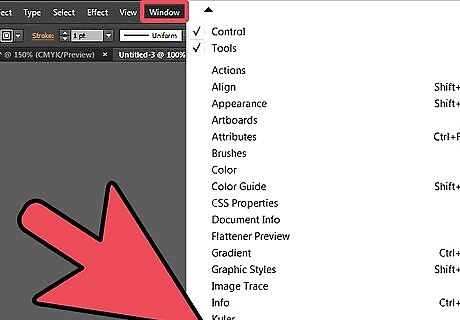
Click "Window" on the horizontal toolbar at the top of the page. Select "Layers" from the drop down menu. A box will appear to the right of your document that lists all the layers you have so far. If you have opened a new document it will show that you have 1 layer.
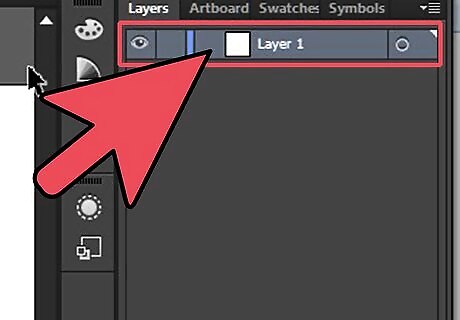
Select a layer in the box to allow it to be changed and to appear on top of the other layers. You can also click the box next to the layer to turn layers off so that they can't be edited.
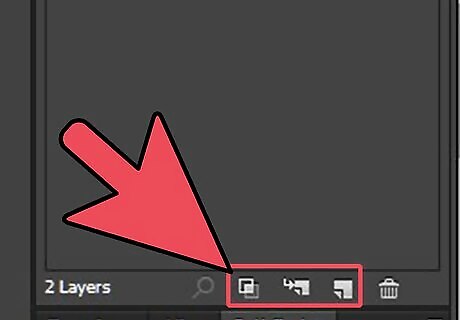
Find the 3 icons at the bottom of the Layers box. The first box will tell you how many layers you have. Hover over the other icons and you will see what the buttons do. You should see "Create New Sublayer" and "Create New Layer" buttons. There will also be a button that pertains to masks and a delete button. Those are not needed right now.
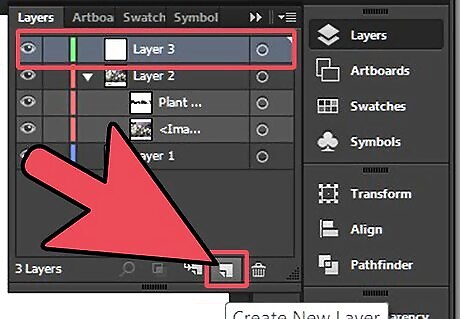
Click on the "Create New Layer" button to add a new layer above your current layer. A new layer should pop up above your first Adobe Illustrator layer. It will be characterized by a different color, so that you can differentiate between the layers you have.
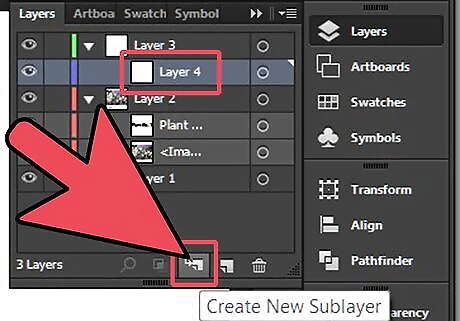
Click on "Create New Sublayer" to create a layer that is connected to 1 of your layers. For example, some people add symbols as a sublayer or parts of an illustration, like shading, that depend entirely on the parent layer.
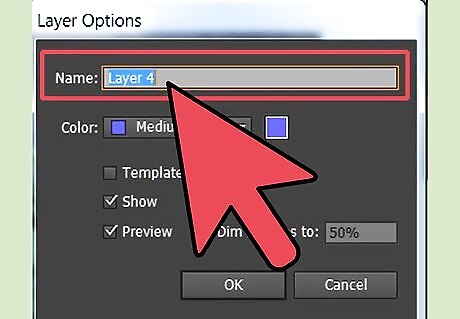
Name your layers so that you can distinguish between the elements of your Illustrator document. This becomes extremely important as you add more and more layers to your document.






Comments
0 comment