views
Using Adobe Fonts
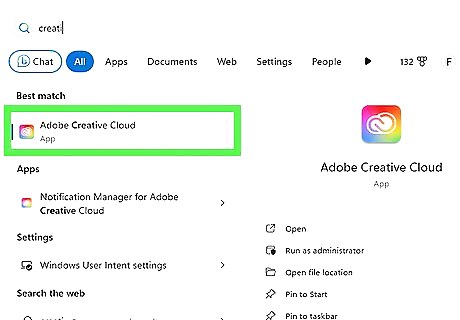
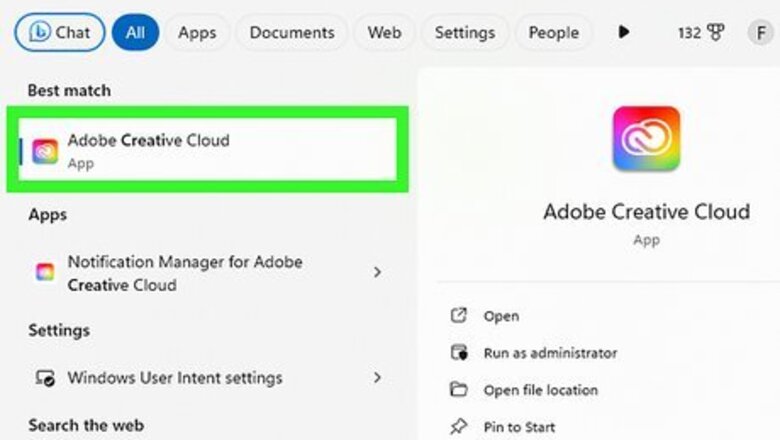
Open the Creative Cloud app. If you have a subscription to Creative Cloud, you can download and install Adobe Fonts for free to use in all Adobe applications. The Adobe Creative Cloud app has an icon that resembles a sideways 8. Click the Creative Cloud app icon to open Creative Cloud. Using Adobe Fonts is preferable to free internet fonts because they are professionally designed to work with Adobe products. They are free with your subscription, and you don't have to worry about whether or not you have a license to use these fonts.
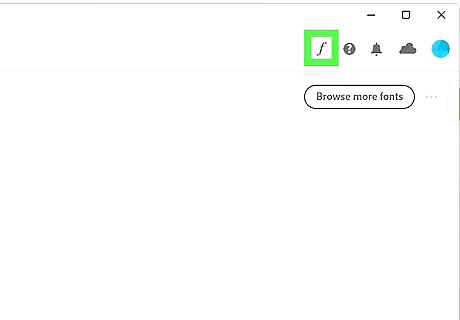
Click the Fonts icon. The icon resembles an "f" in the upper-right corner.
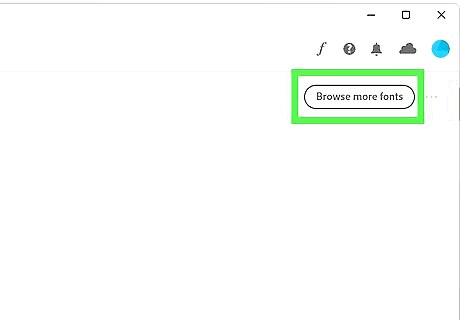
Click Browse Fonts. It's the blue button in the center of the screen. This opens Adobe Fonts in a web browser. You can go to Adobe Fonts directly in a browser by navigating to https://fonts.adobe.com/
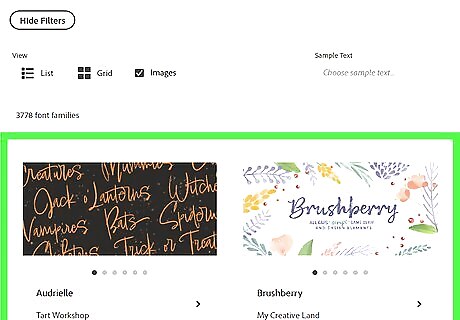
Browse fonts. You can use the search bar to search for fonts. You can also use the filters in the sidebar to the left to narrow your search results.
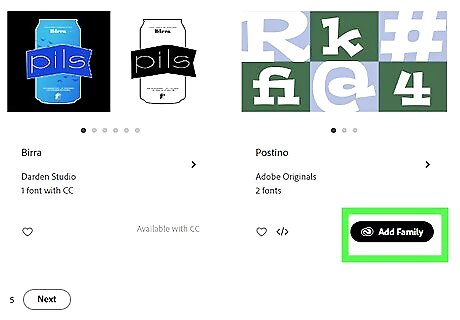
Click Add Family below a font you want to add. You will see a variety of fonts displayed in a box with a preview of what the font looks like. Click Add Family to add the family to your Creative Cloud desktop app.
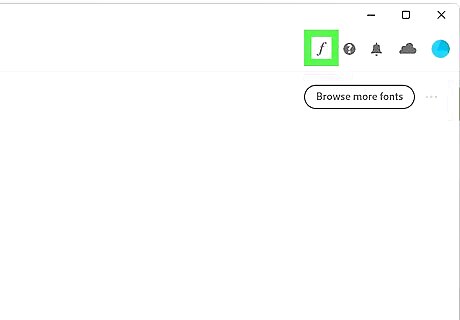
Return to the fonts menu in the Creative Cloud app. Open the Creative Cloud app and click the icon that looks like a "f" in the upper-right corner.
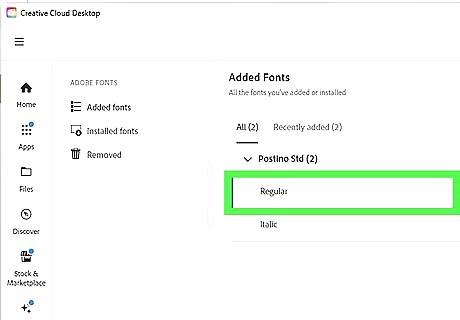
Click the toggle switch next to the font. This activates the font. You can now use it in all Adobe applications.
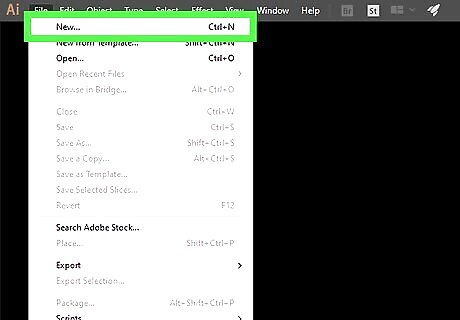
Open an Illustrator file in Illustrator. You can open an Illustrator file by double-clicking the ".ai" file to launch the file in Illustrator. Alternatively, you can create a new file by launching Illustrator and clicking File, followed by New.
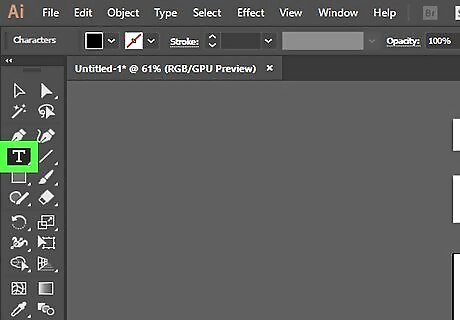
Use the Text Tool to add text. The text tool has an icon with a "T" in it. It's in the toolbar, which is generally to the left. Click the Text Tool and then click anywhere in your project to place a text cursor. Start typing to add text. To adjust the size of your text, use the font size drop-down menu at the top of Illustrator or click and drag one of the corners of the text box around your text. Hold Shift while clicking and dragging to keep the text proportional while resizing the text.
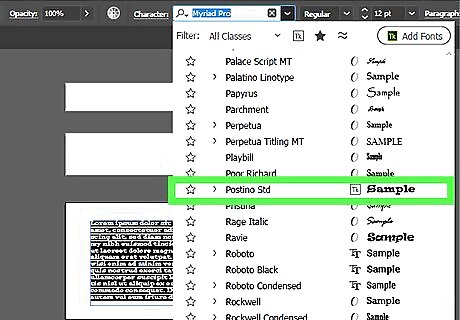
Use the drop-down menu next to "Character" to select a font. Illustrator can access and use all compatible fonts installed on your computer system. Fonts are listed in alphabetical order. Use the drop-down menu next to "Character" to select an alternate format, such as Bold or Italic.
Using Windows
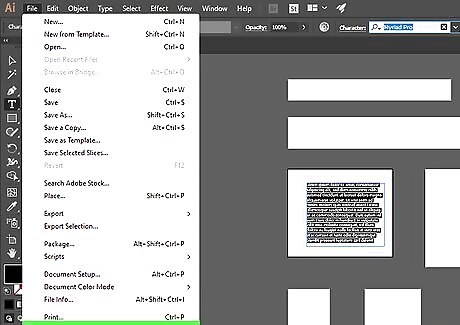
Close Illustrator if it's open. You won't be able to find your newly installed fonts in Illustrator if you install them while Illustrator is running.
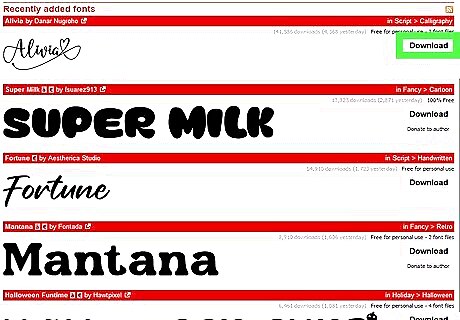
Download fonts to install if necessary. If you haven't yet downloaded the fonts that you want to install, you can find and download fonts from the internet. Fonts for Illustrator must be complete, meaning that they must include bold, italic, and underlined templates and a full alphabet of upper- and lower-case letters. You can download fonts in ".OTF," ".TFF," ".PFP," and, ".TTF" formats. You can download fonts from websites like DaFont.com, 1001FreeFonts.com, FontSquirrel.com, and FontSpace.com. Warning: Check the license agreement for any fonts you download, especially if you are doing professional work. Many free fonts are free for personal use but are not permitted for commercial use.
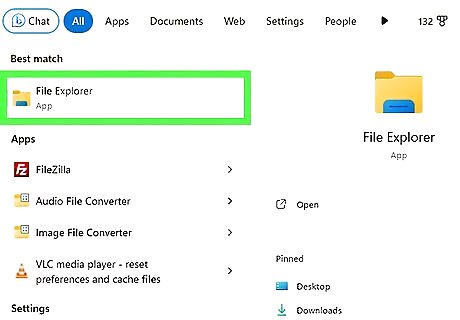
Press ⊞ Win+E to open File Explorer Windows File Explorer. Alternatively, you can open File Explorer by clicking the Windows Start menu and clicking the icon that resembles a folder with a blue clip.

Go to your font's ZIP folder. Use File Explorer to navigate to the zip file that contains the font you downloaded. By default, files you download can be found in the Downloads folder. You may have to open additional folders in the main window to find the ZIP folder itself.
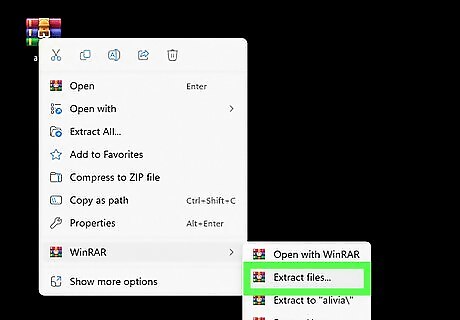
Extract the contents of the zip folder. Use the following steps to extract the contents of the zip folder: Right-click the font's zip folder. Click Extract all.
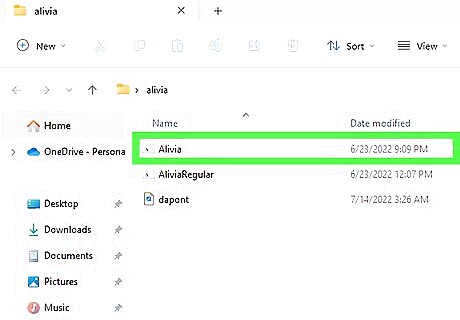
Double-click the font file. It's inside the folder extracted from the zip file. Doing so will open a window previewing the font.
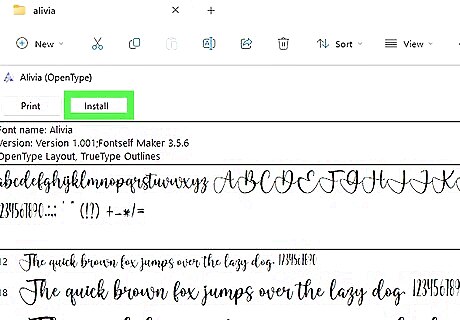
Click Install. It's at the top of the preview window. This will install your selected font for any application that uses fonts on your computer, including Illustrator. If there are separate font files for bold, italic, and so on, you'll need to double-click and install each for the font to work in Illustrator.
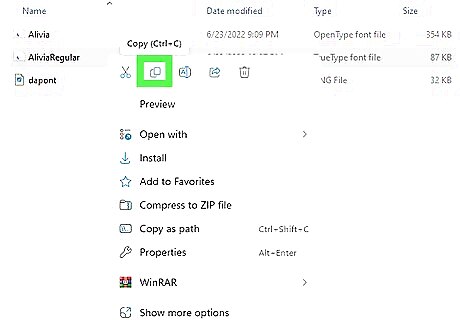
Install a font manually. If the font you want to install doesn't have an automatic install function or you are having problems with it, you can easily install a font manually by copying and pasting it into the Windows "Fonts" folder. Use the following steps to install a font manually: Navigate to the font file in File Explorer. Right-click the font file and click Copy or Cut. Click This PC in the panel to the left. Click the "C:" drive or whichever drive Windows is installed on. Click the Windows folder. Click the Fonts folder. Right-click any blank space and click Paste.
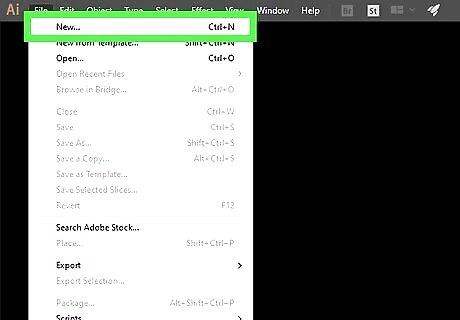
Open an Illustrator file in Illustrator. You can open an Illustrator file by double-clicking the ".ai" file to launch the file in Illustrator. Alternatively, you can create a new file by launching Illustrator and clicking File, followed by New.
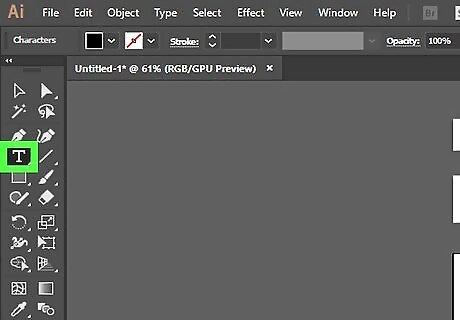
Use the Text Tool to add text. The text tool has an icon with a "T" in it. It's in the toolbar, which is generally to the left. Click the Text Tool and then click anywhere in your project to place a text cursor. Start typing to add text. To adjust the size of your text, use the font size drop-down menu at the top of Illustrator or click and drag one of the corners of the text box around your text. Hold Shift while clicking and dragging to keep the text proportional while resizing the text.
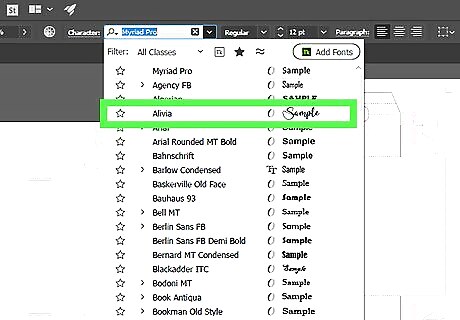
Use the drop-down menu next to "Character" to select a font. Illustrator can access and use all compatible fonts installed on your computer system. Fonts are listed in alphabetical order. Use the drop-down menu next to "Character" to select an alternate format, such as Bold or Italic. Alternatively, you can add more Adobe Fonts within the Character menu by clicking Find More at the top of the character menu.
Using a Mac
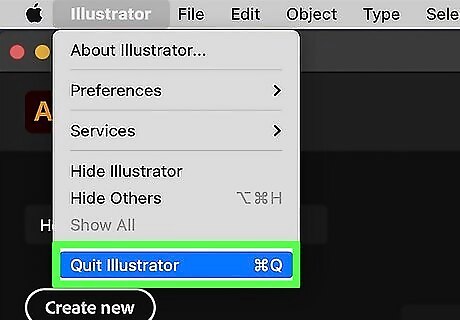
Make sure that all of your applications are closed. Any text or image editor must be closed to add a font to your Mac. Common applications to close include the following: Adobe Illustrator Pages Microsoft Office applications
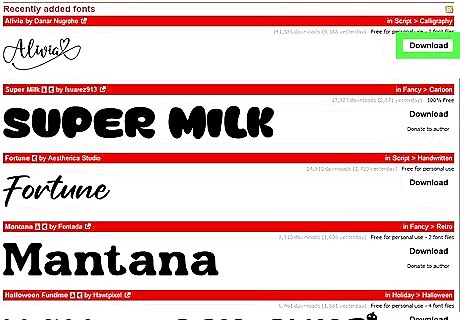
Download fonts to install if necessary. If you haven't yet downloaded the fonts that you want to install, find and download them before continuing. Fonts for Illustrator must be complete, meaning that they must include bold, italic, and underlined templates and a full alphabet of upper- and lower-case letters. You can download fonts from websites like DaFont.com, 1001FreeFonts.com, FontSquirrel.com, and FontSpace.com. Supported font types for Mac include ".DFONT," ".OTF," ".TTF," ".TTC," PostScript, and Multiple Master. Warning: Check the license agreement for any fonts you download, especially if you are doing professional work. Many free fonts are free for personal use but are not permitted for commercial use.
Open Finder Mac Finder. It has an icon that resembles a blue and white smiley face. You can find it in your dock at the bottom of your desktop.
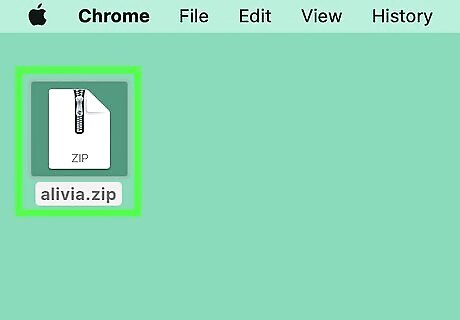
Go to the font that you want to install. Use Finder to navigate to the location of the font file you downloaded. By default, downloaded files can be found in your Downloads folder. If the font file isn't in a folder, just go to the font file's location. If the font file is in a compressed format, such as a zip folder, simply double-click the zip file to extract it to the same location.
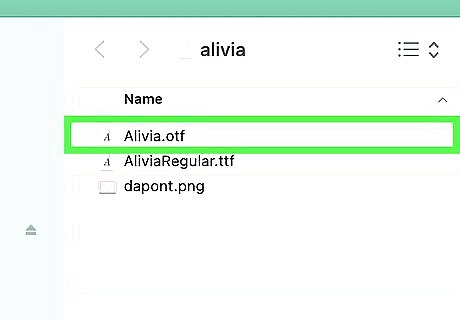
Double-click the font file. This opens a preview of the font in Font Book. If there are multiple files (e.g., "Italic," "Bold," etc.), select each of them by holding Command and clicking each font file.
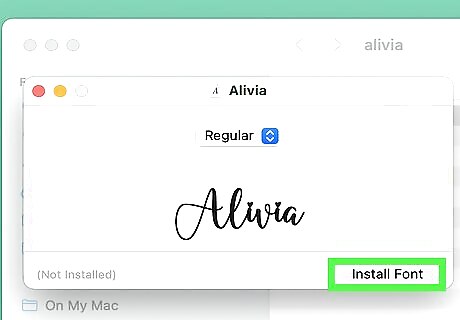
Click Install Font. It's in the lower-right corner of Font Book. This installs the font. You will then see a list of all your fonts.
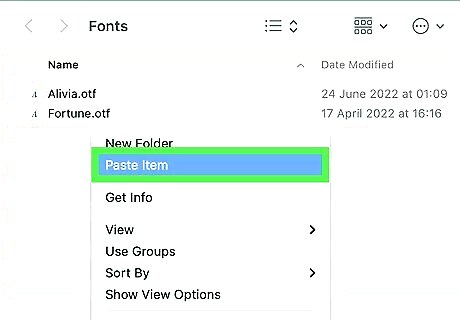
Install the font manually. If you cannot install the font using Font Book, you can easily install the font manually by copying and pasting the font file to your Mac's font folder. Use the following steps to install the font manually: Navigate to the font file in Finder. Click the font file and click Edit in the menu bar at the top. Click Copy in the pop-up menu. Click Go in the menu bar at the top. Click Go to Folder. Type ~/Library/Fonts/ and press Return. Click Edit in the menu bar at the top and click Paste item.
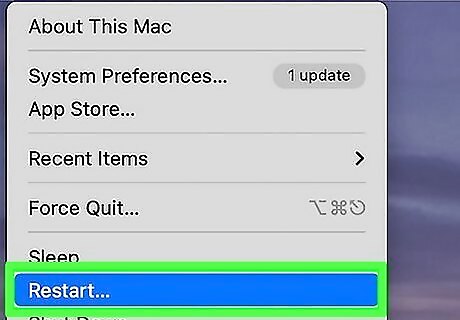
Restart your Mac. To do so, click the Apple icon in the upper-left corner, and click Restart.... Then click Restart when prompted.
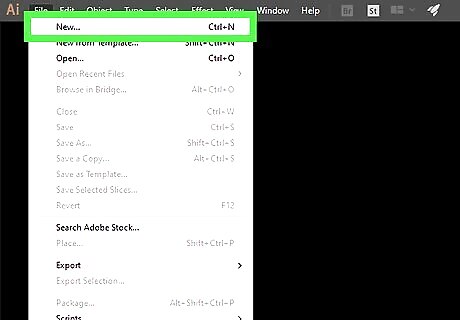
Open an Illustrator file in Illustrator. You can open an Illustrator file by double-clicking the ".ai" file to launch it in Illustrator. Alternatively, you can create a new file by launching Illustrator and clicking File, followed by New.
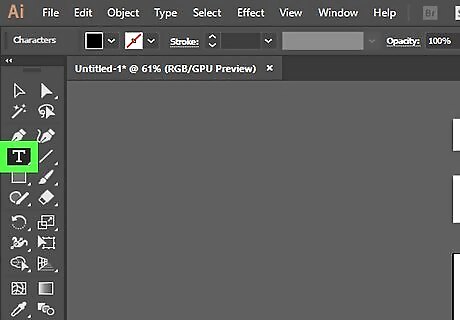
Use the Text Tool to add text. The text tool has an icon with a "T" in it. It's in the toolbar, which is generally to the left. Click the Text Tool and then click anywhere in your project to place a text cursor. Start typing to add text. To adjust the size of your text, use the font size drop-down menu at the top of Illustrator or click and drag one of the corners of the text box around your text. Hold Shift while clicking and dragging to keep the text proportional while resizing the text.
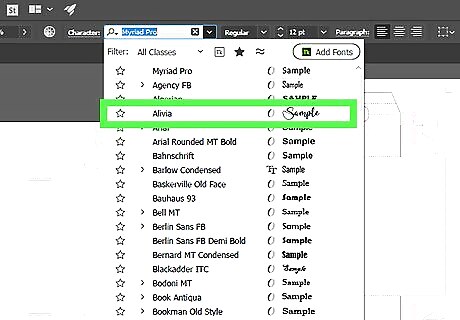
Use the drop-down menu next to "Character" to select a font. Illustrator can access and use all compatible fonts installed on your computer system. Fonts are listed in alphabetical order. Use the drop-down menu next to "Character" to select an alternate format, such as Bold or Italic. Alternatively, you can add more Adobe Fonts within the Character menu by clicking Find More at the top of the character menu.


Comments
0 comment