views
Drying Freshly-Cut Slabs
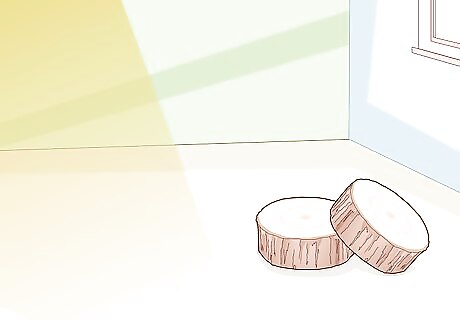
Dry your wood in an area out of direct sunlight. Sunlight dries exterior wood faster than the interior wood on a slab, which may lead to your piece splitting. If you’re drying your slab outside, leave it in a shady place that’s covered so it doesn’t get wet from the rain. Otherwise, you can dry the slabs in a garage or shed. While you can use fans and dehumidifiers to speed up the drying process, it may make your wood crack or split.
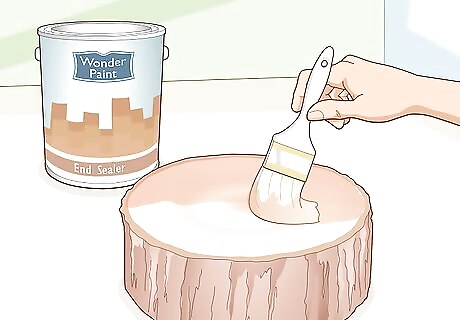
Brush end sealer onto the ends of the slab. Wood dries faster from cut ends and can lead to warping and cracks. Dip a paintbrush in end sealer and paint a thin coat onto the ends of your slab. Avoid sealing the tops or long edges of the slab so the wood still dries out to a workable moisture level. You can buy end sealer from your local hardware store. You may also coat the ends in wax to seal them if you don’t have end sealer.
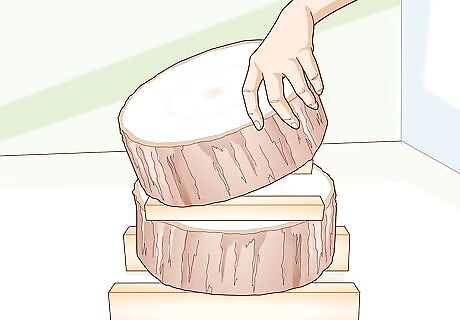
Stack slabs with spacers in between them for more airflow. Lay down pieces of scrap wood that are 3–4 inches (7.6–10.2 cm) thick on the ground so they’re 18–24 inches (46–61 cm) apart. Lay your slab flat on top of the scrap pieces of wood. If you have additional pieces you’re drying, put 1 in (2.5 cm) spacers between each slab so they’re in line with the scrap pieces of wood. If you don’t use spacers, air can’t flow between the slabs so they can’t dry evenly. Place a piece of plywood with cinder blocks on top of your stack to keep the top slab flat.
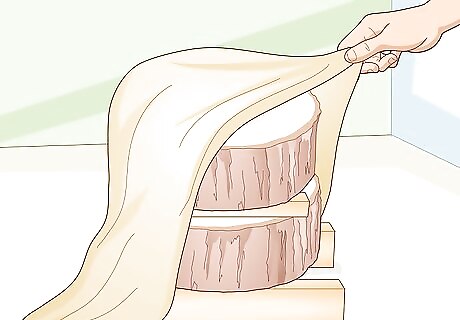
Cover the wood with burlap or shade cloth. Wrap the wood in a large piece of breathable fabric, such as burlap or shade cloth, so air can still flow through it. The cloth will also help trap heat so the interior and exterior wood dry at a similar rate. Keep the fabric on the wood throughout the drying time. Avoid using non-breathable material, such as plastic, to wrap your wood since it won’t allow the slabs to dry.
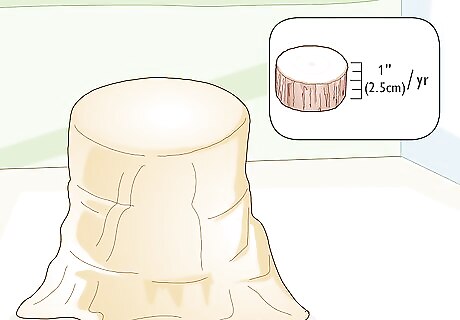
Allow the wood to dry 1 year for every 1 in (2.5 cm) of thickness. Check the wood once or twice every week for any mold or rot, and spray it with an all-purpose cleaner to kill the bacteria if needed. Even if the slab feels dry on the outside, it may still be too wet inside. If you want to check the moisture levels, hold the prongs of a moisture meter against the wood to take a reading. Typically, you should dry wood between 6–12% moisture content before working with it so it doesn’t warp.Tip: Round slabs, also known as slices or cookies, are more prone to split when they dry out. To prevent unsightly cracks, try cutting the round slab in half before you dry it so you can glue the pieces back together once they shrink.
Applying Stabilizer to Unfinished Wood
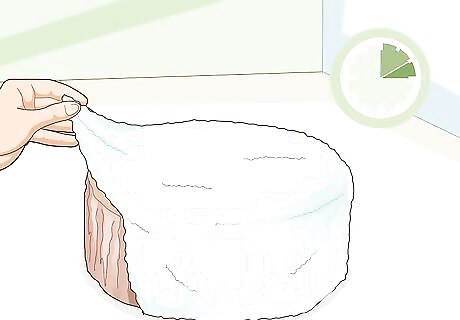
Wrap the slab in a wet towel for 2–3 hours. Wood stabilizer absorbs best into moistened wood since it can flow easier. Wet a large towel with warm water and wring off any excess water. Put the towel over the slab and wrap it around the entire piece of wood. Keep the towel around the slab for at least 2 hours so it can absorb some of the moisture. Use multiple towels to wrap your slab if you need to. If you’re using freshly cut wood, you do not need to wet the slab since it will already have enough moisture.
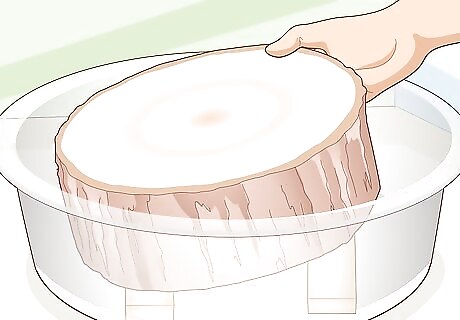
Set the slab on spacers inside of a plastic or glass container. Choose a container that’s large and deep enough to fit the entire slab. Set 2 scrap pieces of wood that are 1 inch (2.5 cm) thick on the bottom of the container and put your slab on top of them. That way, the stabilizer can also absorb through the bottom of the slab. If you can’t fit your slab in a container, you can spread the stabilizer with a paintbrush instead.Warning: Avoid using metal containers with wood stabilizer since it could cause a chemical reaction and make the treatment less effective.
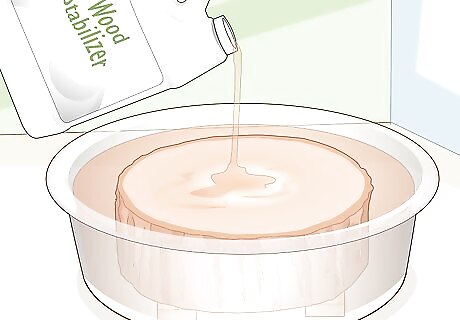
Submerge the slab in wood stabilizer. Wood stabilizer is a type of resin that prevents your slab from changing shape and cracking. Pour your wood stabilizer into the container so it covers your piece of wood completely. Make sure the top of the wood doesn’t stick out from the liquid, or else it may dry out. You can buy wood stabilizer from your local hardware store. The amount you’ll need depends on the slab’s thickness and the size of the container you’re using. If the wood starts floating in the stabilizer, try weighing it down with a scrap piece of wood or a stone so it stays submerged. If you’re brushing the stabilizer onto the slab, spread a thin coat on the wood and allow it to soak into the fibers for 5–10 minutes. Keep applying coats of the stabilizer until the slab doesn’t absorb any more. Wipe off the excess stabilizer with a shop cloth.
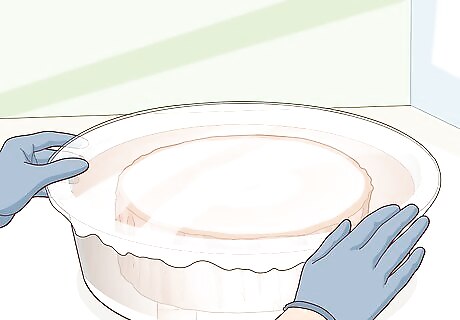
Cover the container with plastic so the slab doesn’t dry out. Rip off pieces of plastic cling wrap that are large enough to cover your container. Press the edges of the plastic wrap against the sides of the container so you make it airtight. If your piece is too small, overlap more plastic wrap by at least 1 inch (2.5 cm). Apply plastic wrap onto the wood if you brush on the stabilizer as well.
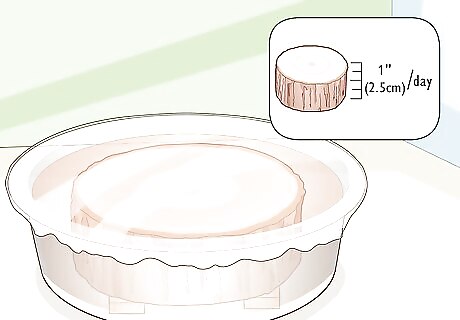
Soak the slab 1 day for every 1 in (2.5 cm) of thickness. Keep the container with your slab in a safe place so it doesn’t spill or get knocked over. Leave the slab alone so the stabilizer can absorb deep into the wood so it’s less likely to warp or shrink. Once your slab finishes soaking, you can take it out of the container again. For example, if your slab is 3 inches (7.6 cm) thick, leave it submerged for at least 3 days. It’s okay if you leave the wood in the stabilizer longer, but it may still crack if you take it out any sooner. Brush on your stabilizer every day if you’re actively carving your wood slab. Otherwise, you can allow it to dry completely between treatments.
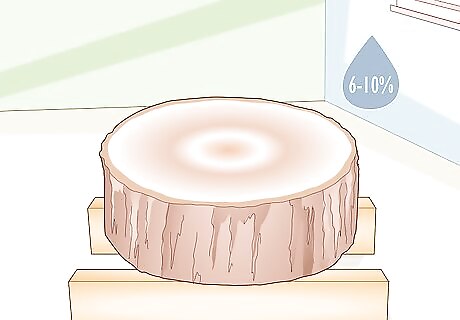
Let the wood dry slowly until it has a 6–10% moisture content. Keep the wood away from direct sunlight since it can speed up the drying time and cause it to crack. Instead, keep it in a dry place with less than 70% humidity so it can dry out. Check the moisture content once every 2–3 weeks with a handheld moisture meter. Press the prongs of the meter into the top of your slab and check the reading on the screen. If it’s above 10%, leave the wood to dry longer. Make sure the wood completely dries before using it for any projects. Typically, your slab will take about 1 year to dry out for every 1 inch (2.5 cm) of thickness, but it can vary on the size of the piece, temperature, and humidity.
Avoiding Damage from Tools
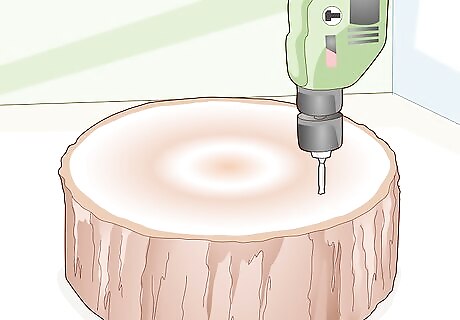
Drill pilot holes through the slab before using nails or screws. Driving a nail or screw into the wood can put a lot of pressure on it and make it split. Pick a drill bit that’s about ⁄4 inch (0.64 cm) thinner than the screw or nail you’re using and put it in your drill. Make your hole straight through the slab before pulling the bit out. Put the point of your nail or screw in the hole before driving it in. Pre-drilling a hole relieves pressure from the wood so it’s less likely to crack toward the edge.
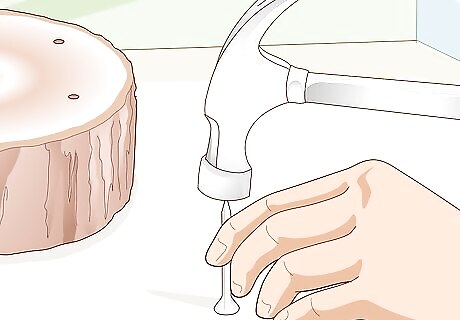
Blunt the tip of a nail before hammering it in. Sharp nails may actually separate the wood fibers when you pound them in, so check their points first. If you think the wood may split, turn the nail upside down and tap the point with your hammer 2–3 times to flatten it. That way, the nail will crush and compact the wood down rather than splitting it apart. Some nails already have a blunt point, so you don’t need to flatten them.
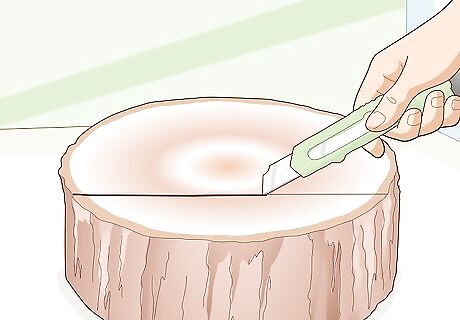
Score the wood with a utility knife if you plan on sawing it. Mark the line that you want to cut with a pencil first. Using a straightedge as a guide, run a utility knife along your line to cut into the surface of the wood. Set the saw on top of the score line and start cutting the slab. This works well for any hand or electric saw. The blade will slice through the wood fibers so they’re less likely to crack or splinter when you’re using a saw.Warning: Cut away from your body so you don’t accidentally hurt yourself if the blade slips.
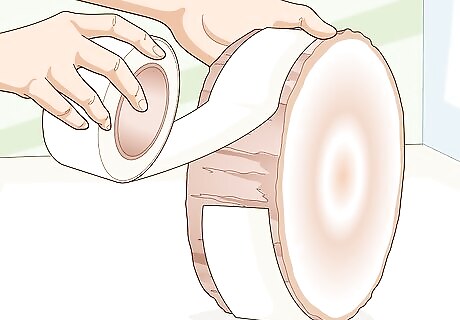
Put masking tape over the section you’re cutting to prevent splintering. Place a strip of masking tape around the slab and draw the line you want to cut on top of it. Start slowly sawing along your line until you cut through the entire slab. The masking tape should hold the edges of the wood down so they don’t splinter or break. Peel the tape off slowly when you remove it just in case there are any loose wood fibers.


Comments
0 comment