
Displaying the Comments
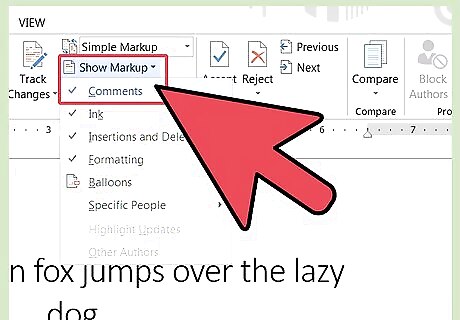
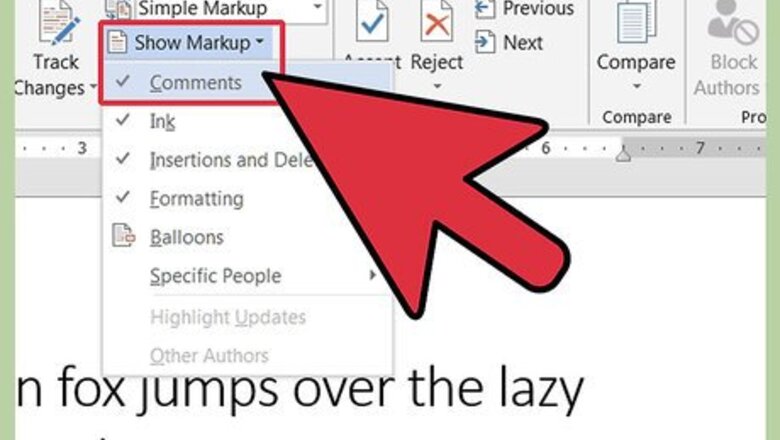
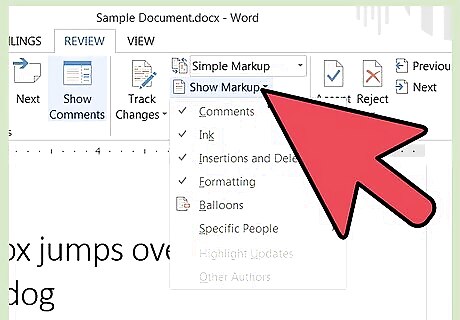
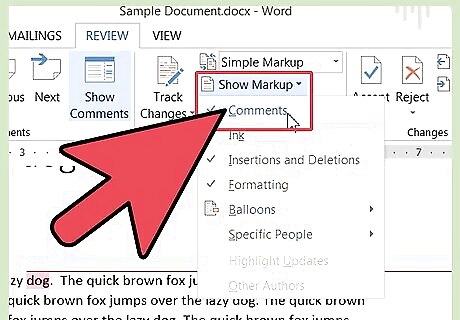
Turn on the markup feature. How you turn on the feature depends on the version of Word you're using. Word 2003 and earlier versions use the older menu and toolbar interface, while Word 2007 and 2010 use the newer menu ribbon interface. In Word 2003, select "Markup" from the "View" menu. In Word 2007 and 2010, click the "Show Markup" drop-down in the Tracking group of the Review menu ribbon and make sure the Comments option is checked. Selecting Markup from the View menu again in Word 2003 or unchecking the Comments option in Word 2007 or 2010 will turn off the markup feature, hiding the comments.
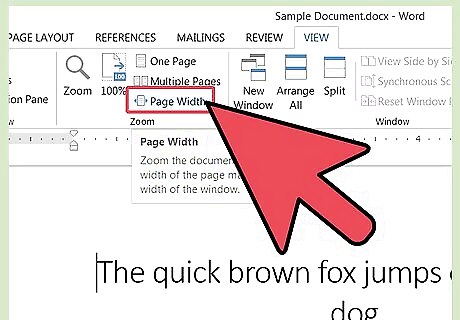
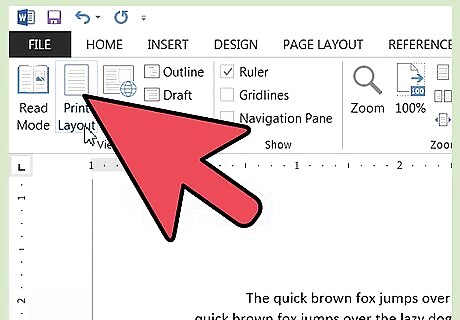
Choose the correct display view if necessary. Comment balloons display only when your document is in either the Print Layout view, the Web Layout view, or the Full Screen Reading view in Word 2007 and 2010. To change the display, do the following: In Word 2003, click Print Layout or Web Layout on the View menu. In Word 2007 and 2010, select Print Layout or Web Layout from the Document Views group on the View menu ribbon. If you do not have the correct display view, your comments will not appear, but portions of the text that were highlighted to be commented upon will retain their highlighting and be followed by the comment number.
Adding Comments
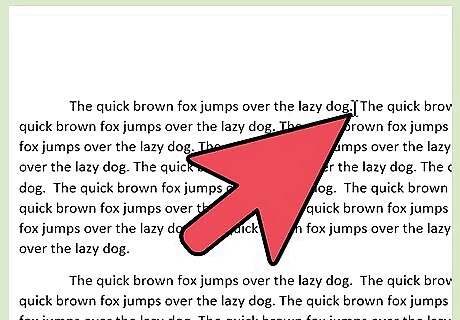
Choose the point in the text you wish to comment on. Drag your cursor over the words you wish to comment on, or place your cursor at the end of a piece of text.
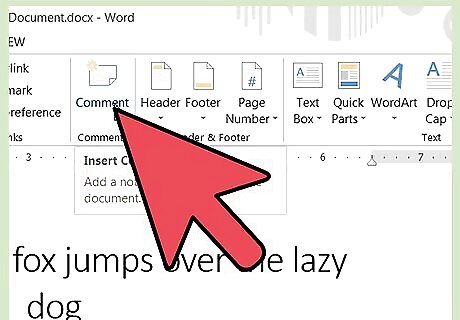
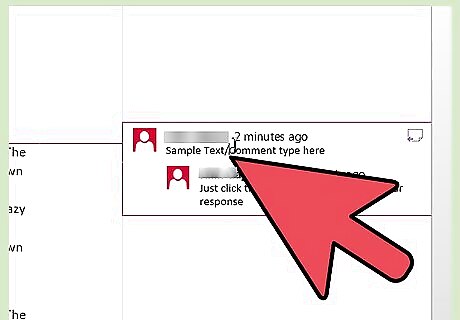
Insert the comment. Once you select the option for inserting comments for your version of Word, a balloon will appear in the right margin with identifying initials and a sequence number if you are in Print Layout or Web Layout view. If you are in normal or Outline view, a number will appear in the Reviewing pane. In Word 2003, select Comment from the Insert menu. In Word 2007 and 2010, select New Comment from the Comments group in the Review menu ribbon. If your new comment falls between existing comments, the comments following it will be renumbered to reflect their new positions in the comment sequence.
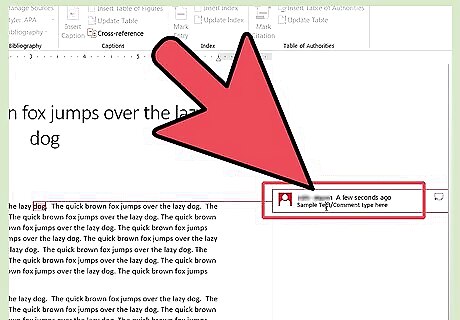
Type your comment in the balloon. All text formatting features, such as bolding, italics, and underlining are available for comment text. You can also insert hyperlinks in comments.
Responding to Existing Comments

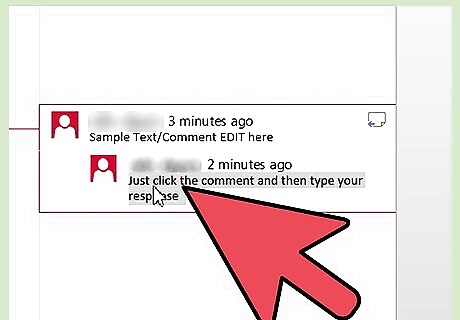
Select the comment you wish to respond to.
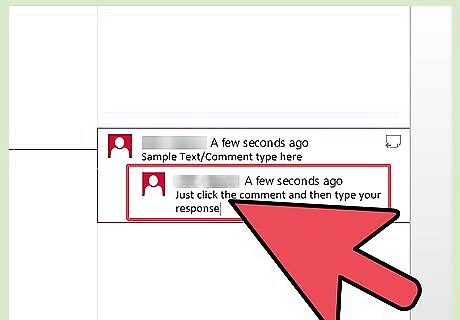
Insert your response comment. Follow the same procedure as described for inserting comments under "Adding Comments." Response comments display the identifier of the responder and a sequence number, followed by the identifier and sequence for the comment being responded to. You can respond to your own previous comments. This is a good way to clarify the wording of your previous comments if you think your original words may be misunderstood.
Editing Comments
Turn on the comment display, if necessary. Follow the instructions under "Displaying Comments" for your version of Microsoft Word.
Click the balloon whose comment you wish to edit. If you cannot see the complete text of the comment in the comment balloon, you can turn on the Reviewing Pane to review the complete text of your comment there. See the instructions under "Displaying the Reviewing Pane."
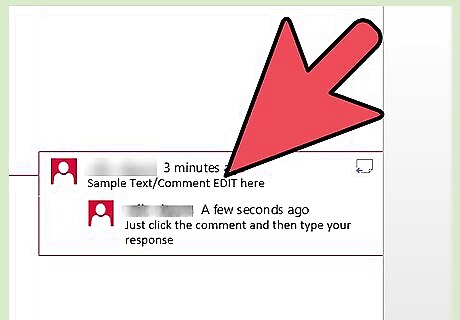
Make the text changes you want.
Deleting Comments
Right-click the comment you wish to delete. This displays a pop-up menu.

Select Delete Comment from the popup menu. The comment balloon disappears, and the sequence numbers of the comments following it are each decreased by 1.
Printing Comments
Display your document in Print Layout view. See the step in "Displaying Your Comments" about choosing the correct display view for instructions on doing this.
Turn on the comment display, if it is not already turned on. Again, see "Displaying Your Comments" for instructions for your version of Word.
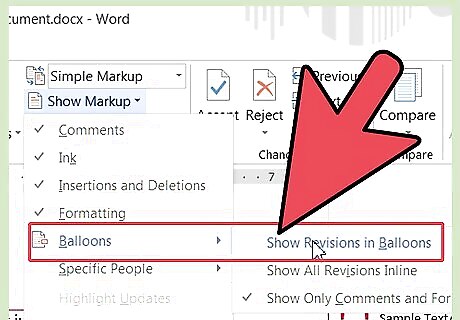
Determine which comments you wish to display and print. You can choose to display and print the comments made by all reviewers of the document or only comments made by a single reviewer. The method varies slightly according to your version of Microsoft Word. In Word 2003, select Show on the Reviewing toolbar, then select Reviewers and select either Show All Reviewers to display the comments of every reviewer or select the identifier for a specific reviewer to display only that reviewer's comments. In Word 2007 and 2010, select Show Markup from the Tracking group in the Review menu ribbon and select either All Reviewers from the Reviewers submenu to display the comments of every reviewer or select the identifier for a specific reviewer to display only that reviewer's comments.
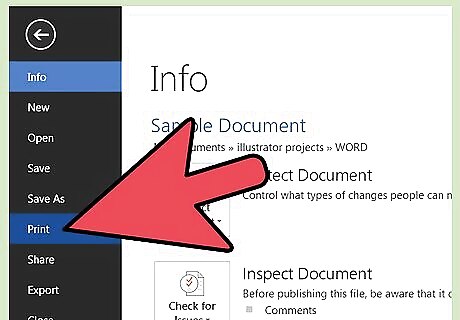
Print your document. Display the Print dialog box in your version of Word and select "Document showing markup" to print the selected comments along with the document. To access the Print dialog box in Word 2003, select Print from the File menu. To access the Print dialog box in Word 2007, click the Microsoft Office button in the upper left and select "Print" from the menu. To access the Print dialog box in Word 2010, click the File tab and select "Print" from the File menu at the left edge of the page. To print the document without the comments, select "Document" from the Print dialog box.
Displaying the Reviewing Pane

Open the Reviewing Pane. The method for doing this depends on your version of Microsoft Word. In Word 2003, select Reviewing Pane on the Reviewing toolbar. (If the Reviewing toolbar is not already displayed, select Toolbars from the View menu and then select Reviewing.) In Word 2007 and 2010, select Reviewing Pane from the Tracking group in the Review menu ribbon and select Reviewing Pane Vertical to display the pane beside your document or Reviewing Pane Horizontal to display the pane beneath your document.

Close the Reviewing Pane when finished. Click the "X" in the upper right corner.
Changing the Comment Identifier
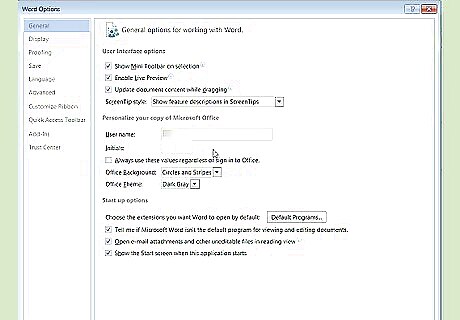
Display the Options or Word Options dialog. Microsoft Word uses the user name and initials that you were prompted to give when you installed Microsoft Office. (If you did not supply your own name and initials at this time, Word and other Office programs will use the name "Owner" and the initial "O.") You can change the name and initials after installing by using the Options dialog in Word 2003 or the Word Options dialog in Word 2007 and Word 2010. In Word 2003, choose Options from the Tools menu. Select the User Information tab. In Word 2007, click the Microsoft Office button and select Word Options. You can also select Change User Name from the Track Changes dropdown button in the Tracking group in the Review menu ribbon. In Word 2010, click the File tab and select Options from the File menu at the left edge. You can also select Change User Name from the Track Changes dropdown button in the Tracking group in the Review menu ribbon.
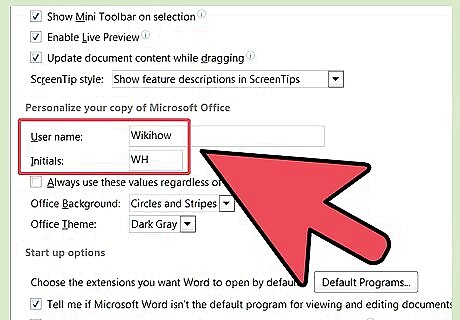
Enter your name and initials in the fields under "Personalize your copy of Microsoft Office."
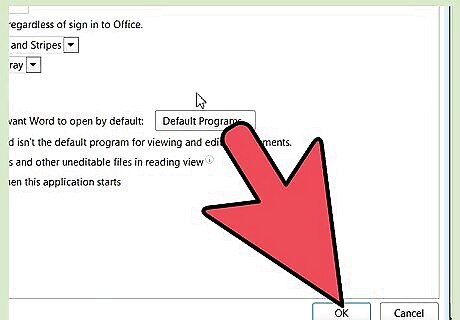
Click OK. This closes the Word Options dialog and changes the user name and initials to your entries. Although comments you make after changing your initials will reflect the new identifier, comments made prior to the change will still display the identifier you used previously.


Comments
0 comment