views
- Navigate to "Design" > "Page Color" > "Fill Effects" to begin tiling an image.
- Click on the "Picture" tab and click "Select Picture" to find and insert your desired image.
- Click "OK" after the preview to see your image tiled in the background of the Word doc.
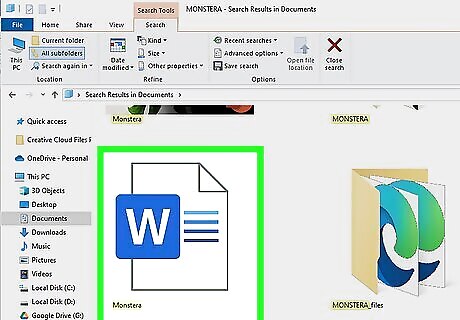
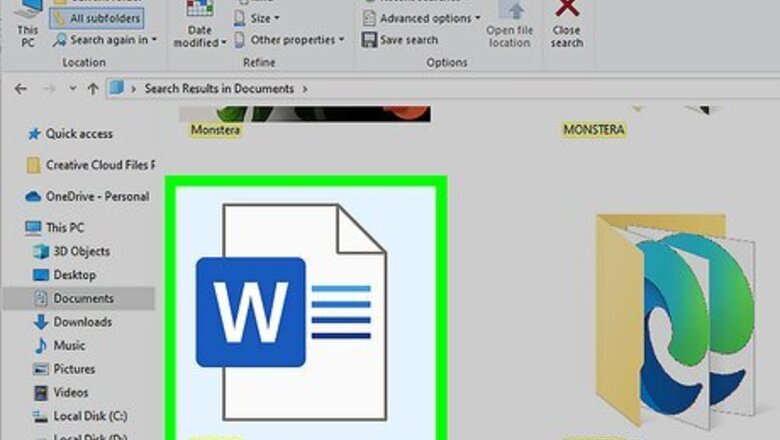
Open the Word document in which you want to tile a picture.
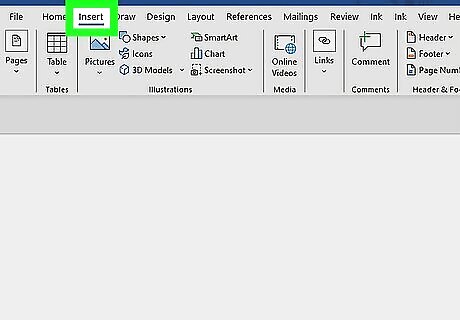
Click on “Page Layout” or “Design,” then click on “Page Color.”
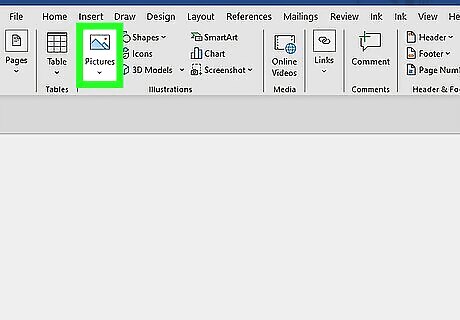
Click on “Fill Effects.” This opens the Fill Effects menu.
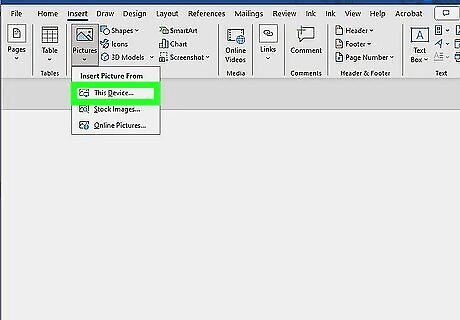
Click on the “Picture” tab, then click “Select Picture.”
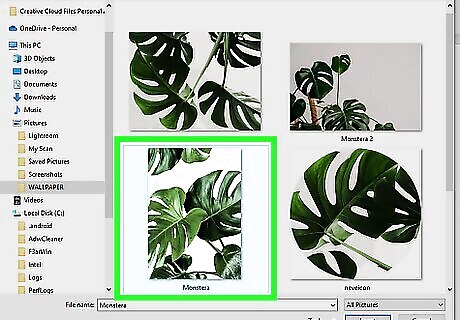
Select the picture or image you want tiled, then click “Insert.” The image will appear in the preview pane of your document.
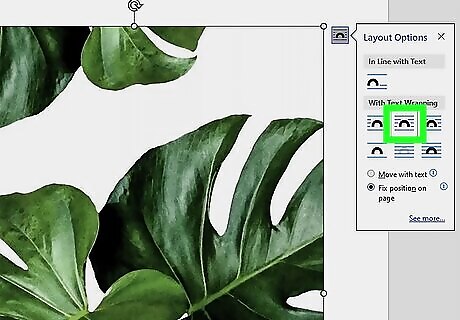
Click “OK.” Your picture will now be tiled in the background of your Word document.
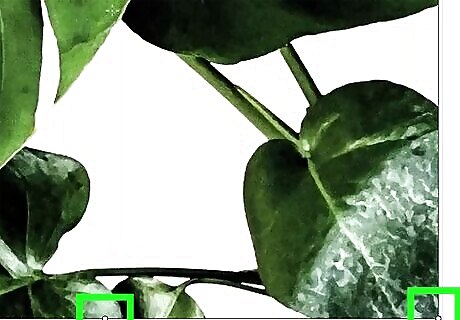
Drag the “Zoom” slider button to the left or right to resize the tiles as desired.
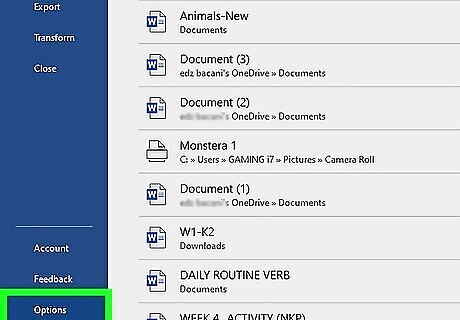
Click on “File” and select “Options.” This opens the Word Options window.
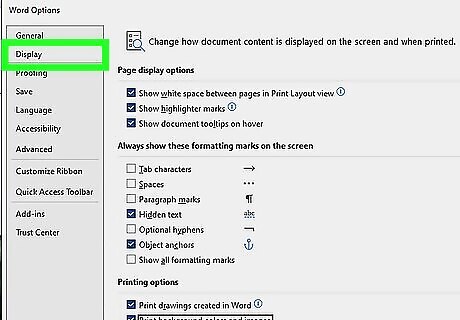
Click on “Display” in the left pane of Word Options.
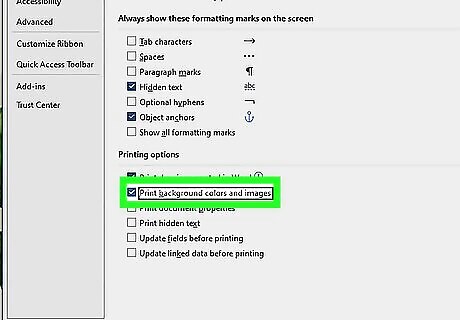
Place a checkmark next to “Print background colors and images,” then click “OK.” Your picture is now tiled in the background and will print in the background of your Word document.


Comments
0 comment