views
Using a Key Ring or a Rubber Band
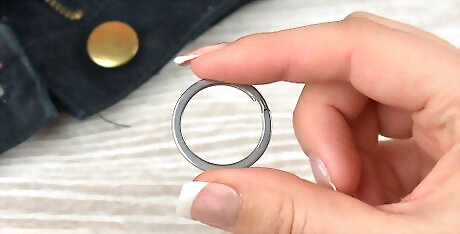
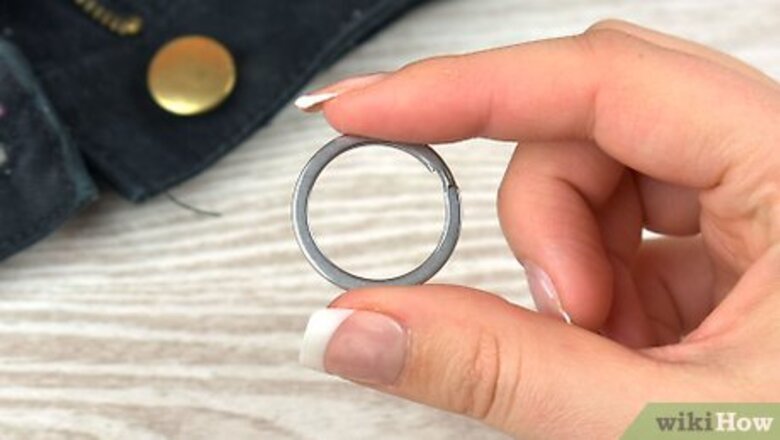
Look for a key ring the size of a penny. To fix your loose zipper, you can use a small metal key ring, about the size of a penny. Look for a key ring that is thin and durable. You can also use a small rubber band if you are looking for a flexible option. A rubber band can be good if your zipper tends to unzip itself and get stuck mid way on the zipper. The band can stretch enough to allow you to attach the zipper slider to the top button of your pants. Some zippers "lock" when you push the zipper pull down. If this is the case, you probably don't need to add anything to keep your pants from unzipping. However, if your pants don't lock anymore, you might need to replace the zipper.
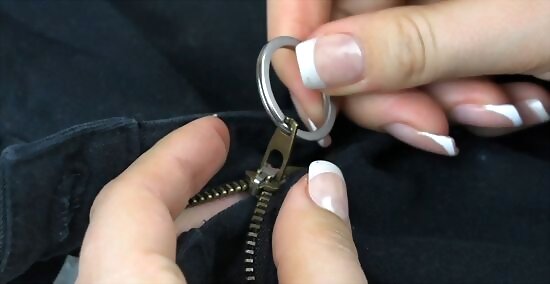
Secure the key ring to the loop on your zipper slider. Slide the key ring through the hole in the zipper slider, usually located on the end of the slider. Make sure the key ring is secure on the zipper slider once it is attached. If you are using a rubber band, you can put the rubber band through the hole in the zipper slider and then loop the top part of the band through the section on the zipper slider to form a knot. You should have a knot with a long section of the band loose at the top of the zipper slider.
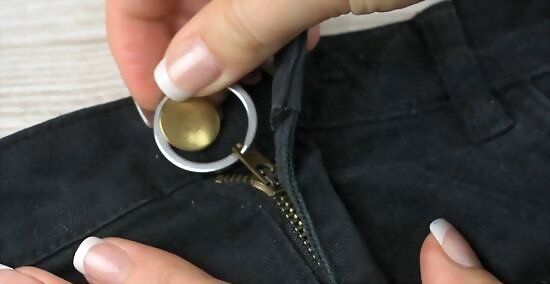
Loop the key ring to the top button on your pants. Once the key ring is attached to the zipper slider, loop it over the top button of your pants. If you are using a rubber band, grip the long section of the rubber band and loop it over the top button on your pants. If you are trying to fix another garment with a zipper besides a pair of pants, loop the key ring or rubber band over the top button on the garment, such as the top button on a dress or a skirt. Keep in mind this method looks better on dresses or skirts that have hidden zippers, as the key ring or rubber band will show if the zipper is exposed.
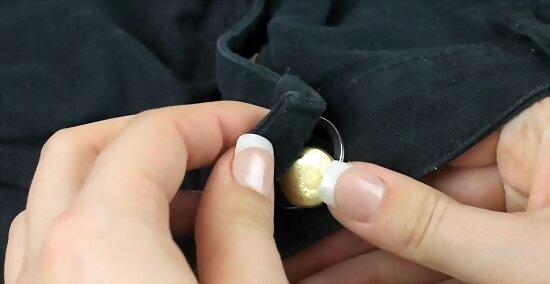
Zip up your pants and button them. Keeping the key chain or rubber band in place over the top button, zip up the garment. Then, button up the garment with the top button. Make sure the top flap by the button covers the top of the zipper as well as the key chain or rubber band. Your zipper should stay in place with the help of the key chain or rubber band. Remember to be careful when going to the bathroom, as you will need to remove the top button and then the key ring to take off your clothing.
Replacing the Broken Slider
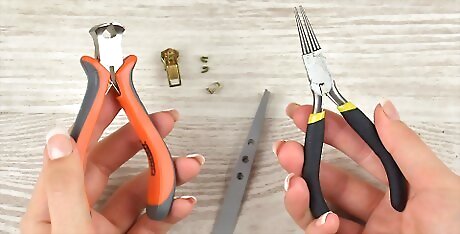
Gather your supplies. If your zipper keeps unzipping itself, the zipper slider may be broken and need to be replaced. You can do this at home with a few supplies, including: End nippers. These can be found at your local hardware store and can be used to cut nails, wires, and zipper stops. Tweezers. Small pliers. A replacement zipper slider, which you can buy at your local craft or fabric store. Be sure to get a replacement coil zipper slider if you have a coil zipper and a plastic tooth zipper slider if you have a plastic tooth zipper. Coil zippers are made of tight coil and plastic tooth zippers are made of plastic. A replacement zipper stop. Zipper stops can be made of metal (for coil zipper sliders) or plastic (for plastic tooth zippers).
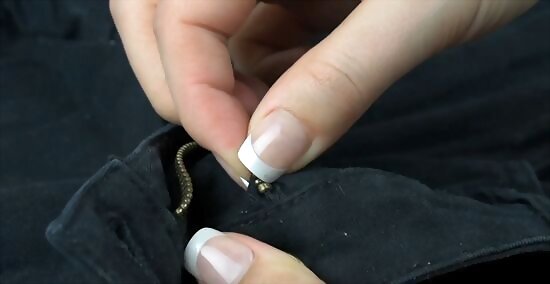
Unzip the garment and locate the zipper stop. The zipper stop will be the small piece that is used to connect the zipper slider to the zipper teeth. Peel back any fabric that is covering the zipper stop and place your thumb and forefinger on the top of the zipper stop, on the side with the slider.
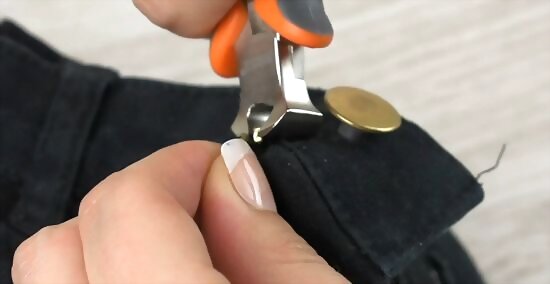
Use end nippers to remove the zipper stop. Make sure you cut the plastic or metal stop only. Do not damage the webbing behind the stop as this could then damage the zipper. Once you cut and remove the zipper stop, use a pair of tweezers to get rid of any remaining pieces of the zipper stop. Make sure all of the zipper stop has been completely removed from the zipper teeth.
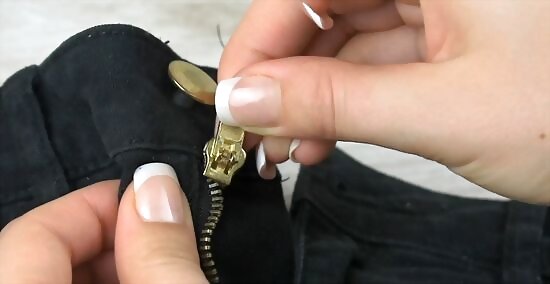
Slide the damaged zipper slider off the zipper. Once the zipper stop is removed, you can slide the damaged zipper slider off the zipper. Then, replace it with the replacement zipper slider. You may need to tug the replacement over the old zipper stop gently. Make sure the zipper slider is facing right side up when you slide it on the zipper. The zipper slider should move easily up and down the zipper once it is attached.
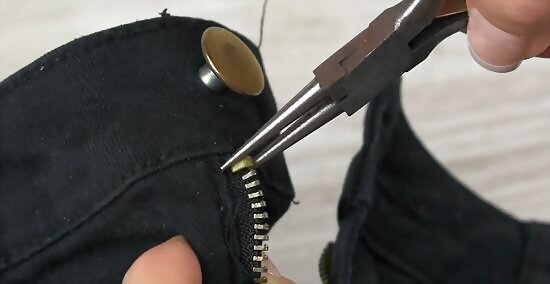
Put on the new zipper stop. Use tweezers to hold the new zipper stop. Then, insert the teeth on one end of the zipper stop into the webbing on the zipper, right where the old zipper stop used to be. Take the pliers and bend the top of the zipper stop around the edge of the webbing. The single tooth on the stop should go through the back part of the webbing. Use the pliers to crimp the stop into place. Try out your new zipper, making sure it runs smoothly and does not unzip on it’s own.
Caring for the Zipper
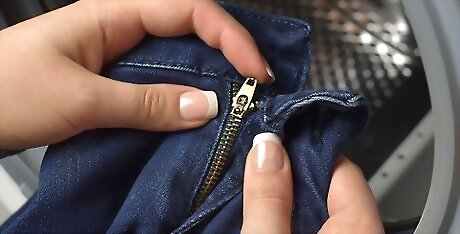
Close all zippers before putting your clothes in the wash. To keep your zippers in good shape, you should make sure all the zippers on your clothes are closed before you throw them in the wash. Do up zippers on your pants, your shirts, your skirts, your dresses and your shorts. To make sure the zippers stay closed, you can use safety pins. Loop the safety pin through the zipper slider and attach it to the top of the garment so the zipper stays closed in the washing machine and the dryer.
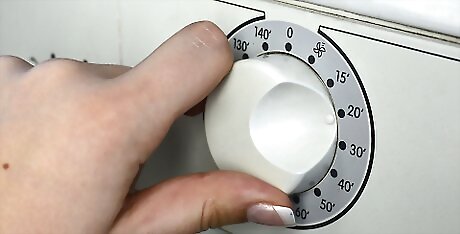
Dry clothing with zippers on low heat. High heat can be damaging to zippers, especially zippers made of plastic. Dry clothing with zippers on low heat and minimize the amount of time the clothing is in the dryer. The tumbling of the dryer can cause damage to certain zippers. You should also take clothing with zippers out of the dyer right after the drying cycle is done so you can lay them flat. Straightening out the clothing and the zipper on a flat surface will prevent the zipper from drying with crooked teeth. This could prevent zipper jams and other issues down the road.
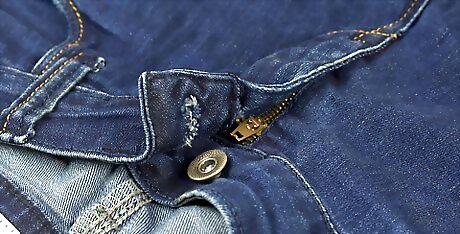
Expect some puckering around the zipper. Don’t worry too much if there is puckering around zipper after it has been through the wash. Most clothing will shrink a little in the wash and this could cause puckering around the zipper. The puckering is usually not too obvious, depending on the material of the clothing and the material in the zipper. Clothing made with 100 percent cotton is especially prone to shrinkage, which can cause noticeable puckering around the cotton-polyester zipper tabs. You may want to hang dry clothing made of cotton and other materials that are prone to shrinkage, rather than run them through the dryer.




Comments
0 comment