views
Stringing the Bass
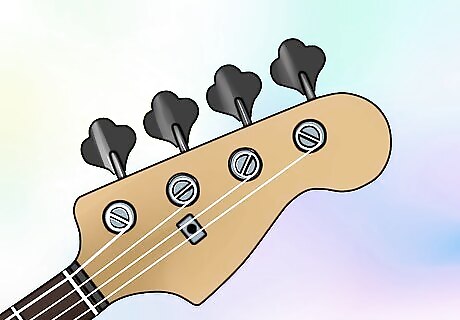
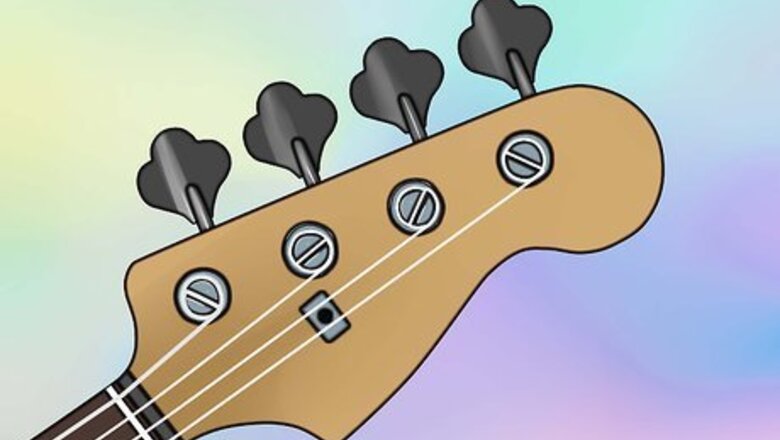
Examine the headstock. This is the top of the guitar, where the strings are held on to the nuts for tuning. Note how the strings come off at the nut and wind around each tuner, especially how many times each wraps around. Lower strings, which are thicker, will wrap around fewer times. This is a good reference point for when you re-string the bass yourself to see if things are fitting properly.
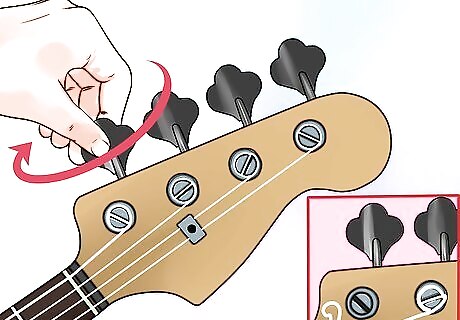
Remove an old string. To do this, loosen the first string via the tuning pegs, until you see it loosen. Where the bass is strung at the bottom of the guitar will be different for different depending on the manufacturer. You may have to pull the string out through the bridge, or the body. Before removing the strings, be sure to see how they are wrapped around each post. Wrapping around the wrong side is a common mistake, so make a note of which way to go for when you re-string. You can either replace the strings one at a time or all together. Most people prefer to change them one by one because it keeps some tension on the neck. If you do them all at once, just keep track of which string went with each nob so you replace them in the proper order. Once you've removed the strings, it's good to keep them as spares in case your new ones break.
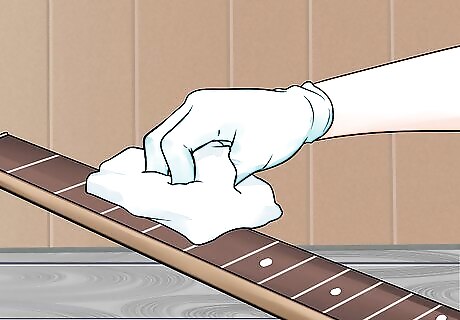
Clean the neck and fretboard. Use cleaning oil to give the neck a good wipe down and get rid of any dirt or grime. If the neck is made of wood, check your cleaning product to make sure it won't damage the wood. Then apply some oil to the fretboard and let it soak for about 5 to 10 minutes in before wiping off the excess.
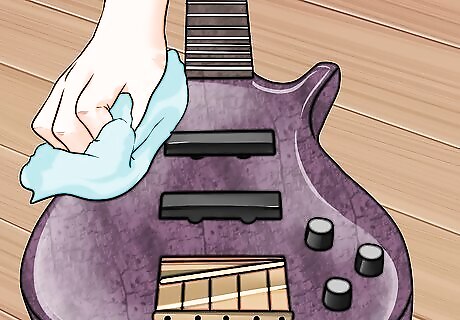
Clean the body. Use a soft cloth to wipe down the rest of the bass, getting rid of dust and any stray fingerprints. Doing this without the strings is better because you'll be able to get to the parts of the bass that would normally be covered by them. You can use a cotton swab to really get into the nooks on the bridge.
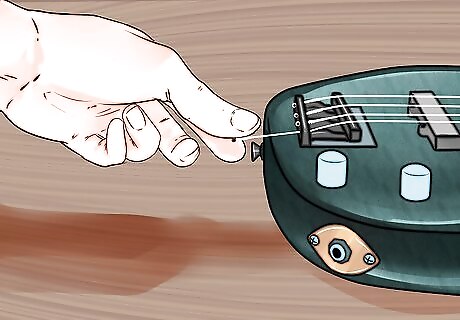
Pull the new string through the bridge. Make sure the thickness matches the string you pulled out of that slot. The order you string the guitar doesn't really matter, though it is easier to start on one end and go down the line in order. It's most important that you get the right string thicknesses in the right place on your bass. When you start the restringing, make sure to give yourself too much string to thread through and wrap at the nut in the headstock. You'll always be able to cut off extra.
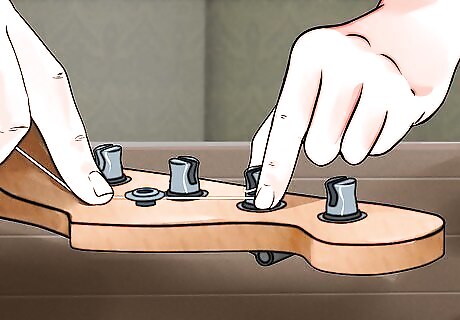
Thread the string. Bend the string down into the nut, and wrap while turning the tuner. Hold the string taut with one hand and make sure to wrap as tightly as possible around the nut. Make sure that you're being careful not to damage the string. Finely wound or strings with coatings can be nicked and bent very easily.
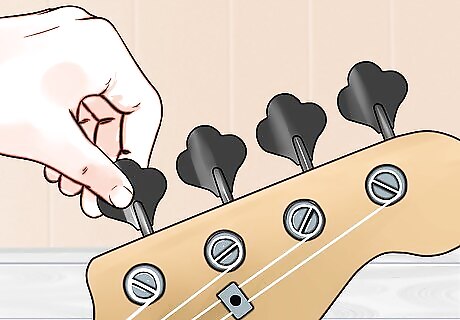
Turn the tuner. You should now be turning the attached tuner knob to tighten up the string. You don't need to get the string in perfect pitch just yet but it's a good idea to keep tightening the string until it makes a sound when you pluck it. In other words, keep tightening the string until it no longer flops around the fret board on the neck. You'll adjust the tuning later, for now the string just needs to be tight.
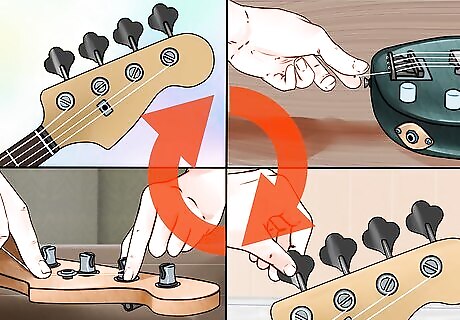
Repeat with each string. If you decided to remove them all at once, you'll only need to do the re-stringing, but if not, you'll just start by loosening the next one and going on from there.
Tune your bass. Once you have completely re-strung the bass, you can tune the strings to get the proper notes. Use an electric tuner, or a piano, to get the proper pitches. The strings on a four-string bass should be tuned (low to high) at the notes E-A-D-G, while a five-string should be B-E-A-D-G.
Adjusting the Truss Rod
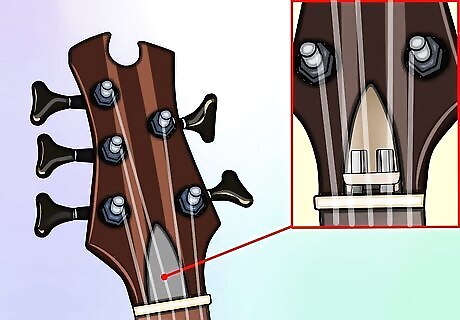
Locate and remove the truss rod cover. In most basses, the truss rod is located at the bottom of the headstock. Some bass guitars, though, will have the truss rod hidden at the bottom portion of the fret board where the neck joins the body. If the truss rod is in the headstock, you should be able to make adjustments with a 5mm Allen wrench, which should be included with your bass. If it does not have one, you should be able to get one from a tool kit. If your truss rod has a cover on it, it'll need to be removed. You will see a metal plate screwed into the back of the bass where the neck joins the body. This can be removed by simply unscrewing the screws that are fixing it to the guitar. Remember to keep the truss rod cover and its screws in a safe place. These truss rods can be adjusted using a Phillips screwdriver.
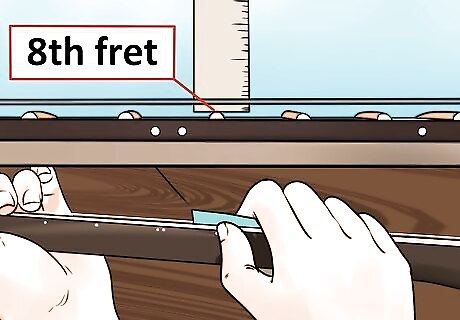
Check the gap between the strings and the fretboard. A good rule of thumb is the thickness of one to two business cards between the string and the frets. More experienced bassists will probably have a more specific gap in mind, and can adjust to that. Frets are the ridges on the neck that you press the strings onto to create different notes. Slide the business card between the string and the 8th fret (starting your count from the headstock). If the card can't fit, you'll need to loosen the truss, and if there is extra space, you'll have to tighten it.
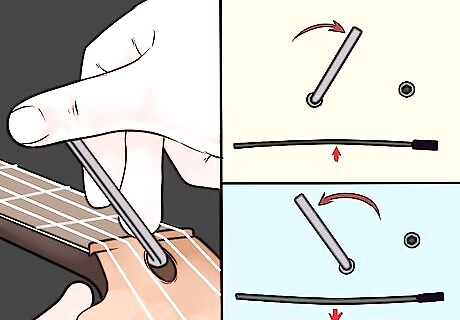
Adjust the truss rod. In most basses, you will turn the rod clockwise to tighten the truss rod, and counterclockwise to loosen it. You shouldn't need to turn it much, about 1/4 turn in the necessary direction. Clockwise and counterclockwise directions based on looking down the neck from the headstock.
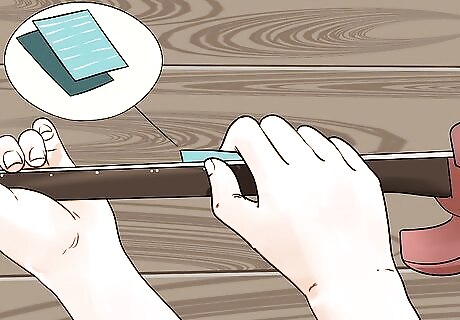
Check the adjustment. Once you have made the turn, check the gap with your business cards at the 8th fret again. Avoid adjusting more than 2 or 3 times in total. If you still aren't satisfied with the adjustment, or notice you can't turn the rod any further, take it to a professional technician to let them examine it.

Let your guitar rest. Once you have finished setting the truss, retune the strings and let your guitar sit for a few hours. You want to let the wood settle after the adjustments. After the rest, pick it up and give it a try. If everything feels right, you are ready to go.





Comments
0 comment