
views
Correcting a Frontal Lisp
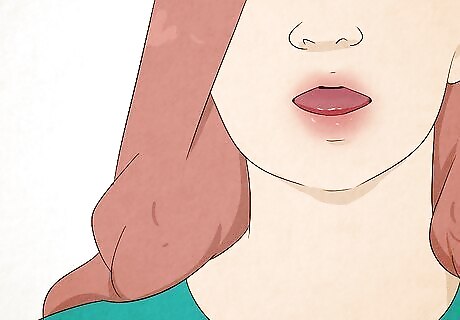
Check whether you have a frontal lisp. A person with a frontal lisp presses the tongue forward against the front teeth when she makes an "s" or "z" sound. This may create a "th" sound if the tongue sticks out between the teeth (an "interdental" lisp), or a muffled "s" or "z" sound if the tongue presses against the back of the teeth (a "dentalized" lisp). If this doesn't sound like your speech impediment, skip down to the section below.
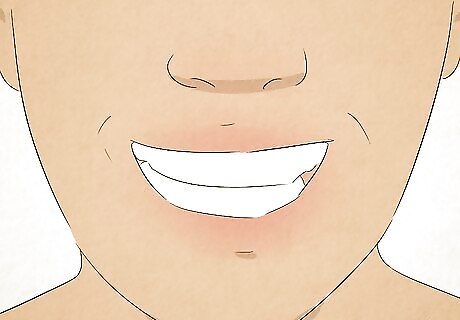
Bite and smile. Bring your teeth together until they almost touch, in a natural biting motion. Part your lips in a small smile.
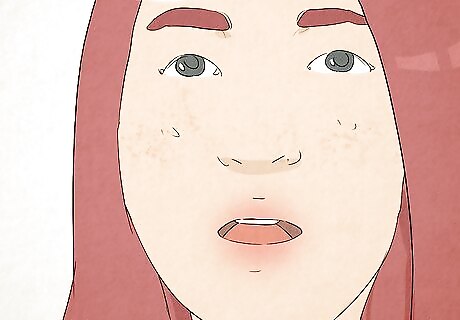
Place your tongue in the correct position. Raise the sides of your tongue so they touch your upper teeth on the sides of your mouth. Bring the tip of your tongue up near the upper front of your mouth, but do not touch it against your teeth. This should form a groove down the center of your tongue, allowing air to flow. It may help to look in a mirror while trying to adopt this position.
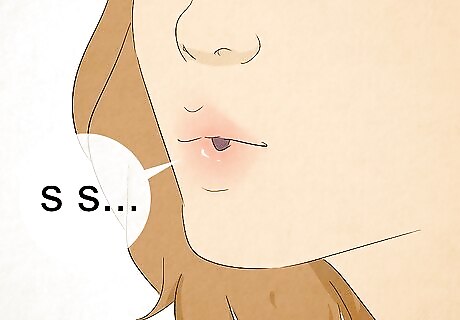
Blow to make an s sound. Blow out gently and see what sound results. Pay attention to your tongue. Make sure the tip doesn't push forward against your teeth, and keep the sides touching your upper side teeth. Don't worry about trying to say words that have an "s" in them at first. Just work on making an "s" sound to start with.
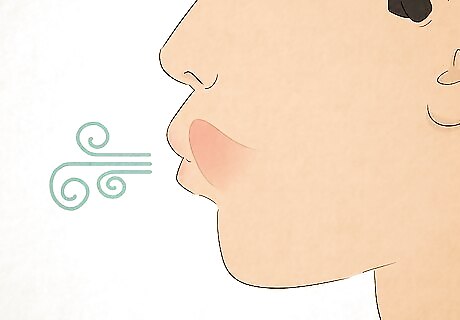
Move the tip of your tongue if necessary. If you aren't getting an "s" sound yet, focus on the tip of your tongue. Move this slightly as you blow until you feel a current of air over it. When the tip of your tongue is close to the roof of your mouth, you'll likely hear an "s" or a sound close to it. Don't worry if you can't make an s sound on your first try. The steps below will help you adjust to the right position.
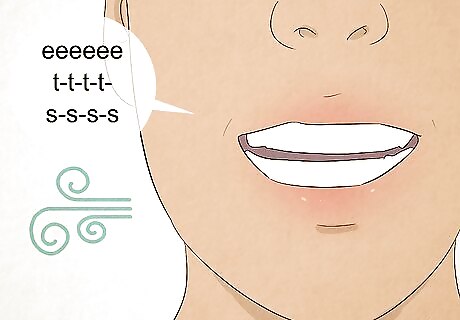
Blow through a t sound. If you're not sure where to put the tip of your tongue, hold a t sound in one long breath instead: t-t-t-t-t-. Now blow air over your tongue as you make this sound. This should get you close to an s sound, and help you identify the difference in tongue position between the t and s sounds. If you're having trouble with this, try saying eeeeet instead. Extend the duration of the t sound until it becomes eeeeeet-t-t-t-s-s-s-s.
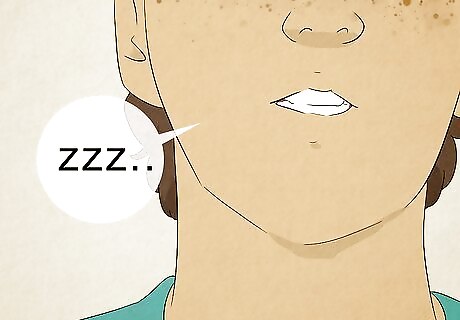
Turn it into a z sound. The z sound uses exactly the same mouth position as an s. Just engage your vocal cords to turn it into a z. You can perform any of the exercises in this section with the z sound as well as the s.
Practice this in increasingly long phrases. Practice this sound daily until you can produce an s sound consistently, about 20 times in a row. If possible, practice with a supportive friend or relative who can warn you when your tongue is in the wrong position. Gradually move on to s sounds in more complex sounds and words, one step at a time: Short vowel syllables: ss - aa - ss - aa → sa sa sa (& so so so, etc.) Long vowel syllables: ss - ay - ss - ay → say say say Words with s in the beginning, middle, and end (one at a time): sold skateboard, hissing master, gross pass. Phrases with several s sounds, and eventually sentences. Work the s sound into conversation, starting in comfortable contexts.
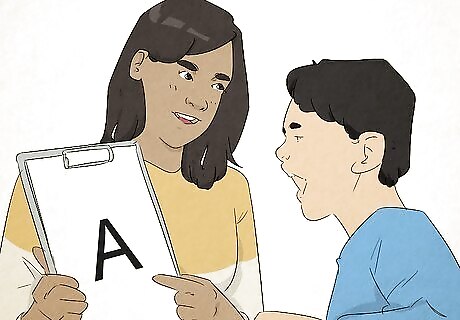
Visit a speech language pathologist for further assistance. Self treatment for speech problems has not been well studied, so it's difficult to estimate your progress. If you are not progressing as quickly as you would like, schedule an appointment with a speech language pathologist (also called a speech therapist). It will likely be very difficult to correct a lisp on your own if you have trouble hearing the difference between the correct and incorrect pronunciations.
Correcting a Lateral or Palatal Lisp
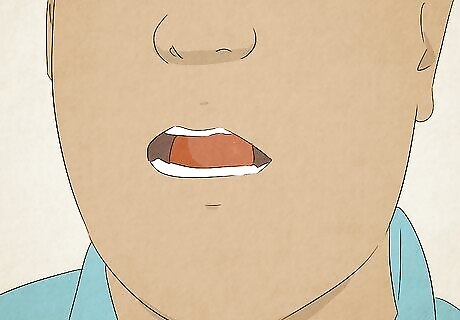
Figure out your type of lisp. These two types of speech impediments affect the s and z sounds in different ways, but they can be improved by similar exercises. Read this section if you have either of these symptoms: Lateral lisp: s comes out as a "slushy" or "wet" sound. You hold your tongue in a position similar to an L sound, and this lower position allows air to escape out the sides of your mouth. Palatal lisp: s comes out as a hy sound, created by the mid-section of your tongue contacting the soft palate way back on the roof of your mouth.
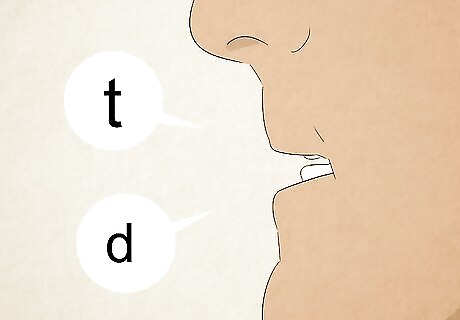
Perfect your t and d first. The exercises below will only work if you can say the sounds t and d. If you have trouble with these as well, your speech impediment may involve difficulty raising your tongue tip, or difficult raising the sides of your tongue. Practice the t and d sounds until you can enunciate them clearly, with no air rushing out the sides of your mouth. Visit a speech language pathologist if you have difficulty with this step. Any speech exercise may be easier with a partner who can identify when you are making a mistake. If you have trouble noticing the difference between the correct and incorrect forms, self-training may not work well.
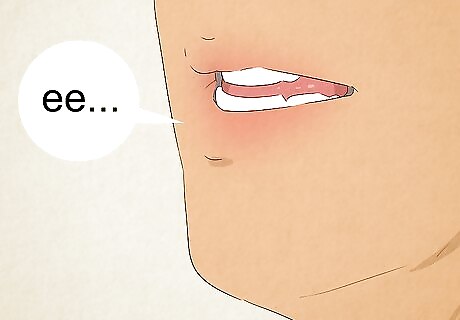
Adopt the butterfly position. Say a prolonged "ee" as in "steep" and pay attention to the position of your tongue. The sides of your tongue should press against the upper side teeth. The center of your tongue should be held lower in your mouth, forming a groove above it where air can pass through. If you're having trouble understanding this description, imagine your tongue in the shape of a butterfly: the central strip of your tongue forms the butterfly's narrow body, and the sides of your tongue form its upraised wings. Have someone else read this description and check whether you have achieved it. Don't try to move on to the next step until you can form this tongue position. Visit a speech language pathologist if you cannot do it. If you can roll your tongue, you may instead stick your tongue tip forward, then rolling the edges of your tongue up to your upper teeth.
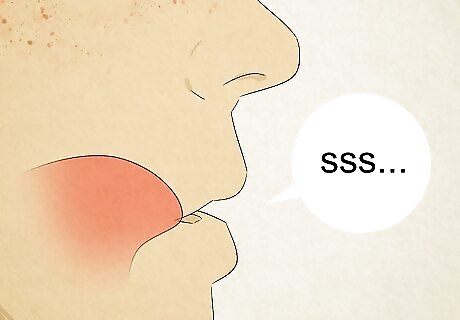
Attempt the s sound. Blow air through the groove formed by the butterfly position to attempt an s sound. If you don't get a clear s sound, make a minor adjustment and try again. At this stage the goal is to try out different tongue positions so you can get a physical sense for what works best. Don't expect a perfect s sound on your first session. If it sounds slushy, press the sides of your tongue harder against your upper teeth. You should feel the air shooting straight forward, not out the sides. If it sounds like a y or hy, lower the center of your tongue. If you're not producing much sound at all, raise the front of your tongue close to the roof your mouth, behind the front teeth but not touching them.
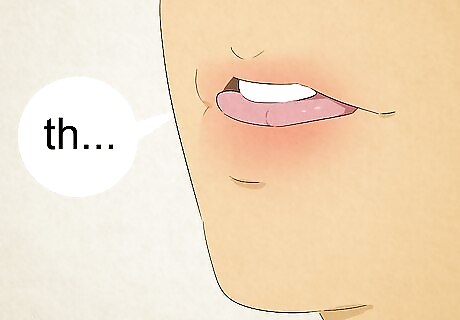
Extend the t and th sounds. Here are two more exercises which may help your tongue position: Prolong the t sound, then "blow through" it, producing a hiss of air: t-t-t-t-t-(blow). Say the th sound (as in "thing") but blow air through it, out the front of your mouth. Move the tip of your tongue backward along the roof of your mouth as you continue to blow.
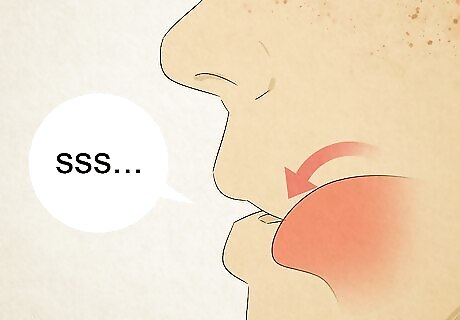
Place the tongue behind the lower teeth if your s is still slushy. Some people with lateral lisps may find it easier to produce a clear s sound with their tongue tip behind the lower front teeth. This may help the mid section of the tongue stay close to the roof of the mouth without touching it, allowing air to pass above it.
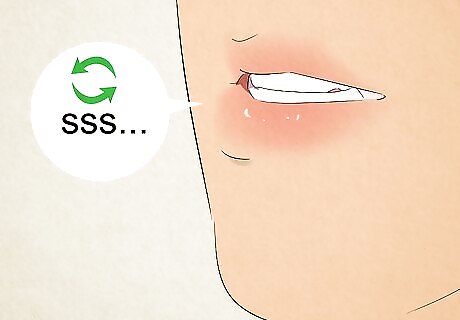
Practice your s sounds daily. Try the exercises that work best for several sessions a day, each one a few minutes long. Once you get close to a clear s sound, start using these practice sessions for more difficult uses of s. Slowly progress through these stages, moving on only once you can consistently produce s in each context: Single syllables that contain s, with both long and short vowels. Single words that contain s, at the front, middle, and end of the word. Words that contain a single s next to another consonant (snake, eats), and then two consonants (street, pants). Full sentences, either prepared or read aloud from a book. Conversation, starting with people you feel comfortable around. Note — when you feel ready, drop the butterfly approach and other conscious exercises to adjust your tongue shape. Repeat your practice words until you can say them naturally, without thinking about your mouth shape.
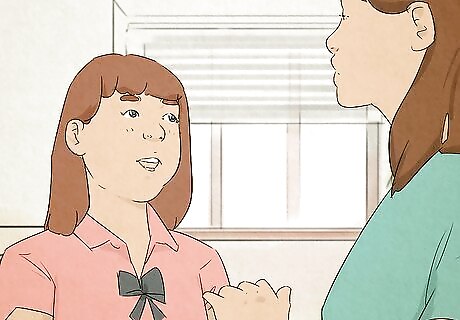
Consider a session with a speech language pathologist. Speech impediments are complicated phenomena. This self-correcting approach has not been well studied, and it's difficult to produce one set of exercises that works for everyone. If feasible, consider an appointment with a professional who can give you advice specific to your situation.




Comments
0 comment