views
- Reupholster a chair seat by unscrewing the seat from the base and pulling any tacks or staples to loosen and remove the original fabric.
- Opt for stain-resistant or water-proof fabric when replacing your chair seat. Use new foam and batting to make the seat more comfortable, if necessary.
- Drape the new upholstery fabric over the chair base, securing it with a staple gun. Start at the center of one side, and work your way out for a clean finish.
Removing the Old Chair Covers
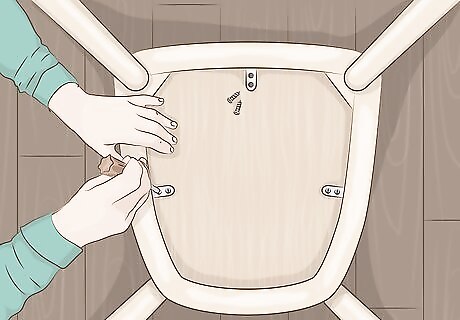
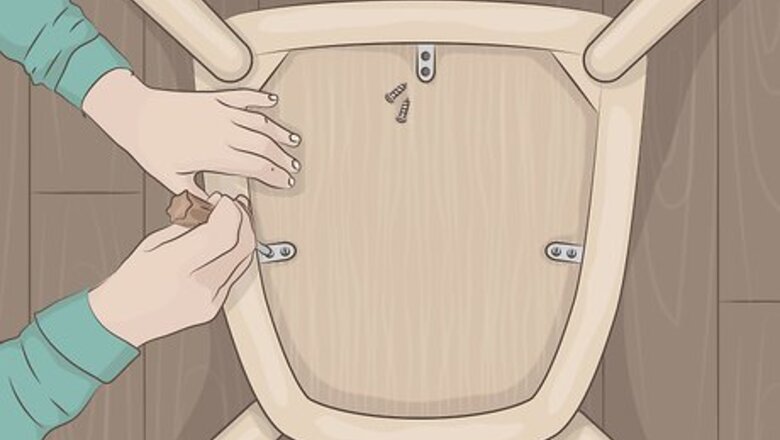
Unscrew the dining chair seat from the base. Use a screwdriver to loosen the screws attaching the dining chair seat to the chair base. Turn the screwdriver to the left to loosen the screws. Make sure to save the screws for reattaching the seat to the base after you’re done.
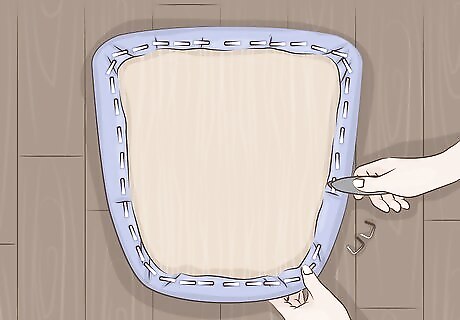
Remove the tacks or staples to loosen the fabric. Use the back of a hammer or a re-upholstery multi-tool to remove the tacks that hold the fabric onto the seat. Work the end of the tool under the tack or staple and then pull it up. Discard the tacks or staples since you will be using a staple gun to attach the new materials.
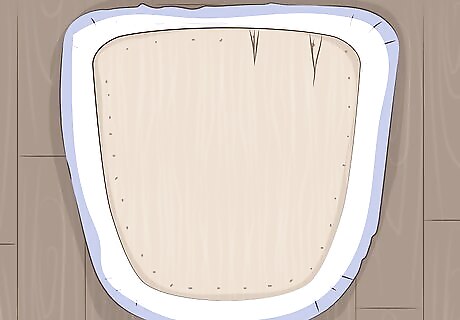
Pull off the fabric and padding. After you have removed all of the tacks or staples, lift the fabric off of the seat. If you plan to replace the seat’s padding, then lift this off the seat as well. For older chairs, the padding may be made up of a mixture of hay and cloth, so replace this with foam.
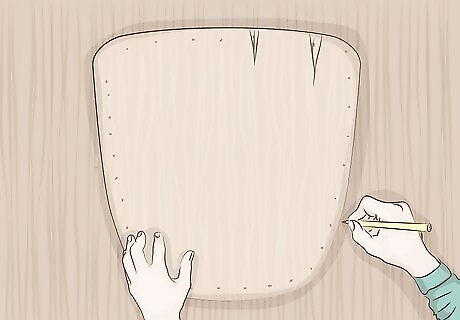
Check the seat base and replace it if needed. Make sure that the seat base is sturdy. If it appears damaged or weak, then you may want to replace it. Purchase a replacement seat base or cut a piece of plywood to the dimensions of your seat base and attach the new foam and upholstery to it using a staple gun. An easy way to get the dimensions you need is to place the old seat on the plywood and trace around the edges of the old seat with a marker or pen. Then, use a hand saw to cut along the lines you traced.
Replacing the Dust Cover and Padding
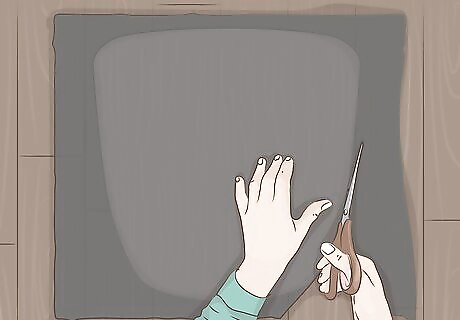
Cut a piece of the dust cover fabric to the dimensions of the seat. Place the dust cover fabric over the seat base and cut around the edges of the set to get the exact dimensions. This piece will be hidden under the foam and fabric, so don’t worry if the edges are a little jagged. A dust cover will help to prevent the cushion from sagging down into the seat base.
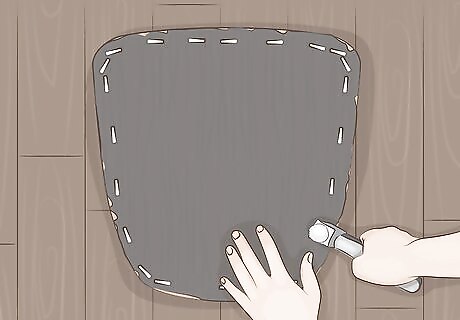
Staple the dust cover to the top of the seat. Place the dust cover onto the seat base and staple around the edges to secure it. Make sure that the fabric is taut. You may want to place 1 staple at the center of each side to start and then work outwards on each side, pulling the fabric as you go.
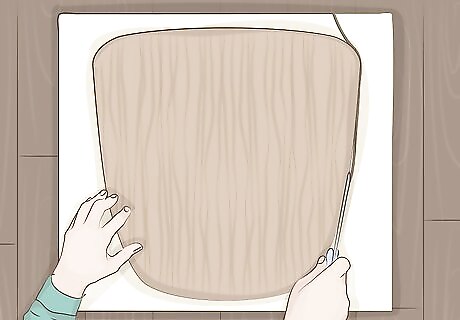
Cut 2 in (5.1 cm) thick foam padding to the dimensions of the seat. Place the seat frame directly onto the foam. Trace around it using a pen or marker. Then, use a serrated knife or an electric knife to cut out the foam using the lines you traced onto it as guides. A bread knife or turkey carving electric knife work well for cutting foam padding.
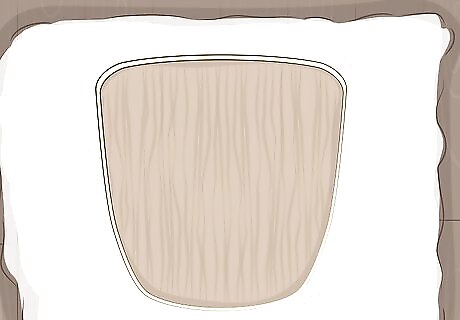
Place the foam padding and seat onto a piece of batting. After you have the foam cut out, place it onto the seat frame so that the edges of the foam and seat are lined up. Place the foam directly on the batting and the seat frame on top of the foam so that the bottom of the seat is facing up. Make sure that the foam and seat are centered on the batting. Don’t worry about the dimensions of the batting. Use a large piece and cut what you need after you have the seat and foam in position. Batting is an insulating layer that adds warmth and thickness to your chair seat.
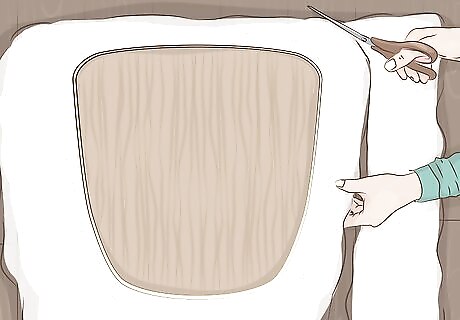
Cut the batting 2 in (5.1 cm) past the seat’s edges. Mark the batting with a permanent marker or fabric pen to indicate where to cut, or cut it directly while it’s wrapped over the edges of the seat. The edges of the batting need to go up and over the edges of the back of the seat by 2 inches (5.1 cm) on all sides.
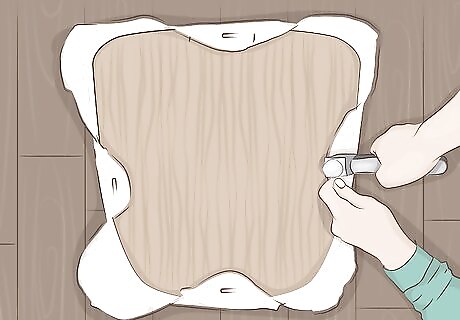
Staple the batting to the back of the seat, working outward from the center. Staple the center of each edge of the batting first on the back of the seat, and then continue stapling along the edges on each side. Pull the padding taut along each edge as you staple it. Then, do the same thing for each of the other sides.
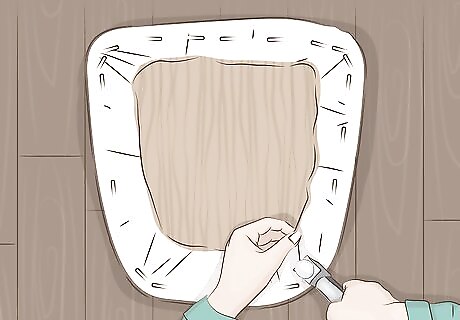
Fold the batting at the corner and staple to secure it. Gather the excess fabric at 1 corner of the seat, and then fold it over at the corner. Staple in the center of the fold to secure the fabric at the corner of the seat. If there is still some extra fabric, fold it again and place another staple over the fold to secure it. Repeat this for each corner of the chair.
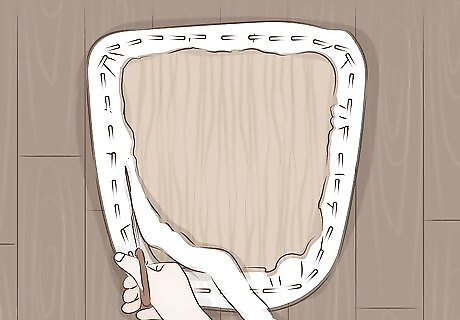
Cut the excess batting 1 inch (2.5 cm) from the staples. Once the batting is secured to the seat, cut the excess to reduce the bulk and prevent any hanging fabric. Cut about 1 inch (2.5 cm) from the staples all around the inside of the seat. Don’t cut the batting too close to the staples or it may come loose.
Cutting and Attaching the New Upholstery
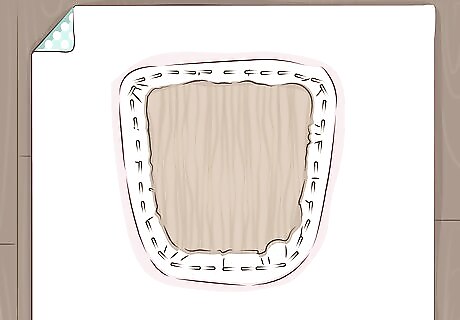
Place the cushion on the fabric with the right (outer) side facing down. Situate the seat so the batting and cushion are right up against the fabric, with the bottom of the seat facing up. Try to place the seat so that it is about 3 to 4 inches (7.6 to 10.2 cm) from the edges of the fabric, but don’t worry about getting it perfect. You can adjust it before you start cutting. You may want to opt for a dark fabric to make stains less visible, or get a water-resistant fabric to protect your chair from spills.
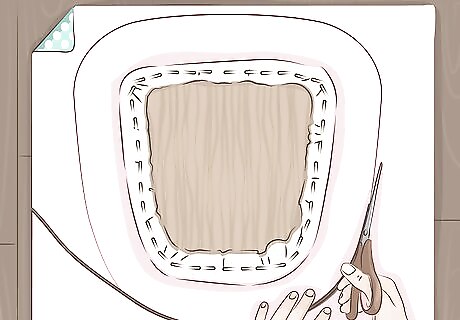
Cut the fabric 3 to 4 inches (7.6 to 10.2 cm) from the edges of the cushion. You will need this much fabric all the way around the cushion to cover it. Measure or find where to cut by wrapping the edges of the fabric up and over the seat edges. Then, mark the fabric and cut it.
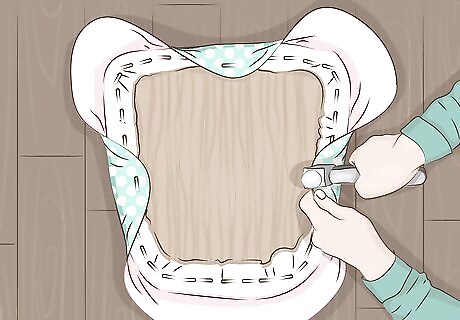
Staple the upholstery in the center of each of the 4 sides of the seat. Grasp the fabric on 1 side of the seat and pull it up and over the edge of the seat. Locate the center of the seat edge, and place a staple in the center of the edge to secure the fabric. Repeat this for the other 3 sides of the seat. If the seat is round, then staple the upholstery to the underside of the seat in 4 equal locations, such as at 12 o’clock, 3 o’clock, 6 o’clock, and 9 o’clock.
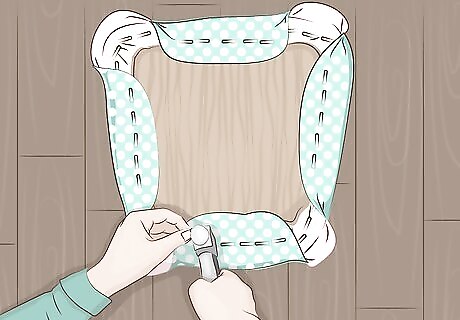
Pull and staple the fabric working out towards the corner. Choose 1 side of the seat to work on first. Grasp the fabric on the inside of the seat next to where you placed the first staple. Then, start stapling along the edge going out towards the corner of the seat, and then do the other side of the staple. However, do not staple the fabric at the corners of the seat yet. Repeat this on all sides of the seat.
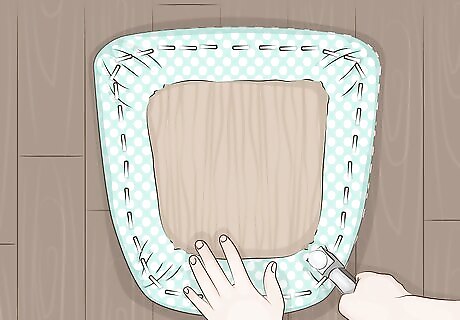
Fold the fabric at the corners and staple in the center of the fold. Once the fabric is secured along the sides, choose a corner and fold the fabric over at the corner to gather it. Then, fold the fabric again, and staple the fabric a couple of times at the center of the fold to hold it in place. Repeat this for all of the corners.
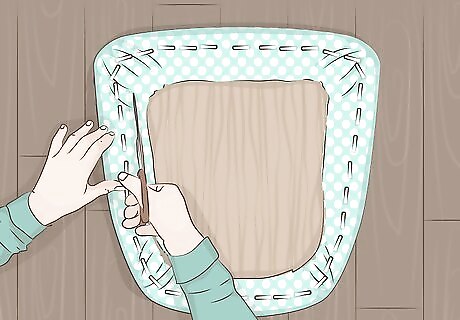
Cut the excess fabric 1 in (2.5 cm) from the staples on each side. Once the fabric is secured at the corners, cut the fabric on the inside of the chair back 1 inch (2.5 cm) from the staples. This will prevent the excess fabric from hanging down. Be careful not to cut the fabric too close to the staples or it may come loose.
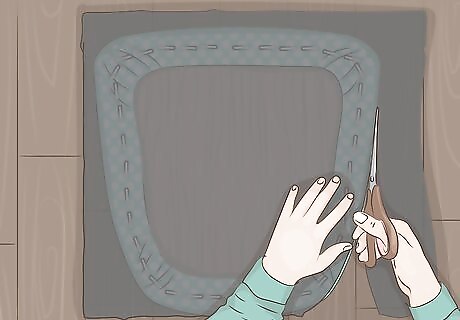
Cut the dust cover fabric to the same dimensions as the seat. To finish the seat, cut a piece of dust cover fabric to the same dimensions as the seat. You can place the fabric over the back of the seat and cut along the edges. Be careful not to cut the upholstery fabric as you cut out the dust cover fabric.
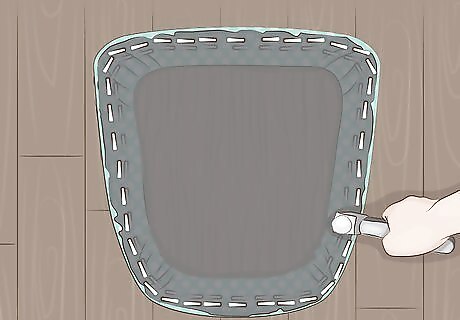
Fold the dust cover fabric under and staple the edges to the seat. Staple the center of 1 side of the fabric first and then work out towards the edge. Repeat this all the way around the edges of the chair to secure the dust cover.
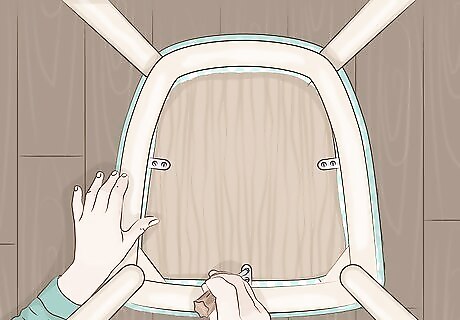
Reattach the seat to the chair base. Once you have finished securing the fabric, your reupholstered dining chair is complete! Use the screws that you saved to reattach the chair to its base. If you have other chairs to reupholster, repeat the process for each of these chairs.


Comments
0 comment