views
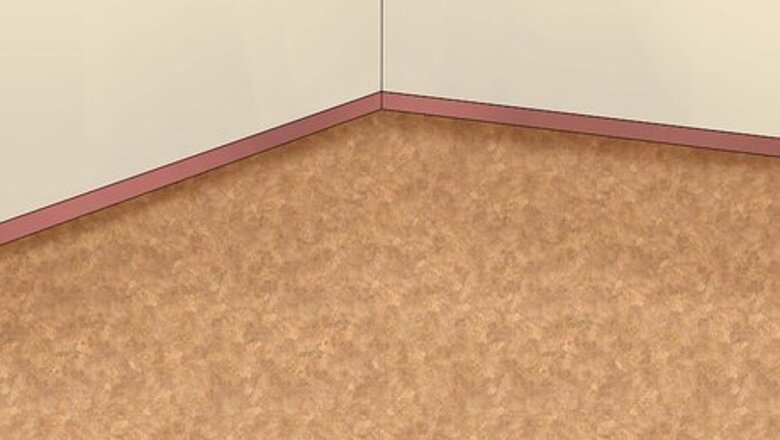
- Cut linoleum into strips with a utility knife, lift the edge of each strip with a scraper tool, and pull it up.
- Use a scraper tool to remove adhesive paper or underlayment. For stubborn adhesive, apply a chemical stripper first.
- Sweep or vacuum the newly exposed subfloor thoroughly.
Removing the Linoleum Topper
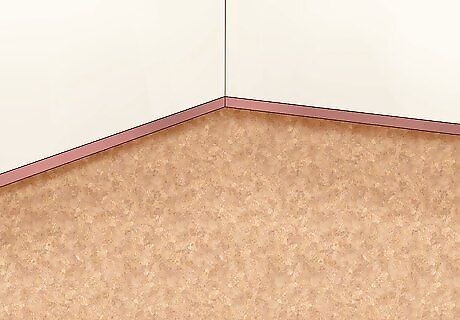
Clear the work area. Remove all large appliances, furniture, or other obstacles from the linoleum surface.
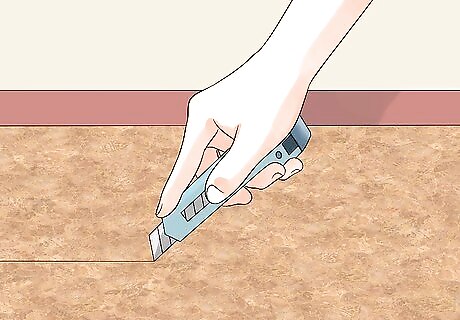
Cut the linoleum into 12-inch (34.48 cm) strips using a sharp utility knife. Removal of smaller, easy-to-handle strips will be much easier than trying to handle the entire sheet of linoleum at once.
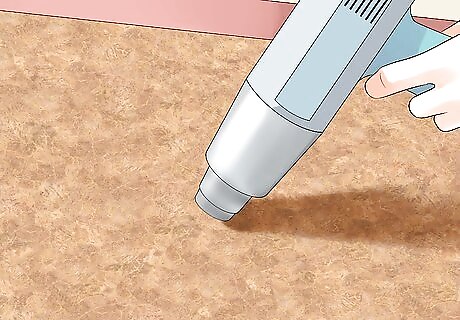
Heat the linoleum topper with a heat gun to soften it for easy removal. In order to get the lino topper soft and pliable, consider heating one section at a time with a heat gun. This will make the removal of the topper much easier. What if you don't have a heat gun? A hair dryer may work, but chances are that the hair gun doesn't get hot enough to do the job efficiently. Try for yourself and see whether the hottest setting on the hair gun makes the removal of the topper any easier.
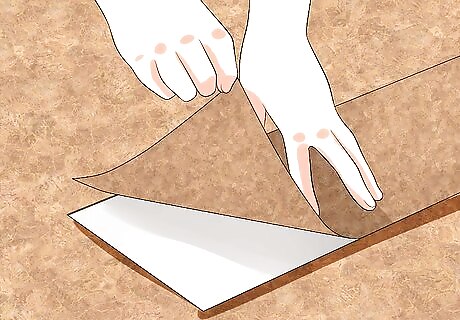
Peel back the strips manually. Use a 5 in 1 tool or hand scraper to lift the edges of each section and then tear the remainder. The tough outer skin should come off easily, but if the linoleum was fully bonded when installed, you may have large sections of soft backing and adhesive that will need additional attention.
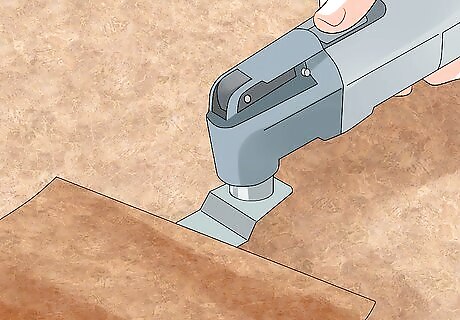
Use a vinyl floor scraping machine. Alternately, automate the process by using a vinyl floor craping machine with a rigid scraper blade. Rub a bit of petroleum jelly on the scraper blade to keep it from getting gunked up. Then, begin by sliding the automatic scraper underneath a pre-cut seam and lifting the linoleum up with your free hand. Follow the pre-cut seams to remove the linoleum topper. Depending on the job, this process is sometimes quicker than removing the topper by hand. You can rent these machines from a tool rental company.
Removing the Adhesive Paper or Underlayment
Be aware that this can be a difficult process. Removing the tacky paper or underlayment that adheres the lino to the subfloor can be a tricky and time-consuming process. Earlier linoleum (before the days of plywood) was fastened to the subfloor with underlayment, which can contain tar. If your lino is very old and the underlayment is extremely difficult to remove, consider calling an experienced professional.
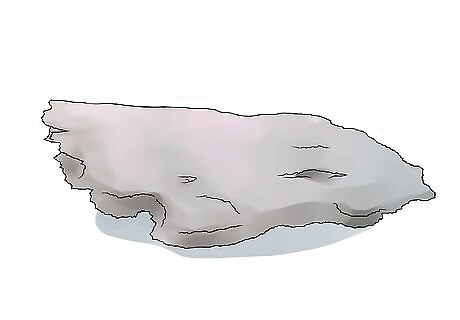
Check older linoleum for asbestos. For older linoleum, consider breaking off a small piece of tacky paper or underlayment gunk and get it tested for asbestos. Many older linoleum floors contain either asbestos tiles or sheeting, which are small fibers that can be dangerous if inhaled. Although proper and safe removal of asbestos can be accomplished at home, it may be easier (and ultimately safer) to remove it with the help of a professional abatement contractor. Either way, prepare to use goggles and a respirator mask to filter out any potential asbestos fibers from the more porous parts of your body. These should be used for safety regardless of whether you think your lino flooring contains asbestos. Another way to make possible asbestos tiles or sheeting less dangerous is to dampen in with water before removal. Dry asbestos gets airborne relatively easily, even if you can't see it. Wet asbestos doesn't get airborne as easily. Be careful about dampening the underlayment if you have wooden floors. See the next couple of steps below.
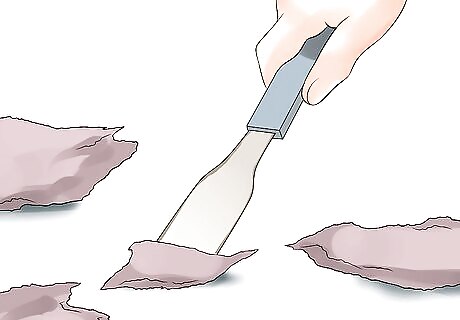
Use a scraper tool for delicate linoleum. For delicate floors, scrape the adhesive or underlayment with a scraper tool. You may need to apply moderate to extreme pressure depending on the strength of the adhesive. This can be very time consuming, but it doesn't risk damaging hardwood subfloors. You can try to use the heat gun and automatic oscillating scraper for removing the adhesive, just as you removed the lino topper. You may, however, find that it's difficult to get the oscillating scraper blade underneath the adhesive. Either way, the heat gun softens the adhesive and makes it easier to remove.
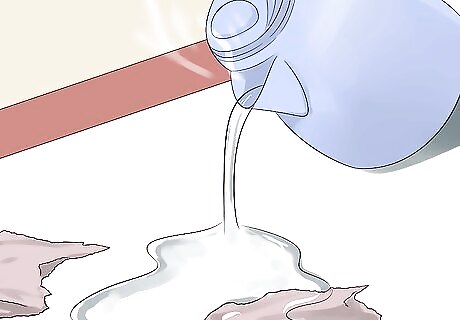
Heat the adhesive for durable subfloors. For more durable subfloors, soak the adhesive with boiling hot water and allow it to absorb for approximately 15 minutes. Again, only apply water if the subfloor is concrete or a replaceable plywood. Wood warping may occur with any type of water application so be careful when dealing with salvageable hardwood subfloors. Here's how you get the boiling water onto the adhesive or underlayment without creating an absolute mess or, even worse, flooding. Line sections of the floor with towels — towels you're okay with losing. Pour the hot water over the towels, letting the towels absorb most of the water but heat up the adhesive anyway. Wait 15 minutes before removing the towels. You can also cut the floor open in several places using a sharp blade and pour a stripping material into the gaps to help loosen the linoleum. Next scrape away with a manual scraper. You'll want a larger scraper for moistened adhesive, as it comes off much easier than dry adhesive, giving you plenty of opportunity to take a wider berth.
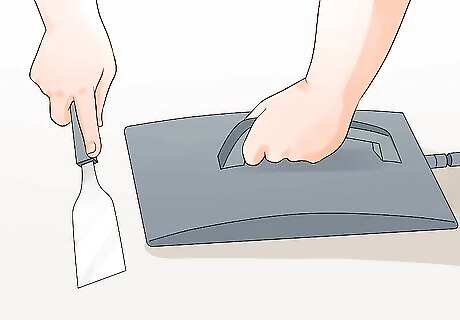
Use a wallpaper steamer. For a neat trick, try using a wallpaper steamer. You can rent these on the cheap at your local hardware store. Get the steamer warmed up. Place the applicator pad of the steamer over one section of the adhesive and let it steam for 60 to 90 seconds. Move the steamer to an adjacent section and scrape off the section where the applicator just was. This process is pretty quick compared to the dry method of removing adhesive. A 100 square foot floor should take less than two hours.
Finishing the Process
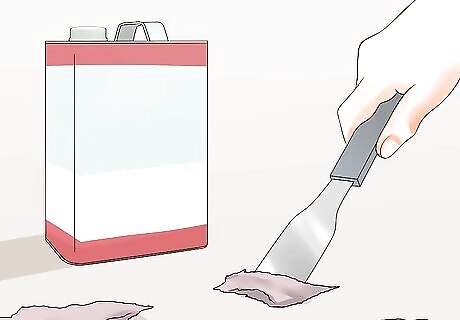
Apply a chemical stripper. You can apply a chemical stripper to any stubborn adhesive per the manufacturer's instructions. Most chemical strippers use the same active ingredients that are found in paint strippers and can be purchased at your local hardware store.
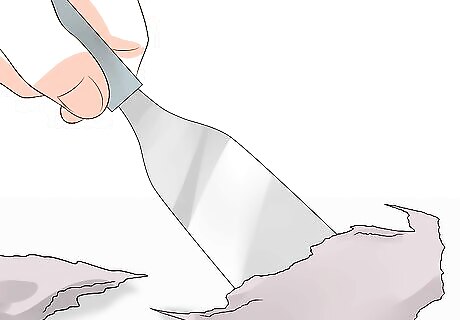
Scrape the treated adhesive. Scrape away the treated adhesive with a putty knife to remove any existing material. Since most of the adhesive should have been removed before the stripper was deployed, this process should be fairly easy.
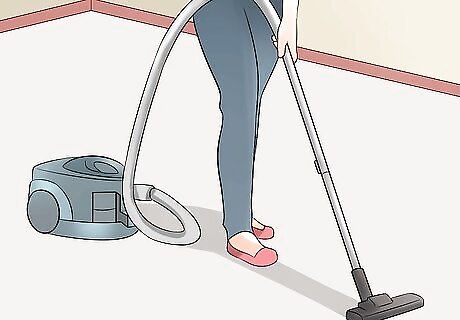
Sweep or vacuum the newly exposed subfloor. This is important to remove any small debris. Your subfloor is officially ready to shine in a new skin!


Comments
0 comment