views
Recording Audio from an Interview
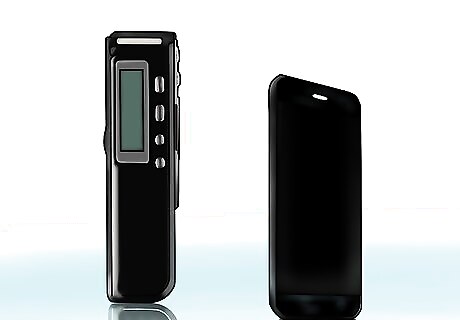
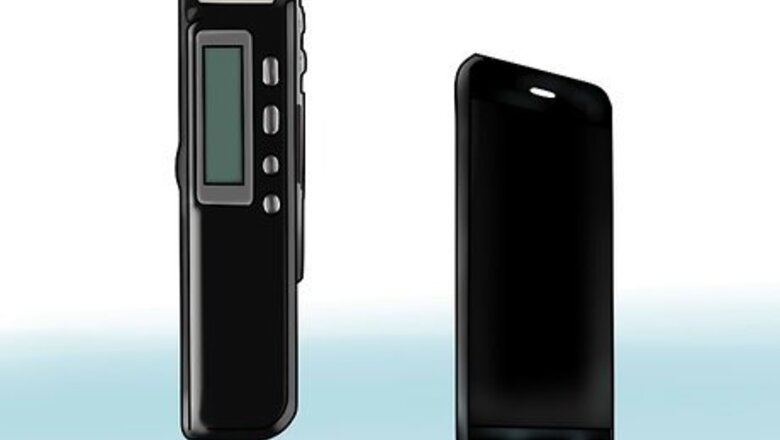
Consider your recording options. There are many different ways to record interview audio today. Below are a few common options: Digital Audio Recorder: A small handheld device that records audio to digital media. These are reasonably-priced and easy to use. Smartphone App: A downloadable program that lets you capture audio to your phone's storage. Usually free. Audio quality depends on your phone's built-in mic. Computer Recording Program: Lets you capture audio directly to your computer with the built-in mic or a peripheral mic. Some, like Audacity, are free. Most have easy options for cutting and editing the audio.
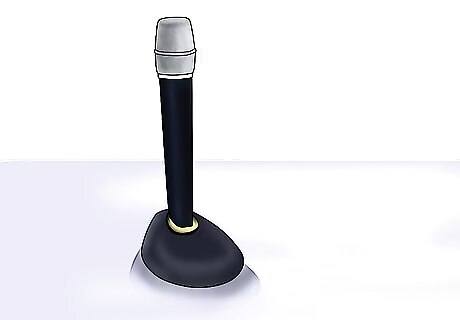
Invest in a peripheral mic, if feasible. The types of microphones that you buy separately are usually better than the mics that come built-in for computers and phones. Since you're just recording voices, you don't need an extremely high-quality mic to get good results. Lots of peripheral mics cost as little as $20. Most peripheral mics will be able to plug into a headphone jack, a computer's USB port, a MicroUSB port, or some combination of these. Make sure the microphone you're buying works with your recording device before you pay for it. Another big advantage of peripheral mics is that you can position them much closer to your interviewee's mouth. This allows you to pick up the audio better.
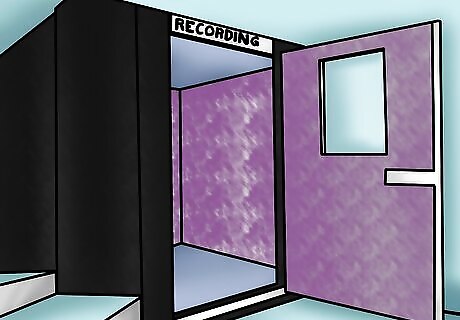
Pick a quiet, "dead" spot to record. You don't need to use a professional recording studio or another space that's designed to capture sounds perfectly. However, there are a few things to consider: Pick a spot with as little background noise as possible. Keep in mind that planes, cars, lawnmowers, and other distant sounds can be picked up by audio recording devices even if they don't sound loud to the human ear. Only record indoors. Outdoor areas seldom lack background noises. Pick a spot that's "dead". This means a room without an echo. Rooms with lots of hard, flat surfaces tend to have the worst echoes. By contrast, rooms with rugs, carpets, soft furniture, and blankets tend to lack echoes.

Perform a "dry run" before you begin. You don't want to find out that your mic is broken after you finish an interview. To ensure your equipment is working perfectly, record a brief practice clip before you start the interview proper. 30 seconds or so should be plenty of time. Below is a brief checklist you may want to consult: Make sure you can start and stop the recorder easily. Make sure your mic is picking up your interviewee's voice. If you will be talking, make sure it can pick up yours as well. Make sure that both your voice and your interviewee's are being picked up at a reasonable volume. Move the mic(s) closer or farther away from each person or adjust their recording levels as needed. Make sure you can save and listen to the test file you create.

Practice good interview etiquette. Now that you're all ready to record, learn a few easy tricks for ensuring that you get the best possible content for your recording: Make sure your interviewee understands that s/he is being recorded and consents to the process. Make sure you and your interviewee are both comfortable (especially if the interview will be a long one). Have some water handy in case either of you gets thirsty. Let your interviewee talk. Try to let your subject express his or her thoughts fully. Silent cues like nods can be good for getting the interviewee to elaborate without losing the thread of the conversation. If you're running short on time, wait for your interviewee to finish a sentence or idea before interrupting. Tend towards open-ended questions. Asking something like "How did you feel when this happened to you?" as opposed to "What happened next?" will usually lead to a longer, deeper conversation.
Recording Video from an Interview
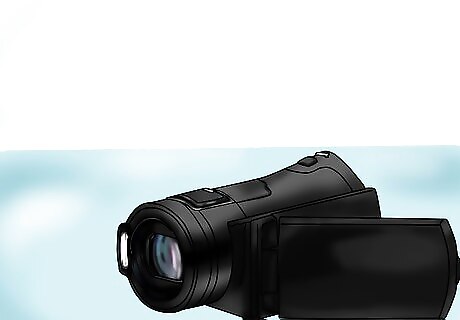
Consider your recording options. As with audio recording, there are many different ways to record a video interview: Digital Camcorder: Reasonably affordable (many are less than $200). Also offer good image quality and are usually simple to operate. Professional Camera: Can easily cost more than $1,000, but offer the best possible image quality to consumers. A good choice for documentaries, etc. Smartphone: Most modern phones have a built-in video camera. Image quality and storage capacity are usually much more limited.
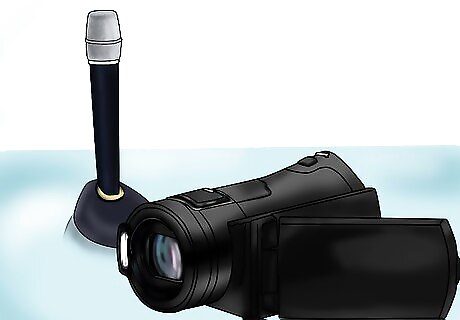
Try use peripheral mics to pick up audio, if possible. These mics offer better sound quality than the built-in mics in cameras and smartphones. Find a mic that clips onto the interviewee's shirt (called a lavalier or "lav" mic) for a hands-free solution.
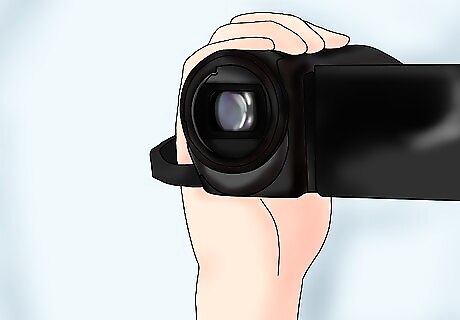
Keep the frame steady and in focus. Except in special circumstances, you'll probably want to throw out footage where you don't get one of these. Use a tripod to keep your camera steady. If you don't have one, you may be able to prop the camera on sturdy objects like books. (This is not recommended for expensive or fragile equipment.) Most modern cameras will automatically focus on whatever you point them at. If yours doesn't, manually adjust the focus until the interviewee's face is crystal clear. The background doesn't have to be in focus.
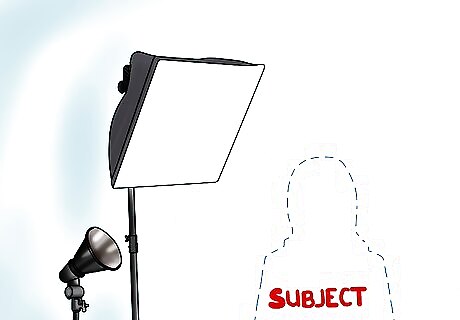
Keep the subject well-lit. In general, you'll want to shoot somewhere with soft, warm lighting that clearly illuminates your subject without making things uncomfortably bright. If you have access to a professional three-light setup, use this. This link contains good instructions for lighting an interview like a professional. If you don't have professional lights, try simply positioning a lamp a few feet away off-camera. Look for any odd, distracting shadows, especially on your subject's face. Move or adjust your lighting to get them to disappear. Unless you know what you're doing, avoid shooting outside. If you don't have the right equipment, clear days can often make your footage uncomfortably bright, while overcast days can make it look dim. Avoid harsh fluorescent lighting. No one looks good in it.

Don't shoot your subject head-on. It may seem logical to have your subject look straight into the camera, but this is actually a big "no-no" in the world of interviewing. Instead, stand slightly to the side of the camera and have your subject face you and maintain eye contact while s/he speaks. This gives the interviewee a less-intimidating "off-camera" look.
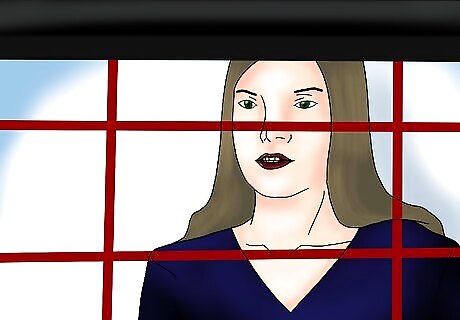
Keep the subject centered in the frame. Position the camera at eye level in front of the interviewee. Adjust the zoom so that the subject's head is in the center of the frame. Don't zoom in too far. Ideally, you want to be able to see part of the interviewee's neck and upper body as well as some of the background.
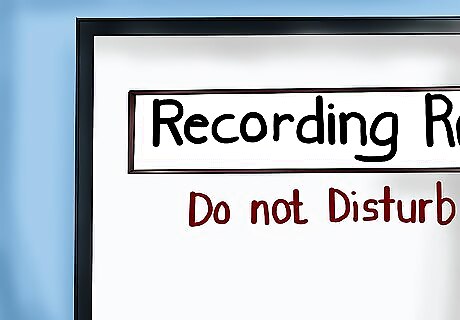
Shoot somewhere with a non-distracting backdrop. Try to position your subject so that there's nothing behind him or her that might distract from the interview itself. When in doubt, simply shoot the subject from across a table or desk — it gives the impression that the audience is actually having a conversation with the subject. This advice doesn't mean there should be nothing in the background. One common strategy is to put things in the background that relate to the subject's occupation or expertise. For instance, if you're interviewing a doctor, shooting in her office with a few medical degrees in the background is a good idea.

Shoot from a variety of frames. To keep things visually interesting, try shooting from more than one frame. If you have more than one camera, you can shoot multiple angles at once and switch between them as needed during the editing phase. If you only have one camera, wait until your subject finishes answering a question to switch the angle. Otherwise, the mid-question "jump" will be too jarring.
Recording Remote Interviews
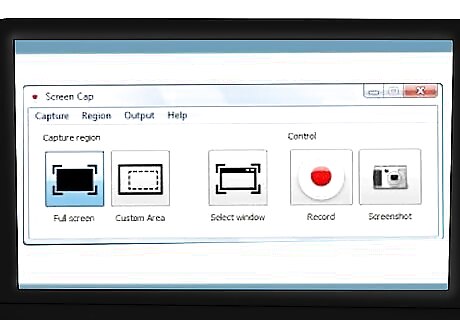
Use a screen capture software for computer interviews. You can use programs like Skype to record video and audio directly from your computer. This gets rid of issues like glare from the screen and tinny-sounding voices. Start the screen capture program before you begin the interview and keep the stream of the interviewee's face on screen as you talk. There are a number of paid and free programs available for this purpose. For instance, Call Recorder for Skype (available on Macs) allows for HD capture of Skype conversations for a fee, although a free trial is also available. More bare-bones options like Screencast-O-Matic are available for free online.
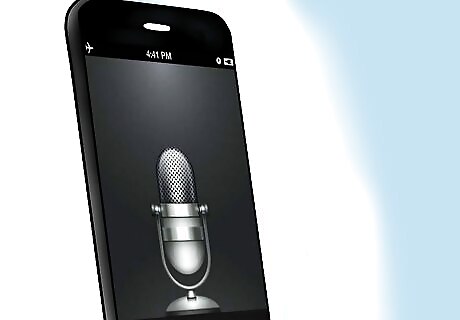
Use an audio capture app for phone interviews. Some smartphones have built-in options for recording audio from calls. For others, you may need to download and install an app to get this functionality. Luckily, many apps that do this are free. Another Call Recorder is a good free option for Android users. Call Recorder FREE is a similar app for iPhones.
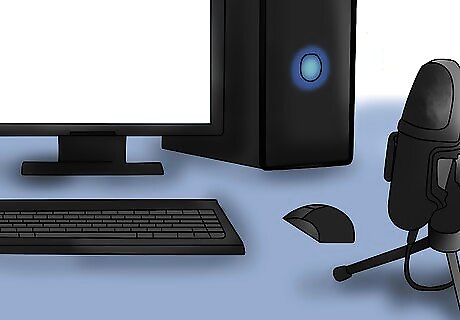
When all else fails, set up a recording device and record it manually. If you can't get the options above to work, you can always record your remote interview with a microphone and/or camera. In this case, your quality is likely to suffer, but it's better than getting nothing at all. If you're recording audio, set up your mic so that it's an inch or two from the noise. If you're talking on a phone, putting it on speaker mode and leaning into the mic is acceptable. If you're recording video of a computer screen, position the camera so that you and the screen are both in the frame. If you have two cameras, point the second camera straight at the screen. You may need to dim the lighting in the room to reduce glare on the screen.

Be aware of the legal issues surrounding call recording. Recordings of calls are subject to state and federal wiretapping laws. As a general rule, if everyone in the call agrees to be recorded, you're fine. However, it's important to keep the following in mind: Federal law requires the consent of at least one party when recording a call. In other words, you can't record a call between other people without at least one of them agreeing to it. In addition, 11 states require everyone in the call to agree to be recorded. These states are: California, Connecticut, Florida, Illinois, Maryland, Massachusetts, Montana, New Hampshire, Pennsylvania and Washington. If the callers are in multiple states, it's safest to get everyone's consent before beginning.


Comments
0 comment