views
Pruning Your Plumeria
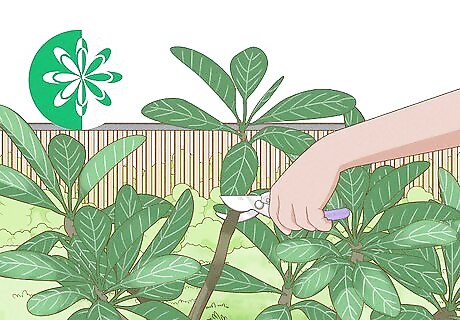
Prune your plumeria in the early spring. Pruning encourages the plant to grow, so the best time to trim the plant is at the very start of the growing season, which occurs during spring and summer. This way, the new growth will make your plant look full and healthy. If you like, you can prune your plant after it finishes blooming, instead, but since the pruning will cause the plant to grow, it's best to do at the start of the growing season. Plumeria typically blooms from April through November in the northern hemisphere, and February through April in the southern hemisphere.
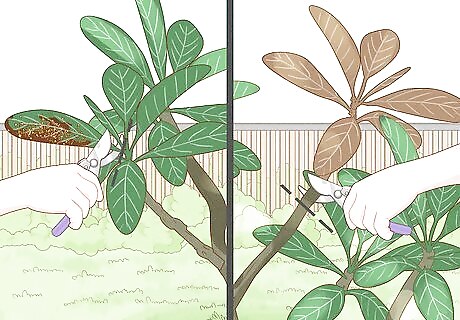
Remove dead or diseased branches whenever you see them. You don't have to wait for a certain season to prune off unsightly branches. Trim them off of the plant as close to the base as you can get, using the same technique as you would for pruning.
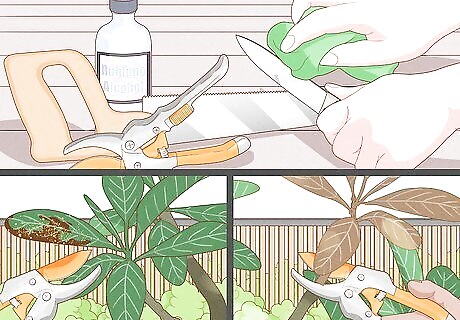
Use a sharp, sanitized tool to make the cuts. When you’re pruning plumeria, you can use a knife, pruning shears, or a small saw. Older plumeria especially can get very woody, so a sharp tool is necessary to get a clean cut. Wear gardening gloves to protect your hands and improve your grip. For most plumeria plants, pruning shears are ideal. However, a pruning saw is a good option if you'll be cutting thicker plumeria branches, while a sharp knife would be ideal if you're pruning a younger, smaller plumeria plant. You can prevent the spread of harmful bacteria into the cuts by wiping the blade with rubbing alcohol before you start cutting as well as in between cuts.
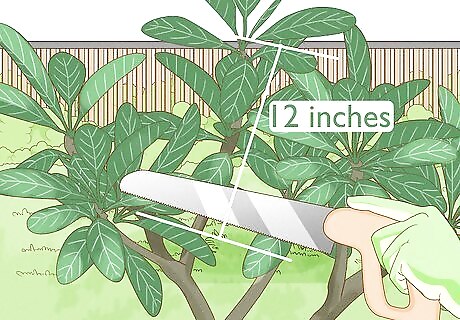
Prune off any unsightly or overgrown branches. Plumeria is extremely tolerant to cutting, and it can be cut all the way back to a 12 in (30 cm) stem without harming the plant. Feel free to cut off any limbs or branches that are in your way or that you don’t think look very good. The only way you can over-prune your plant is to cut it all the way to the ground.
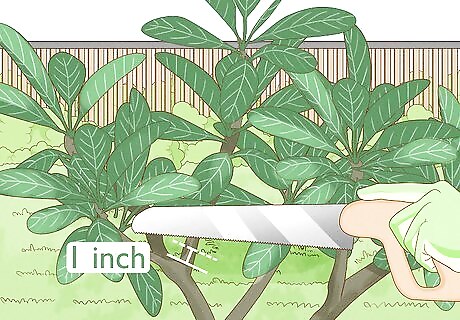
Make your cut about 1 in (2.5 cm) from the base of the limb. When you’re getting ready to cut, locate the small knot at the base of a branch. This is the branch collar and is a part of the tree, and you should not cut it. Don't cut a limb in the middle of the branch; this is called topping and will not encourage new growth.
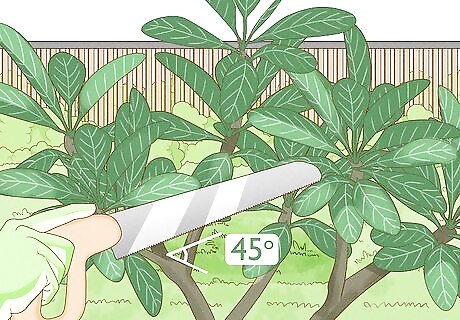
Make your cuts at a 45° angle to the branch. Angling your cuts will help prevent standing water, which can promote the growth of fungus on the plumeria. The fungus leads to tip rot, which can eventually kill your plant. In addition to protecting the original plumeria plant, cutting the limbs at an angle will give them more surface area to grow roots if you're planning on propagating them. If you do notice water collecting on the tips, treat them with a fungicide.
Rooting Plumeria Cuttings
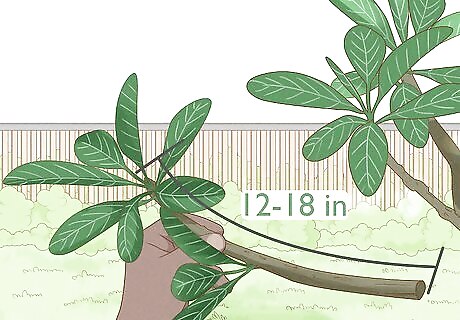
Choose cuttings that are 12–18 in (30–46 cm) in length. Shorter cuttings sometimes have trouble taking root, and longer cuttings can be difficult to stabilize. At 12–18 in (30–46 cm), your plant will be most likely to stay upright in the pot long enough to take root. If your limb tip has 2 or more growing points, you'll likely get a more compact plant that's more suited for a container, but you can also grow a new plumeria from a branch with one growing point. This will likely result in a taller plant that's more suited for outdoor growth.
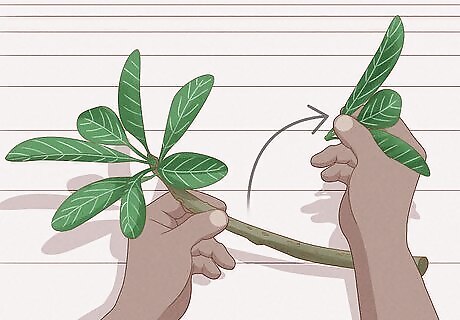
Remove the biggest leaves from the cutting. Leaves draw moisture from your plant, so removing the largest ones from the bottom of the limb will help your cutting retain more water. Pinch the leaf near the base and twist until it separates from the limb. You don’t have to remove the leaves at the very tip of the cutting.
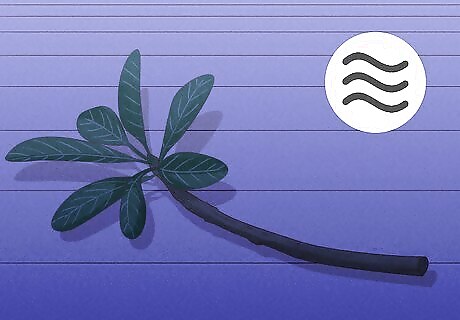
Let the cutting dry for about a week. Before you attempt to root the cutting, place the stick in a dark, dry place. During this time, the cut will begin to seal, making your cutting less prone to rot when you plant it. If you're in a hurry, place the cut end of the limb directly into dry sand and leave it there for 3 days.
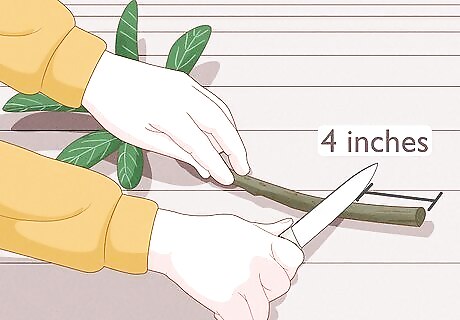
Mark the cutting about 4 in (10 cm) from the bottom. Measure 4 in (10 cm) from the cut edge of your limb with a ruler, then use a sharp knife to gently score the bark. This will help you know how deep to plant your cutting. If you don’t want to cut into your limb, mark the spot with a permanent marker.
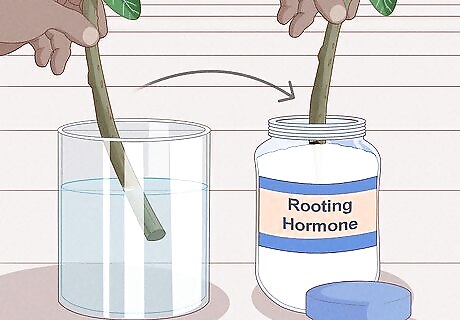
Dip the new cutting into water, then rooting hormone. A rooting hormone is a chemical which encourages a plant to start growing roots, and you can find it at most garden stores. Dipping the cutting in the water first will help the hormone adhere to the limb. Don’t use treated water. For best results, use filtered or bottled water, rather than tap water.
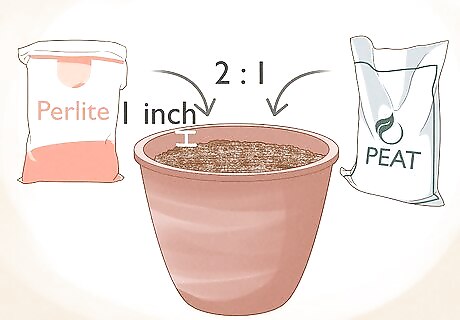
Fill a large planter with 2 parts perlite and 1 part peat or potting soil. This mixture will allow for ideal drainage for your plumeria tree, which is especially important while the plant is rooting. Leave about 1 inch (2.5 cm) from the top of the pot rim, where you’ll add a layer of pea gravel after you plant your cutting. Make sure the pot you're using has holes in the bottom for water drainage. The larger the pot you choose, the larger your plumeria can grow. A planter that's at least 5 US gal (19 L) should give the plant ample room to develop for the first few years. If the plant is healthy, you will probably need to move it into a 15 US gal (57 L) in a few years.
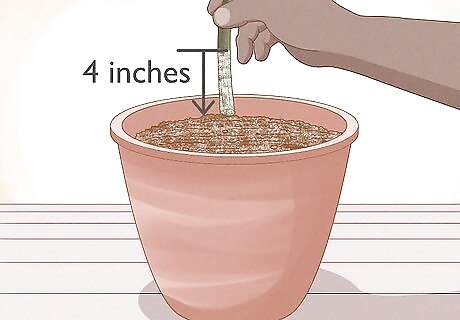
Plant the cutting about 4 in (10 cm) into the soil. Using the mark you made earlier as a guideline, push the stick down into the perlite and peat mixture. Try to do this in one smooth motion so you don’t wipe away the rooting hormone.
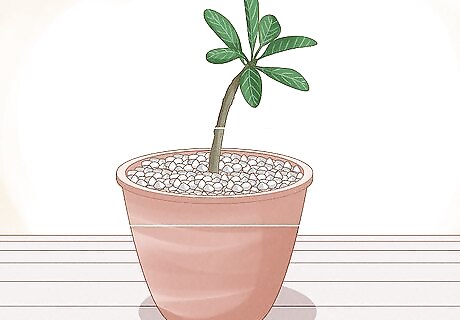
Fill the pot the rest of the way with pea gravel. Spread the gravel out so it’s an even layer, then press it down firmly into the soil. This will help stabilize your cutting, and it will also prevent standing water on the surface of your soil. You can purchase pea gravel wherever you buy your other gardening supplies.
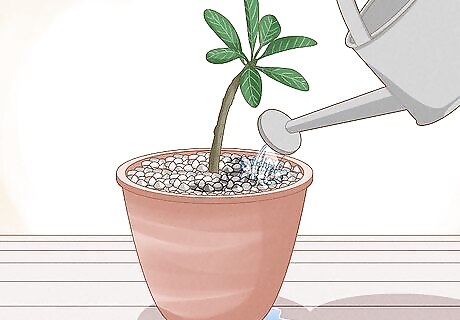
Pour water into the pot until it drains through the holes. Plumeria doesn’t like over-watering, but you should start off by soaking the soil thoroughly. Once the soil is saturated, you won’t need to water the plant again until the soil dries out completely. Over-watering is one of the primary causes of an unhealthy plumeria plant, as it can lead to root rot. You shouldn’t need to water your plant more than once a week, except during the hottest parts of the year.
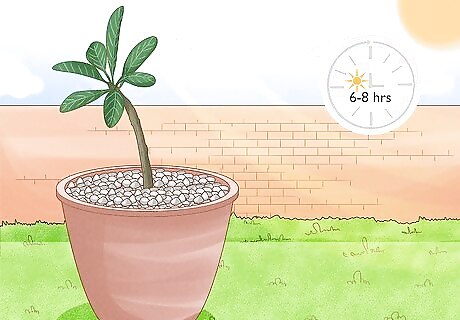
Place the pot where it will get 6-8 hours of sunlight a day. Plumeria is a tropical plant that likes a lot of sunlight and warmth. Find a sunny spot on a deck or near a window, and your plumeria should thrive. It should take a few weeks for your plumeria to establish roots. Do not pull on it to test the root development; instead, watch for the plant to show signs of leaf growth. Once you have an established plumeria plant, you will need to re-acclimate it to the sunlight after a dormant winter in the shade; otherwise, the plant can get sunburned. Put the plant in an area with partial sun, then gradually move it into the full sun as it grows more tolerant.





Comments
0 comment