views
Readying the Canvas
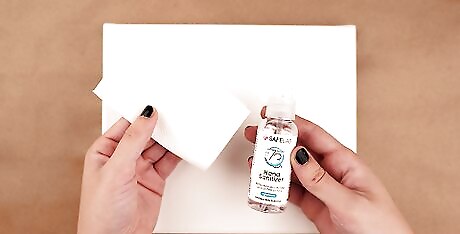
Clean the canvas's surface with a paper towel dampened with alcohol. Splash about 1 teaspoon (4.9 mL) of isopropyl rubbing alcohol onto a clean paper towel. Rub the damp patch across the surface of the canvas in long, vertical strokes. This will remove any dirt or dust that may have built up on the canvas. Press lightly while you're cleaning the canvas to avoid accidentally tearing it.
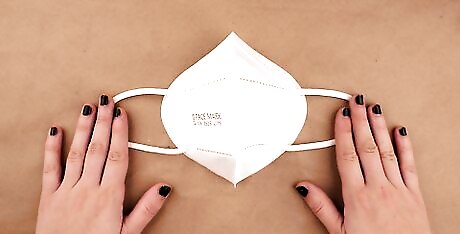
Put on a dust mask to avoid inhaling chemicals. Gesso and other products used when oil painting can be toxic if inhaled over a long duration of time. If you're working in an indoor room without a window, put on a dust mask to protect your lungs. Dust masks typically have a rubber band that stretches behind your head to hold the mask in place, and a metal tab that you can pinch in place over the bridge of your nose. If you're working in a very well ventilated area—e.g., outdoors or in a garage with the garage door open—you can skip this step.
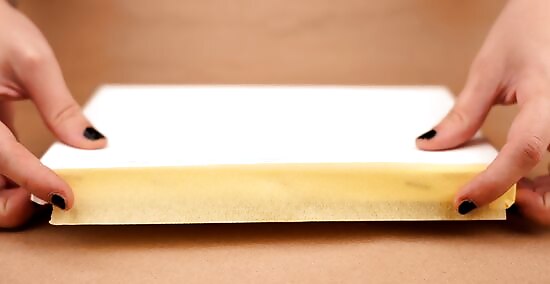
Place a strip of artist's tape over the sides of the canvas. Most artists don't apply any oil paint to the upper, lower, and side edges of the canvas (the parts that are stretched around the frame). To keep the gesso off of the sides of the canvas, tear off 4 pieces of tape that are roughly the same length as the 4 sides of the canvas. Place the tape on the canvas's edges with the rear edge of the tape aligned with the back of the wooden frame. You could use masking tape for this step, although it will stick to the canvas less closely than artist's tape would.
Applying Primer to the Canvas
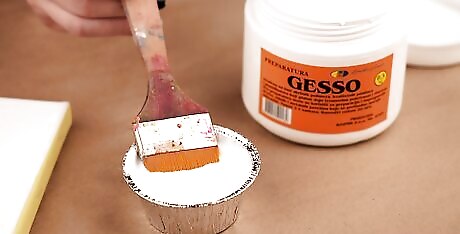
Dip a 3 in (7.6 cm) soft priming brush into a can of acrylic gesso. Low-viscosity acrylic gesso is ready to work with straight from the can, and doesn't need to be stirred or mixed with any other primers. Dip your soft-bristled brush into the gesso by about 2 inches (5.1 cm). Lightly tap the brush on the rim of the can to remove excess liquid.
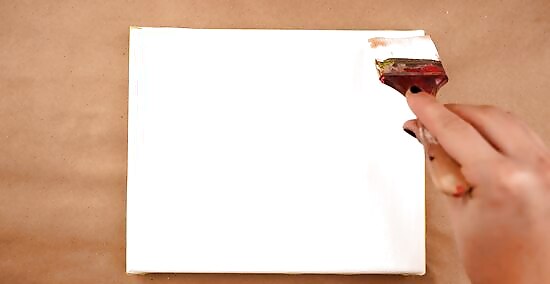
Paint the gesso onto the canvas using straight, long strokes. The canvas only needs a thin layer, so you don't need to lay the gesso on heavy. Work across the canvas in 1 direction (e.g., horizontally or vertically) and paint the gesso on with long strokes. Apply consistent light pressure while painting to make sure that the gesso coat is even across the canvas. Your brush may periodically run out of gesso, depending on the size of the canvas. If it does, just dip it back into the gesso and resume painting.

Wait 2–3 hours for the gesso to dry. Priming a canvas takes some patience, since you'll need to pause and let the priming material dry. This usually takes at least 2 hours. After 2 hours have passed, lightly tap 1 finger on the gesso. If it comes away wet, the primer needs more time to dry. If you don't wait long enough and move on to the next steps while the gesso is still wet, you'd risk messing up the entire canvas preparation. Make sure to cover the can of gesso while the canvas is drying. You don't want the can of gesso to dry out!
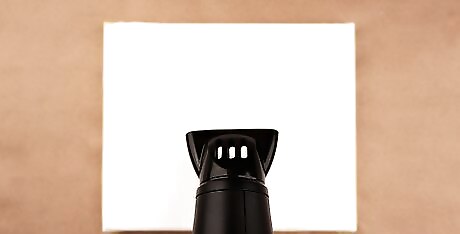
Heat the gesso with a hair dryer to speed up the drying process. If you're feeling a little impatient, try using a hair dryer. Set the hair dryer on medium heat and hold it about 6–8 inches (15–20 cm) away from the gesso-covered canvas. Move the dryer back and forth above the canvas to ensure that the gesso coating dries evenly. With a hair dryer, the gesso may only need 5–10 minutes to dry.
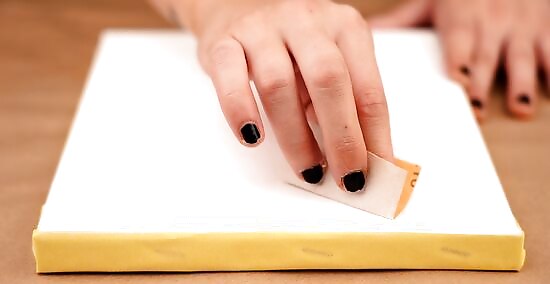
Sand the dried gesso surface lightly with 220 grit sandpaper. Move the sandpaper across the surface of the canvas in long, straight strokes. You don't need to press down very hard on the canvas while you're sanding it. Light pressure will be enough to even out the ridges that your paintbrush left behind.
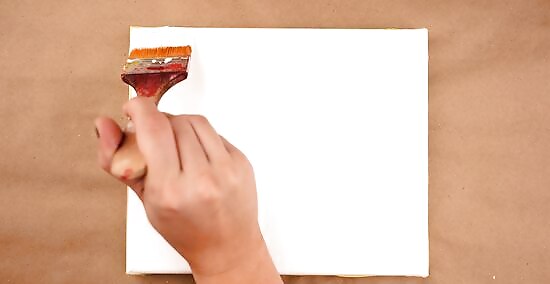
Apply a second gesso layer with the same brush. As before, dip your 3 in (7.6 cm) soft priming brush into the can of gesso. This can be a little bit heavier, since you won't need to apply a third layer on top of it. Paint the gesso on the canvas in long strokes, as before. This time, though, apply the gesso in the opposite direction from the direction of the first layer. So, if you applied the first layer vertically up and down the canvas, apply the second layer horizontally across the canvas.
Let the second layer of gesso dry for another 2–3 hours. It's important that you allow each layer of gesso adequate time to dry before moving on to sanding and painting. As before, if you prefer to speed up the drying process, you can use a hair dryer on medium heat to dry the gesso. Once the primer has dried, sand the second layer just as you did the first.
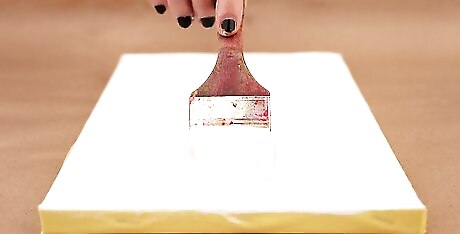
Apply as many more layers of gesso as you'd like to use. Some artists have strong feelings about the ideal number of gesso layers that should be used to prime a canvas. Experiment with different amounts; you might like the way the canvas looks after 3, 4, or even 5 layers. If you're new to oil painting, though, stick with 2 gesso layers until you've become comfortable priming canvases. Remember to let the canvas dry for 2–3 hours after applying each layer, and to sand down the layer before applying any more gesso or before painting.


Comments
0 comment