views
Removing the Door from Its Frame
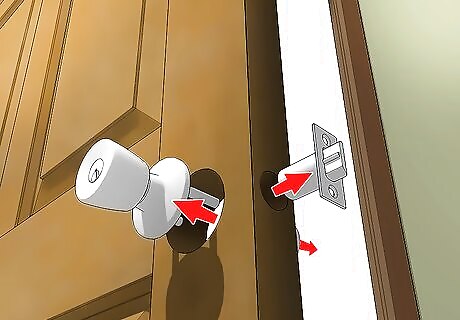
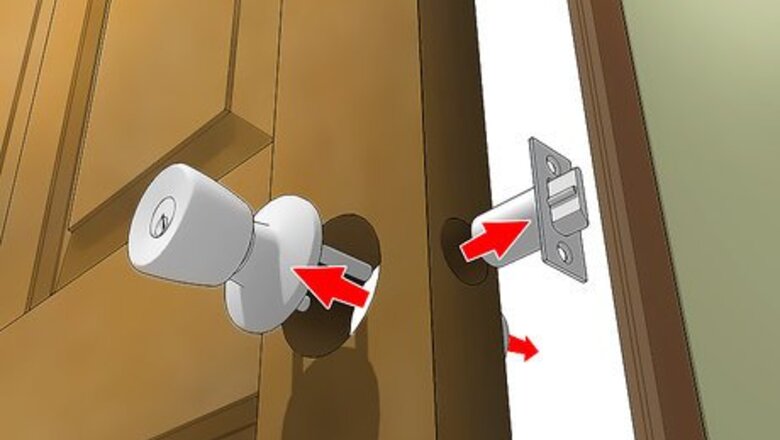
Unscrew the knobs to remove them from the door. Take the screws out from the interior knob with a flathead screwdriver. Once the screws are removed, pull the knob and the collar off of the door. Unscrew the 2 screws from the latch on the side of the door and pull it out of the door. Removing the hardware from the door makes it easier to apply paint. Look for a small slot in the door handle if you do not see any screws. Insert the flathead screwdriver into the slot and pull the handle out of the door.
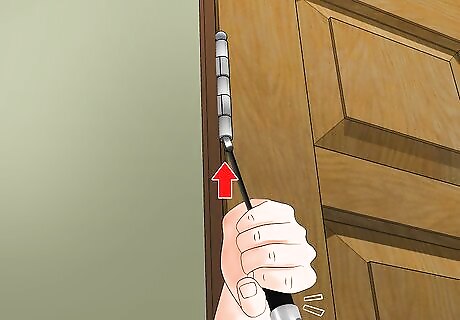
Take out the hinge pins with a hammer and a screwdriver. Close your door to make it easier to access the hinges. Place the end of the screwdriver on the bottom of the hinge pin and hit the handle with a mallet or claw hammer. The pin will start to pop out from the top of the hinge. Repeat the process for the 2 or 3 hinges on your door.
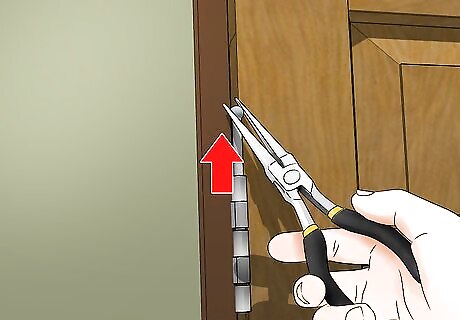
Pull the pins completely out from the hinge a hammer or pliers. Use the claw of your hammer or a pair of needle-nose pliers to pull each pin vertically from the hinge. Each hinge will only have 1 pin holding it in place. Place the pins in a safe location so you don’t lose them and so you’re organized.
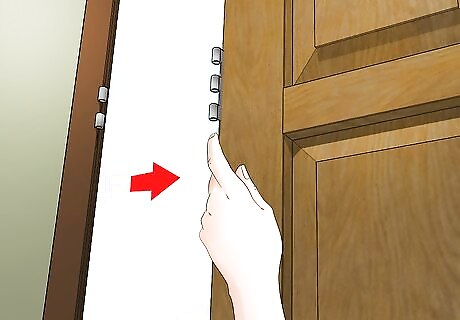
Take the door out from the frame. Hold the frame firmly in your hands and pull it straight out from the frame on the side with the hinges. It should come out easily once the hinges and latches are removed. Have a friend help you take the door off the frame if it’s too heavy for you. Taking the door off the frame prevents drips from forming once you paint.
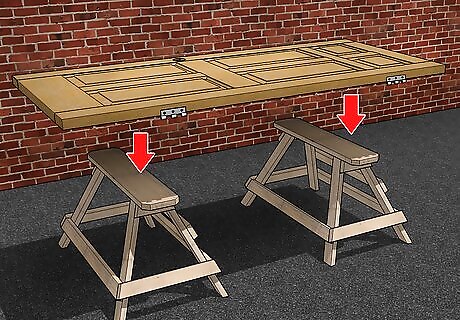
Lay the door flat across the tops of 2 saw horses in your work area. Space the horses so that the tops are 1 foot (0.30 m) inside the edges of the door. Lay the door flat horizontally across the horses. Cover the floor of your work area with a bedsheet or a drop cloth in case you spill paint or primer. Cover the tops of the sawhorses with thin pieces of scrap cardboard so the door doesn’t stick once it’s painted. Make sure your work area is well-ventilated so you aren’t breathing in paint fumes.
Sanding and Priming the Door
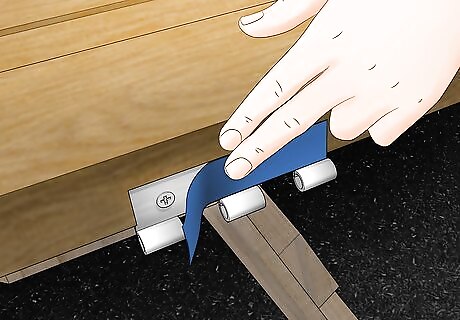
Cover the hinges, windows, and other hardware with painter’s tape. Rip pieces of tape off of the roll that are the same length as the hinges and hardware. Adhere the tape to one side of each hinge and wrap it around so they are completely covered and protected. Painter’s tape can be purchased at any hardware store. Unscrew the hinges completely if you don’t want to worry about covering them with tape. Be careful not to paint over the screw-holes so you can easily reattach the hinges after. Use old newspapers over the windows with painter’s tape around the edges.
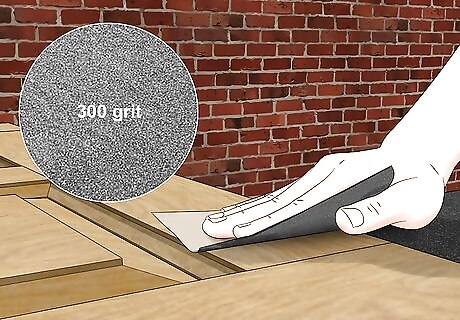
Sand the door lightly with a high-grit sandpaper. Use anywhere between 220 to 320-grit sandpaper to create some tooth on the door. Work with the grain of the wood with a firm amount of pressure to remove any bumps or blemishes from the door. Wipe off any dust with a soft, dry cloth once you’ve finished sanding. Paint has difficulty sticking to wood unless it’s been sanded because the surface is too smooth.
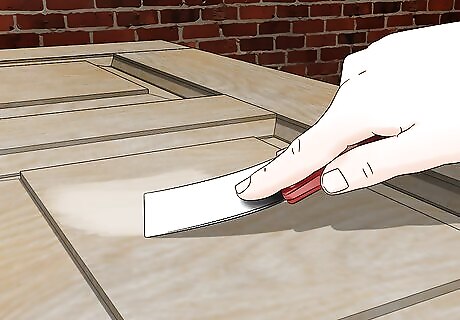
Spackle the door if you don’t want to see the wood grain. Use a putty knife to spread a thin layer of spackle across the surface of the door. Let it dry for 10 minutes before using sandpaper to remove any excess spackle. Use a dry cloth to wipe away any residual dust. The wood grain will be visible through the paint since it’s a raised surface.
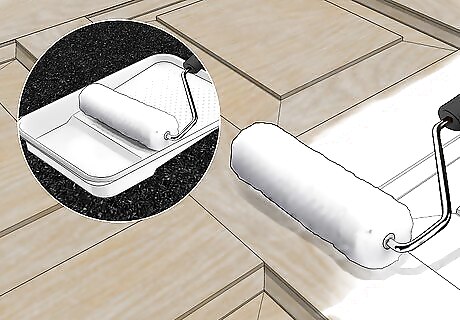
Apply a coat of primer to one side of the door with a paint roller. Pour white primer into a paint tray and coat a roller with it. Apply a thin layer of primer to the door, coating the panels before you work on the crossbar. If you miss any spots, touch it up with a paintbrush. After an hour, paint a second layer of primer to the door. Use an oil-based primer if your wood has been varnished or if it is unfinished. Otherwise, you can use a latex-based primer. Without a stain-blocking primer, the original color may show through the white paint or the door stains may show through the finished coat of paint.
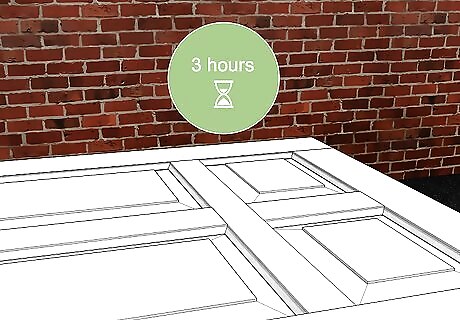
Let the primer dry for at least 3 hours. Most primers will feel dry to the touch after 1 hour, but it will not fully set right away. Primer will dry best in temperatures around 77 °F (25 °C) and with a humidity level of 50 percent. If you have humid or cool weather, let the primer dry for an additional 2 hours.
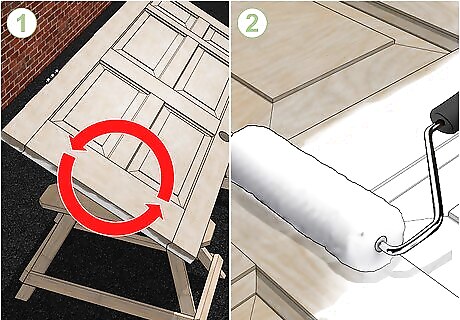
Flip the door over and prime the other side. Once the door is dry, turn it over to the unpainted side and repeat the priming process. This time, use the roller on the sides of the door so they don’t look unfinished once you’re done. Let the primer dry for another 3 hours before you start painting the door. If any drips have formed in the primer, use circular motions with high-grit sandpaper to smooth them out.
Painting and Replacing Your Door
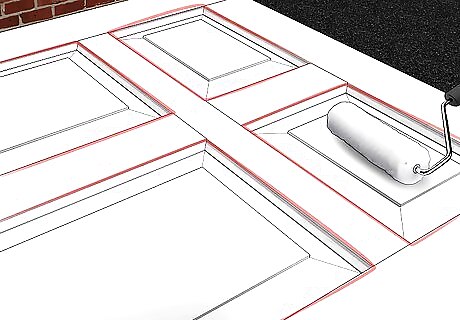
Paint the panels of the door first. Use a foam paint roller to coat the panels on the door. Work the roller in all directions so the paint covers it evenly and so there are no visible roller marks once you’re finished. Use a paint with the same base as your primer, whether it be oil or latex-based. This ensures that it will easily bond and the color will stay. Use a thin layer of paint so it dries faster and drips less.
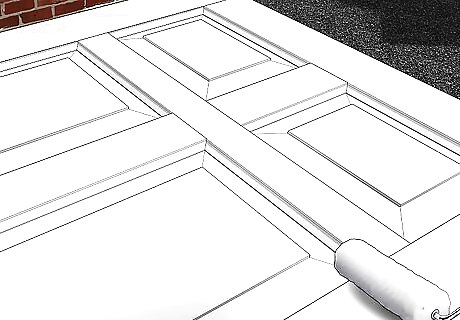
Roll paint onto the crossbar section of the door. Start with the vertical section of the crossbar. Roll in long strokes in the same direction as the wood grain so it looks neat. Once you’ve finished, paint the horizontal crossbar with long strokes. Paint the second crossbar with horizontal strokes so the paint lays more evenly.
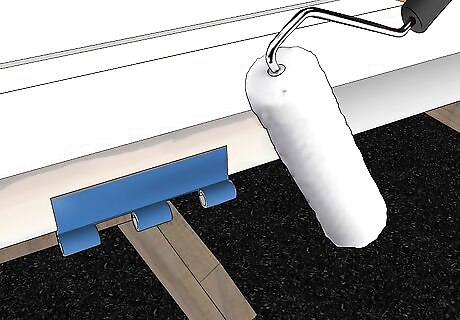
Paint the borders and edges of your door. Work the paint onto the borders in the same direction they run. The long sides should be painted vertically with the grain while the short sides should be painted horizontally. Roll the paint onto the edges of the door, careful to avoid touching the hinges with paint.
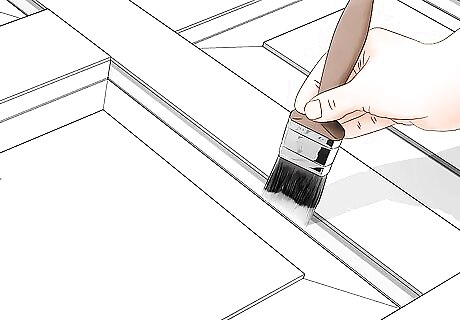
Touch up any areas with a paintbrush. Smooth out any drips and work into smaller areas with a wide paintbrush. Work the edge of your brush into crevices Only paint in the same direction as the grain of the wood so the brushstrokes aren’t perpendicular to it. Wipe excess paint off of the brush using the side of the paint tray.
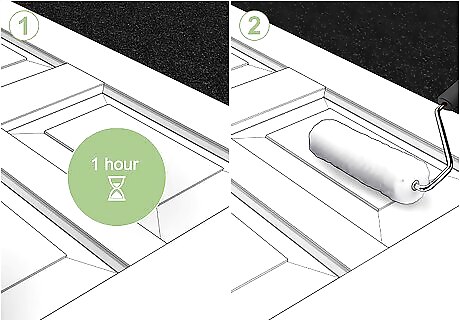
Let the paint dry for 1 hour before applying the second coat. After letting the paint sit for at least an hour, repeat the painting process by working on the panels first, crossbar second, and borders and edges last. Use another thin layer of paint and focus on areas where you can still see the primer through the first coat. If it is humid in your work area, allow for an extra hour of drying time between coats.
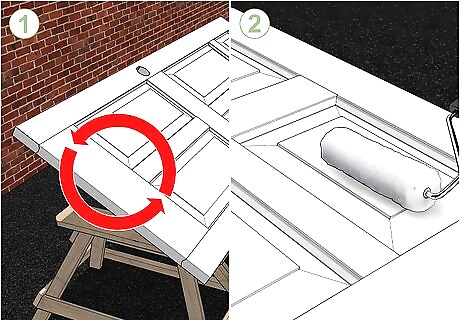
Flip the door to the other side after 2 hours and paint it. Carefully lift the door and flip it to the unpainted side. Make sure the edges don’t scrape the ground or else they will get dirty. Paint 2 coats of white paint onto the door, allowing at least an hour between them. Retouch the edges if you dirty them or scuff the paint while you flip the door over. Ask a friend to help you maneuver the door to the unpainted side.
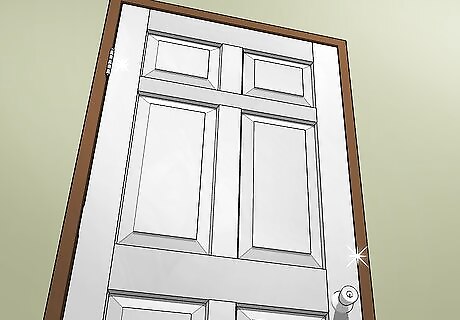
Hang the door back on its hinges after it’s dry. After 2 to 3 hours, the paint should be completely dry. Replace the hinges if you removed them from the door and carry it back to the frame. Make sure the hinges line up as you drive the pins back into the hinges with a hammer. Reattach the door handle by putting the latching mechanism in first and then screwing on the knobs.


Comments
0 comment