views
Priming and Sanding Your Car
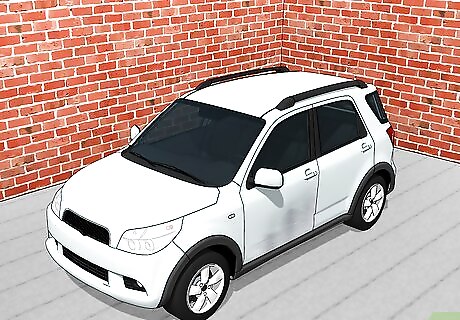
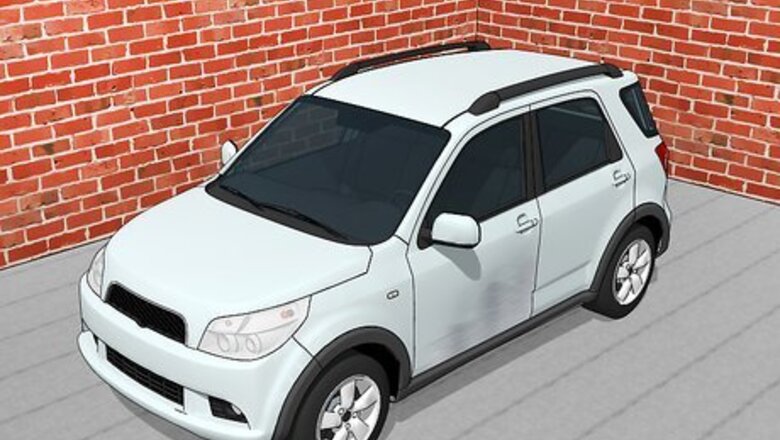
Park your car in a well-ventilated area. Sanding and painting your car releases dust particles and paint fumes into the air that you don’t want to inhale or get into your eyes. Work in a garage with the garage door open, or park your car outside in a shaded area. If you do work outside, keep in mind that painting your car can be a day-long or multiple-day project. Work on a clear day when the forecast isn’t calling for rain.
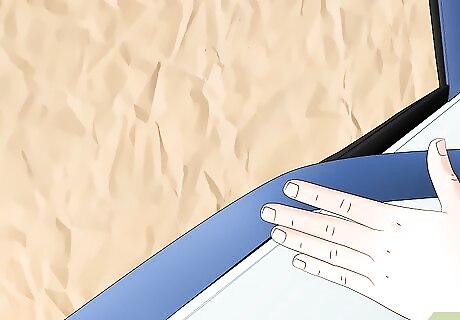
Tape and cover the parts of your car that you don’t want to paint. Use painter’s tape to cover the door handles and grille on your car. Then, cover the headlights, taillights, mirrors, and front and back windshields with newspaper, and secure the edges with tape. Cover the wheels with towels so they don’t get paint on them.
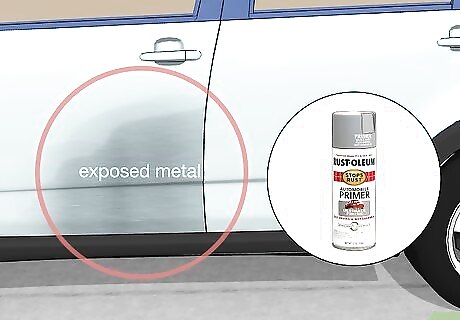
Apply primer if your car has scratches or exposed metal. Rust-Oleum’s Protective Enamel products already have primer in them, so you can skip this step if you’re painting over a smooth, undamaged surface. Otherwise, you should fill in scratches and cover any exposed metal with an auto body primer. You can use a spray-on or liquid primer. Either way, let the primer dry completely before you do anything else. If you use spray-on primer, spray a liberal coat of primer over the scratches or exposed metal until those areas are completely covered and filled in. For liquid primer, use foam brushes to paint the primer in an even coat over any scratched or exposed areas. It can take the primer several hours to fully dry, so try to start your project early in the morning if you’ll be applying primer. Auto body primer can be found at any hardware store for around $5-10.Warning: Wear a respirator whenever you’re priming, sanding, or painting so you’re not inhaling fumes or dust particles while you work.
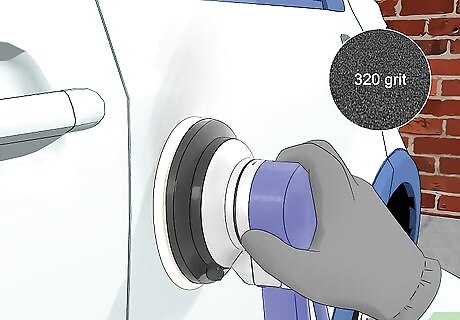
Sand the surface of your car with an orbital sander. Attach a piece of 320-grit sandpaper to the orbital sander and hold the face of the tool against the surface of your car. Turn on the sander and slowly move it across the surface of your car using back and forth motions. Keep working your way around your car with it until the entire surface you plan on painting is smooth. This can take an hour or two, so you may want to plan on taking breaks while you work. Sanding your car before painting it will help the paint adhere better and give you a smoother finish. If you’ve never used an orbital sander before, it’s just a handheld electric sander with a round pad that rotates rapidly to speed up the sanding process. You can find orbital sanders at a hardware store, along with round sandpaper. You may be able to rent one for cheaper than it costs to buy one.
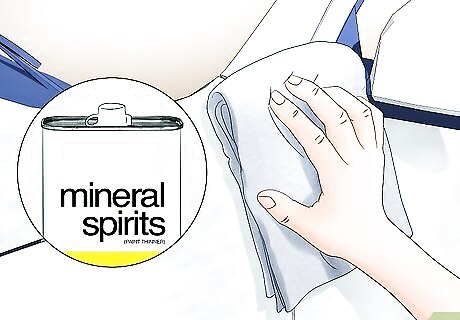
Wipe down your car with acetone or mineral spirits. Dip a tack cloth into acetone or mineral spirits and wipe down the surface of your car with it to remove any dust, dirt, and other debris. This is especially important after sanding since your car will be covered in a layer of fine dust. The cleaner your car is when you start painting it, the better. You don’t want dust and debris to get trapped underneath the paint. You can find both acetone and mineral spirits at a hardware store. Always wear gloves, goggles, and a face shield when working with solvents like acetone or mineral spirits.
Using Spray-On Paint
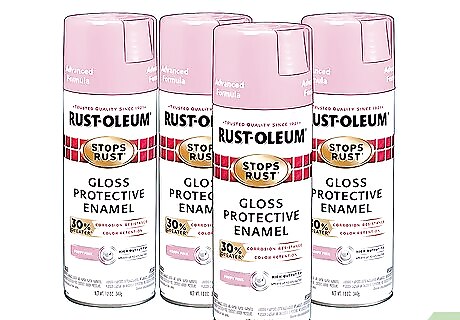
Purchase several cans of Rust-Oleum Advanced Protective Enamel Spray. The spray comes in black, blue, brown, gray, green, orange, pink, red, white, and yellow. Make sure you choose cans that are labeled “Gloss” for the most professional-looking finish, although the spray does come in satin and flat finishes if that’s something you’re interested in. Rust-Oleum Advanced Protective Enamel Spray is primarily used to protect outdoor metal furniture from rust. However, it can also double as an affordable, durable paint for vehicles. Get at least 6 cans to start, although you may need more depending on the size of your car. The spray should cost around $5-10 per can at a hardware store.
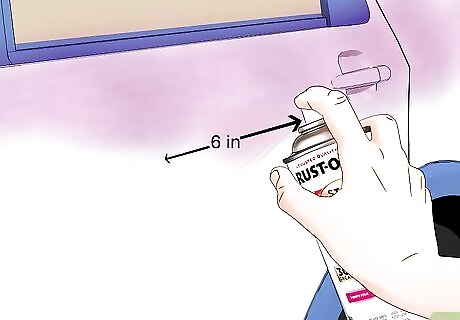
Apply the paint to one panel of your car at a time. Hold the spray can about 6 inches (15 cm) away from your vehicle, and use quick back and forth strokes so the paint doesn’t pool and drip. Go over one panel until it’s covered in an even layer of paint and you can’t see the old finish underneath. Then, move on to the next panel. Work your way around your car until you’ve painted the entire surface. When one spray can runs empty, grab a new one and keep going. Wear a respirator while you work so you’re not inhaling paint fumes.Tip: You should only need to apply one coat as long as you make sure the first coat is opaque and uniform. Take your time and periodically check for any spots you may have missed.
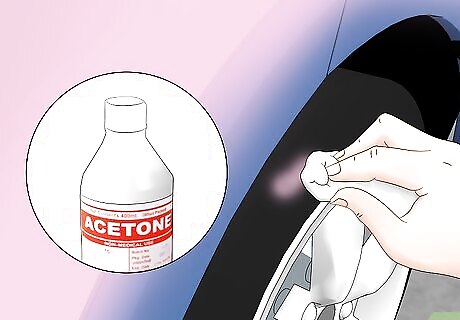
Polish off any overspray with acetone and a rag. If you get any paint on a section of your car you didn’t mean to, it should come right off with acetone. Just pour some acetone onto a clean rag and buff the paint stain with it. Walk around your car and check for any overspray and wipe it off with the rag before it dries. Be careful not to touch any paint that you don’t want to remove with the acetone or it will come right off. If that happens, just spray some more paint onto that spot.
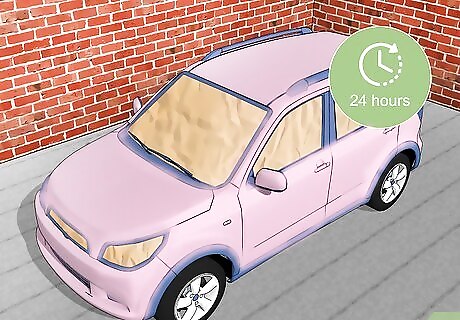
Let your car dry for 24 hours. The paint will start to feel dry after a few hours, but it will take a full 24 hours to fully dry. Keep your car parked in a sheltered area, like a garage, until it’s fully dry so the paint job doesn’t get damaged. Once your car is fully dry, you can peel off any painter’s tape and newspaper.
Painting with Rollers and Brushes
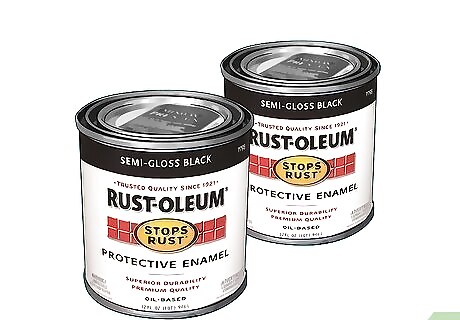
Get a few buckets of Rust-Oleum Protective Enamel Brush-On Paint. It’s available in blue, green, yellow, red, brown, gray, aluminum, white, sand, almond, and black, and you can get it in different finishes, like gloss, satin, and flat. Go with gloss paint for the most professional-looking finish. Rust-Oleum Protective Enamel Brush-On Paint is designed to cover outdoor metal surfaces that are susceptible to rust, but it also works as an affordable car paint. It’s durable and can produce a smooth, glossy, high-quality finish. Get 2-3 buckets of paint to start out with. You may need more or less depending on the size of your car and how many coats you do. Buckets should cost around $10-20 each at a hardware store.
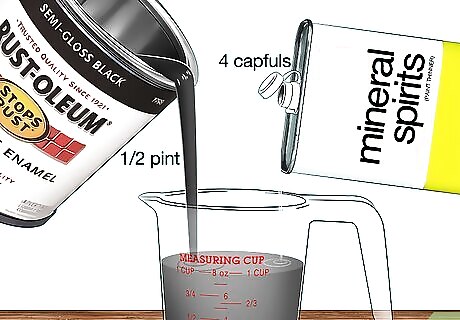
Thin your paint with mineral spirits so it goes on smoother. Pour half a pint of paint into a paint measuring cup and add 4 capfuls of mineral spirits. Thoroughly stir everything together, then lift your stirring stick out of the cup and watch the paint flow off of it. You’ll know it’s a good consistency if the paint flows for about 4 seconds before it starts to drip. If the paint is too thick, add more mineral spirits. If it’s too thin, add more paint. Thinning the paint first will help it roll onto the surface of your car more smoothly, and it prevents roller marks from showing up in the paint. Don’t make the paint too thin though, or it will just pour off the surface you’re painting and make a mess.
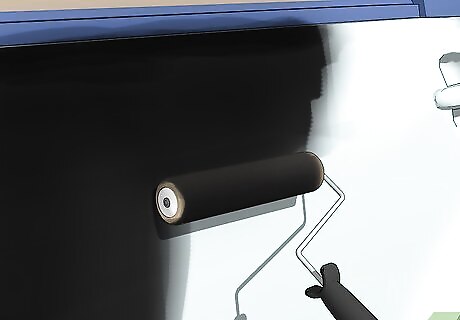
Apply the paint to your car with a 4 in (10 cm) foam roller. Pour the thinned paint into a paint tray and cover your foam roller with it. Then, paint as much of your car as you can with the roller. Move the roller up and down and back and forth to cover the old finish with paint, working on one panel at a time. Keep painting until you have a smooth, even coat over all of the reachable surfaces of your car. Keep pouring more thinned paint into the paint tray as you run out. If you run out of thinned paint, open a new bucket of unthinned paint and mix it with mineral spirits.
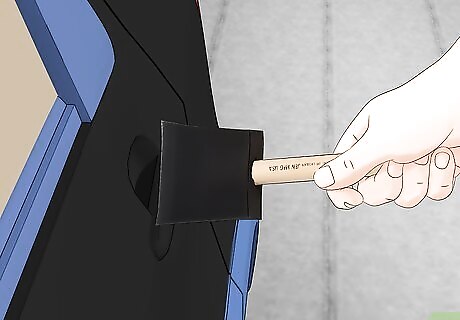
Use a foam paintbrush to paint hard-to-reach nooks and crannies. Dip a small foam paintbrush into the thinned paint and use it to fill in any areas you weren’t able to reach with the foam roller. A foam paintbrush shouldn’t leave any brush strokes in the paint, and it will be easy to maneuver in hard-to-reach places. You can find foam paintbrushes at a hardware or craft store.
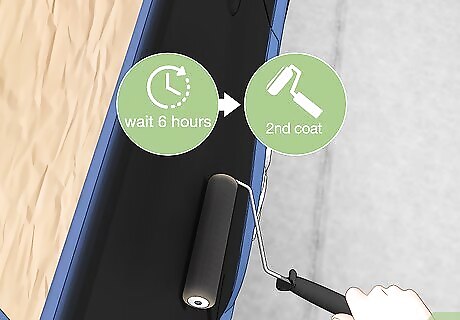
Wait 6 hours and apply a second coat if needed. You may be satisfied with how your car looks after one coat. Otherwise, let the first coat dry for 6 hours, then apply a second coat the same way you applied the first one. Start with the foam roller, and then fill in the details with a foam brush. Don’t wait longer than 6 hours to apply another coat. If you do, the paint will cure and you’ll have to wet sand it before applying another coat. You can apply more than 2 coats if needed. Just wait 6 hours between each coat, or wet sand the car after each coat if you have to wait longer between coats.
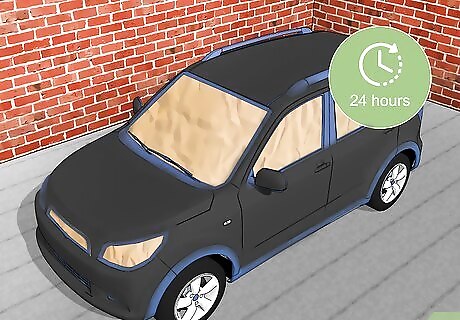
Give your car 24 hours to dry before using it. You may be able to touch the paint without it coming off within a few hours, but it will take 24 hours to completely dry. Move your car into a sheltered area if it’s not already so nothing damages the paint while it’s drying. Once the paint is dry, take off the painter's tape and newspaper you applied earlier.






Comments
0 comment