views
Removing the Headlight
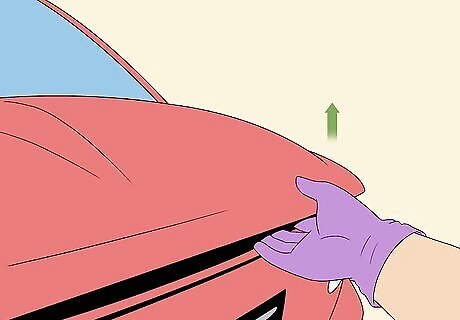
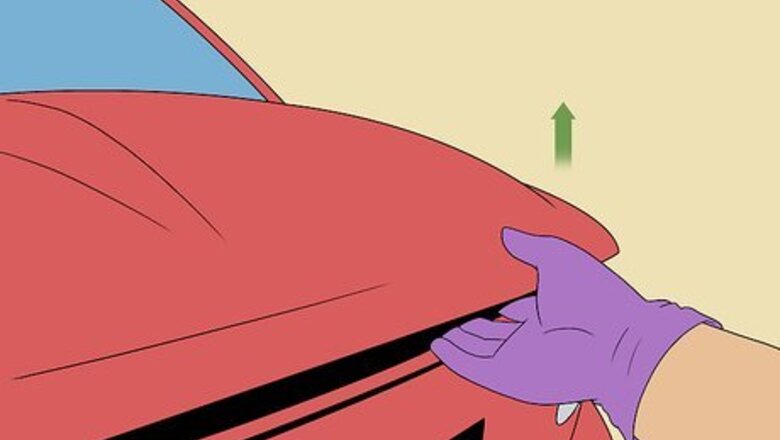
Open your vehicle’s hood. Find the lever or button that pops the hood inside your vehicle on the driver’s side. Pull the lever or push the button down until you hear the latch on the hood click open. Lift the hood up completely so it doesn’t fall down while you’re working. Consult with your vehicle’s manual if you have trouble finding how to open the hood.
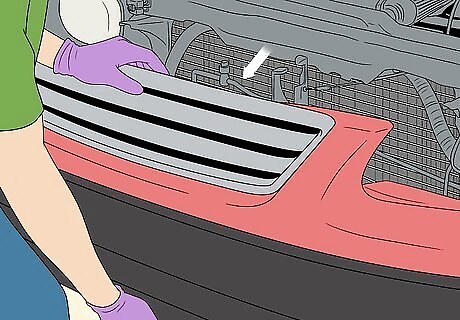
Remove the bumper cover if it’s in the way of the headlight. The bumper cover is the long body panel on the front of your vehicle that hides the metal bumper. If the bumper cover overlaps your headlights, locate the bolts holding the cover to the body along the top edge. Use a socket wrench to rotate the bolts counterclockwise until you can pull them out. Then look underneath the bumper cover and unscrew any of the bolts there. Push a flathead screwdriver into the seams between the cover and the wheel wells to expose the hidden bolts so you can loosen them. Lift the bumper cover up and pull it away from your vehicle to remove it. Consult with your vehicle’s manual if you have any trouble finding the bolts on your bumper cover.
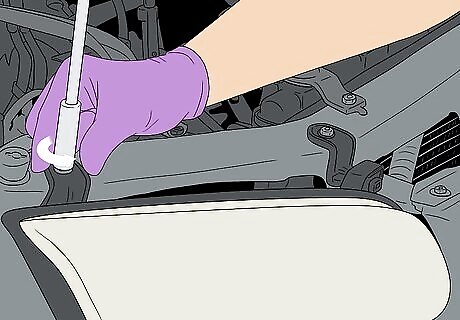
Unscrew the bolts holding the headlight assembly in place. Look along the top edge of the headlight assembly to find 2 or 3 bolts securing it to your vehicle. Place a socket wrench over the bolt head and turn it counter-clockwise to loosen it. Continue unscrewing the remaining bolts so the headlight moves around freely. There may be 1 or 2 bolts along the bottom or side of the headlight as well.
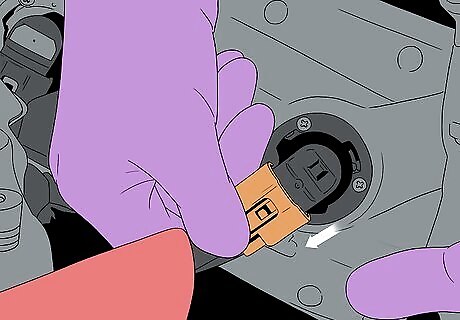
Unplug the connectors attached to the back of the headlight to remove it. Wiggle the headlight loose and pull it straight out from your vehicle so you can reach your hand behind it. Follow the wires coming from your vehicle leading to the back of the headlight. Find the square block connectors holding the wires and carefully pull them apart. Once you remove the 1 or 2 connectors, you can easily pull the headlight completely out of your vehicle. Some wires will still hang out from the back of the headlight when you remove it. Don’t try to force the headlight out of your vehicle, or else you may damage the connectors.
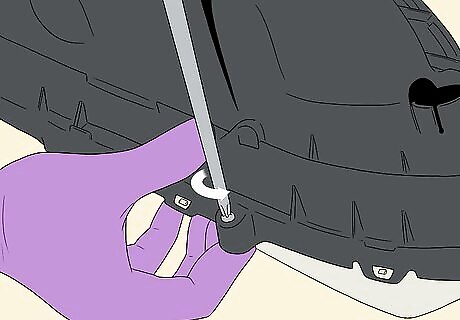
Remove any screws from the headlight. Set your headlight upside-down on a towel or soft surface so you don’t scratch the lens. Look around the edges of the headlight to find all of the screws holding the lens to the backing. Turn the screws counterclockwise with a screwdriver to remove them. Set the screws in a small cup so you don’t misplace them. Double-check for screws after you think you’ve removed them all. If you still have screws in the headlight when you try to open it, you could crack or break the lens. Some headlights may not have screws, meaning the lens and backing are only held together with adhesive sealant.
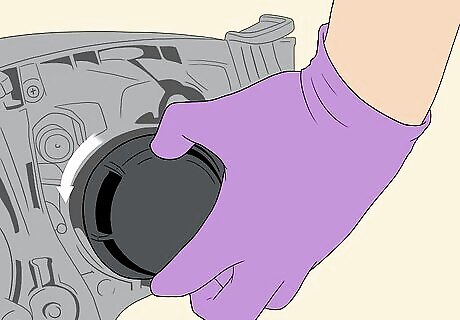
Disconnect the bulbs from the headlight backing. Locate the backs of the bulbs screwed into the circular ports in the backing. Pinch the base of the bulb and turn it counter-clockwise to make it loose. Pull the bulb straight out from the backing and set it aside somewhere where it won’t get damaged. Remove any other bulbs in the headlight using the same process. You do not have to remove the bulbs if you’re not able to. You can leave the rubber housing caps attached. Since the headlight reaches a similar temperature when it’s in use, the caps won’t melt.
Baking the Headlight Open in the Oven
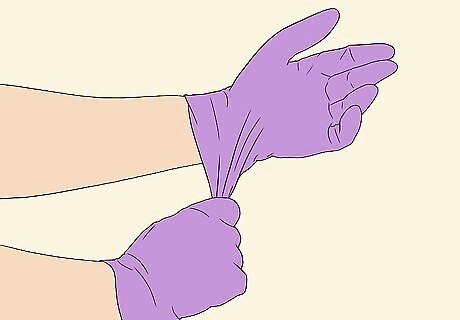
Put on disposable gloves and old clothes. After you heat up the headlight, the sealant will be extremely sticky and adhere to anything it touches. Wear a pair of disposable work gloves so you don’t get any of the sealant on your skin. Then put on an old shirt that you don’t mind getting dirty just in case sealant gets on it. You may want to wear a pair of heat-resistant gloves underneath your disposable gloves so it’s easier to handle the headlight.
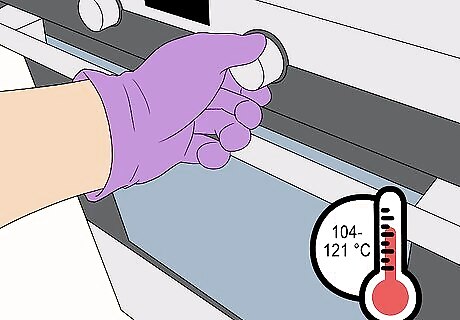
Preheat your oven to 220–250 °F (104–121 °C). Make sure your oven is large enough to hold the headlight so it doesn’t touch the sides. Move the oven rack to the lowest height before turning your oven on. Let it preheat completely before you place your headlight inside. If you don’t have access to an oven, you can also use a heat gun and a cardboard box. Get a box that’s large enough to hold your headlight. Cut a circular hole in the bottom corner that’s the same size as the heat gun’s nozzle. Place the heat gun through the hole and turn it on to 250 °F (121 °C) to heat inside the box. Avoid using the heat gun by hand since you won’t heat the sealant evenly and could risk breaking the headlight assembly.
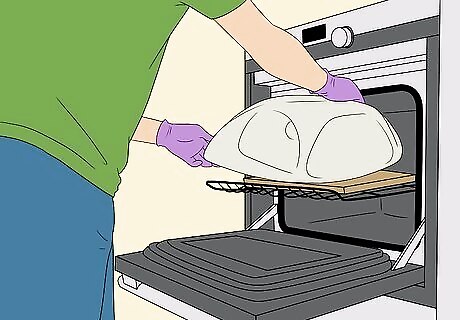
Set the headlight on wood planks inside your oven. Wood doesn’t hold heat as well as metal, so it’s perfect for keeping your headlight safe when you bake it. Use 2 in × 4 in (5.1 cm × 10.2 cm) boards that are short enough to fit inside your oven. Lay the planks on the oven rack and set your headlight inside. Make sure the headlight doesn’t touch the rack or sides of the oven directly, or else it could melt. If you don’t have pieces of wood, you can also use a cookie sheet lined with 1–2 layers of baking paper. Your headlight will not get damaged from the heat as long as it doesn’t make contact with metal.
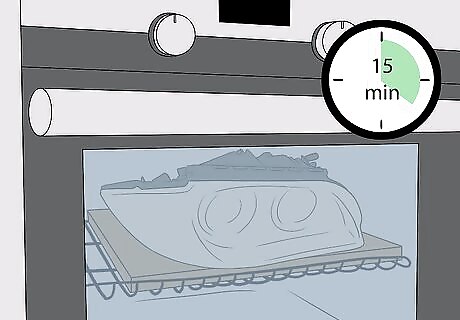
Leave the headlight in your oven for 15 minutes. Keep the door closed while you’re baking the headlight so the heat can circulate around it. After 5–10 minutes, check your headlight to make sure it hasn’t shifted or fallen off of the planks. After 15 minutes, use oven mitts to remove the headlight from the oven so you can start working on it.
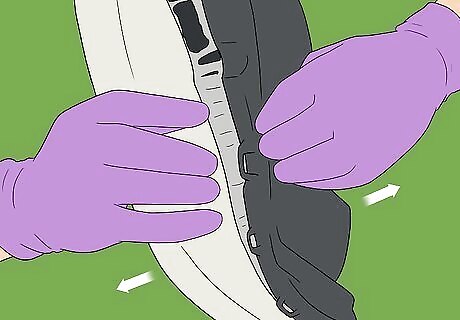
Pop the tabs holding the lens to the headlight backing. Locate the plastic tabs that hold the lens to the backing around the edges of your headlight. Lift each tab up with your fingers to separate the 2 pieces of your headlight. If you have trouble peeling them apart by hand, position a pry bar or flathead screwdriver under the tab and pry it up. Work your way around the entire perimeter until you’ve undone all the tabs. Be gentle with the tabs, or else they’ll break and your headlight won’t stay together as well.
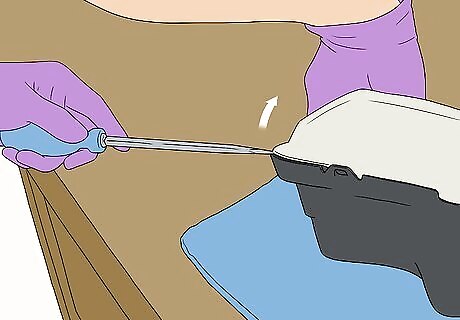
Pry the lens off of the backing with a flathead screwdriver. Position the tip of your screwdriver in the bottom corner of your headlight so it’s in the seam between the clear lens and headlight backing. Carefully push the screwdriver into the seam and tilt the handle down toward the backing to lift the lens out from the adhesive. After you make a small gap, try gently pulling the pieces apart by hand. If you need to, work the screwdriver around the seam to separate the pieces. The sealant will harden as it cools down and make it more difficult to pull the headlight apart. If you need to, place the headlight back in your oven for another few minutes to soften it again. Be careful not to scratch the headlight lens with the tip of your screwdriver.
Resealing and Reinstalling Your Headlight
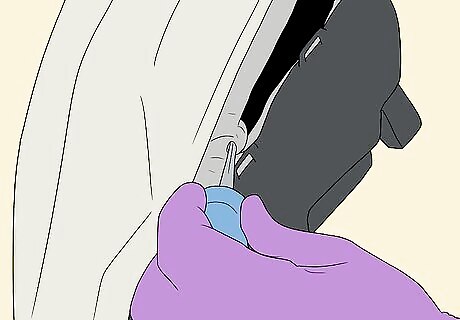
Scrape the old sealant off of the backing with your screwdriver. Place the tip of your screwdriver in the channel around the edge of the headlight backing. Run the screwdriver around the entire perimeter of the backing to work out as much sealant as you can. Wipe the screwdriver clean as it gets dirty so it doesn’t get stuck. Removing sealant works best while it’s still warm and malleable. If the sealant solidified, try putting the backing in your oven for another 5 minutes to soften it. Avoid leaving the old sealant in the headlight since it may form air bubbles and won’t seal properly.
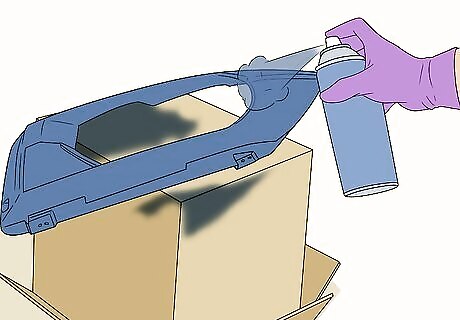
Make your modifications to your headlight. Once you have your headlight assembly open, you can easily access the interior parts so you can customize them. If you want to black-out your headlights, tape off the reflectors and areas you don’t want to get paint on. Then use black spray paint to coat the backing. If you want to install halo lights, attach the light kit around the edges of the backing and run the wires through one of the holes or seams in the backing so you can attach them to your vehicle. If you need to wire new lights to your vehicle’s electrical system, make sure to disconnect the battery first so you don’t shock yourself.

Press new butyl sealant into the channel on the headlight backing. Butyl sealant is a flexible rubber material that’s used to make an airtight seal so moisture can’t get into the lights. Tear off a piece of the sealant and press it into the channel with your fingers. Continue running the strip of sealant around the outer edge of the backing so it’s flush with the surface. Once you’ve gone completely around the channel, cut the piece of sealant and press the edges down. You can buy butyl sealant online or from an automotive parts store. Butyl sealant is stretchy and malleable, so you can mold it into the channel until it fits perfectly.
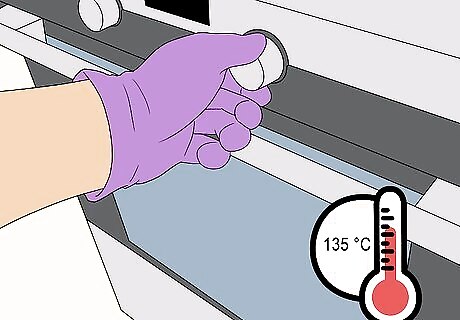
Preheat your oven to 275 °F (135 °C). Place the oven rack on the bottom position so there’s enough room for air to circulate around your headlight. Turn the oven on to 275 °F (135 °C) and let it heat up completely before you put your headlight inside.
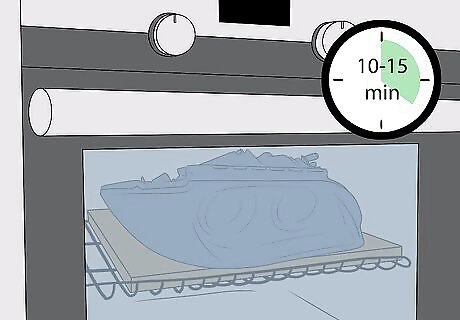
Set the backing in the oven for 10–15 minutes to soften the sealant. Place the headlight on wood planks inside your oven so the channel with sealant faces up. Close the oven door and leave the backing inside for at least 10 minutes. The sealant will become more malleable and slightly melt to fill in any air bubbles. After 10–15 minutes pass, take the headlight out of your oven. Avoid setting the headlight directly on the rack or against the sides of your oven, or else the plastic could melt.
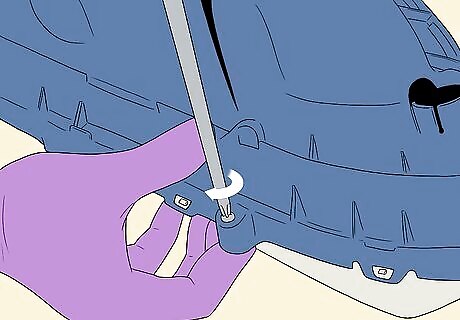
Screw the lens onto the backing. Align the lens with the channel in the backing and press it down firmly to reseal the light. Take the screws you removed from the backing earlier and feed them through the holes in the holes in the backing. Turn the screws clockwise with a screwdriver until they’re tight to secure the headlight assembly. It’s okay if some of the sealant drips out from the channel when you reinsert the lens. Just wipe off the excess with a paper towel or scrape it off with your screwdriver.
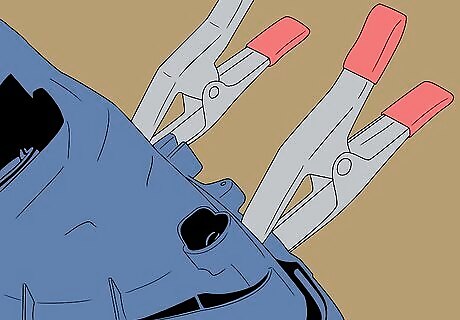
Clamp the backing and lens together so it doesn’t shift. Place the first clamps in the corners of the headlight to hold the lens in place. Then place 1 or 2 more clamps on each side of the headlight so they're evenly spaced. This helps ensure the lens sets in the right place without it slipping. Make sure the clamps are heat-resistant or made from metal so they’re safe to put in your oven.
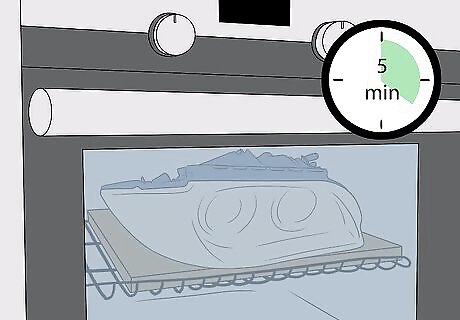
Put the headlight back in your oven for 5 minutes to seal it. Set the headlight back on the wood planks and keep it in your oven to let the sealant fill in around the lens. After 5 minutes, pull the headlight back out of the oven and let it rest until it’s cool.
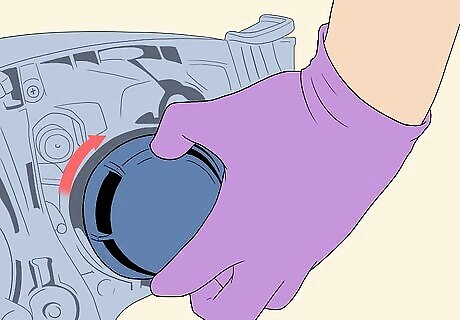
Reattach the bulbs to the backing. Once the headlight feels cool to the touch, feed the bulbs back through the ports in the backing. Push the bulb in as far as it will go before turning it clockwise to secure it in place. Screw in any remaining bulbs until you’ve completely assembled the headlight again. Use new bulbs if you don’t want to worry about the old ones burning out.
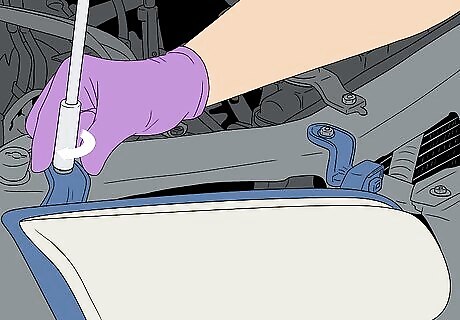
Connect the headlight back to your vehicle. Pop the hood open on your vehicle and hold your headlight assembly near its port. Plug the connectors into the headlight’s backing again to reconnect it to power. Push the headlight into position and secure it to your vehicle with bolts. Reattach any other pieces you had to remove from your vehicle to finish your repair! After plugging in the connectors, try starting your vehicle’s battery and turn on your headlights to make sure they work properly. If they don’t, then there may be an issue with the connection or bulb.







Comments
0 comment