views
Preparing to Measure Parallel Surfaces
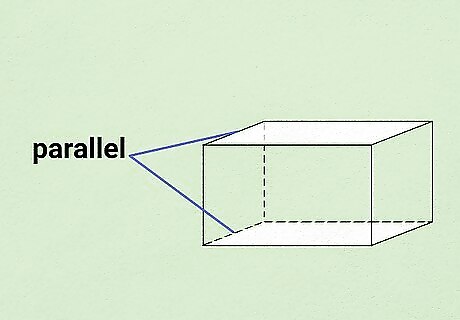
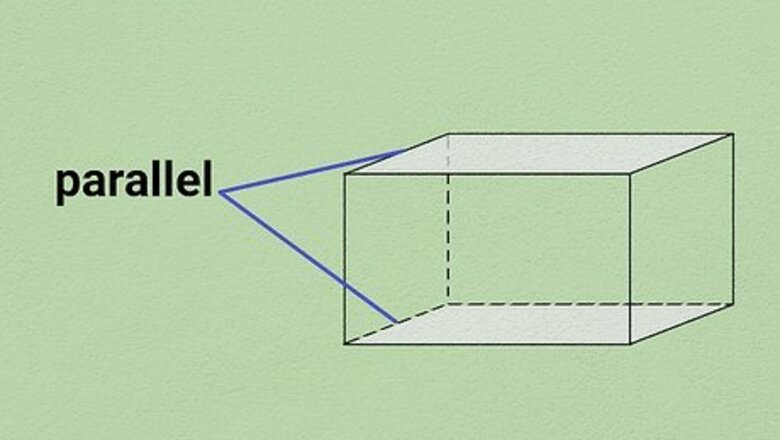
Define the surface for testing. Parallelism is a quality that can be tested on several different types of surfaces. These are labeled based on their positions relative to each other. You may wish to test parallelism of the following: Planar surface: Opposite flat surfaces of a rectangular solid need to be parallel to each other. Cylindrical surface: A cylinder appears round when looking at its end, but when held upright, its sides must be parallel for the cylinder to function properly. Parallelism also needs to be measured on the interior cylindrical surfaces of drilled holes.
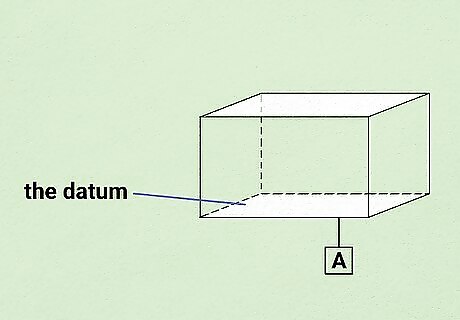
Define the datum. The datum is a flat surface that you use as a reference. This will be one edge or corner of the object being tested. Measurements for the size and shape of the object are then drawn in reference to the datum. In technical drawing, the datum is marked with a capital letter in a square box called the datum feature symbol. All other surfaces of the tested item that are parallel to that surface are marked with the same letter for reference. In machining parts, it is common to define three datum surfaces, for reference in all three dimensions of the solid object. These will be labeled A, B and C.
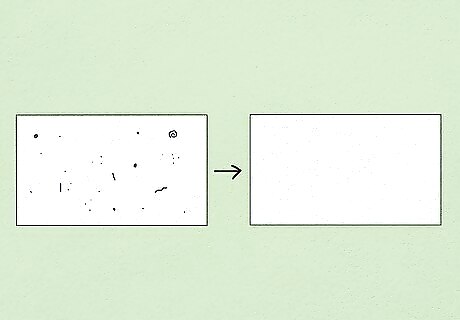
Ensure that the datum is level and clean. Your measurements will be flawed if foreign objects are allowed to interfere. On a large scale, something like sand or other visible objects on the datum will prevent the tested surface from sitting flat. The parallelism will therefore be measured incorrectly. Depending on the level of precision that you need, something as minuscule as dust on the surface may throw off the measurements. The level of precision that you need in measuring the parallelism will factor into just how clean the datum must be.
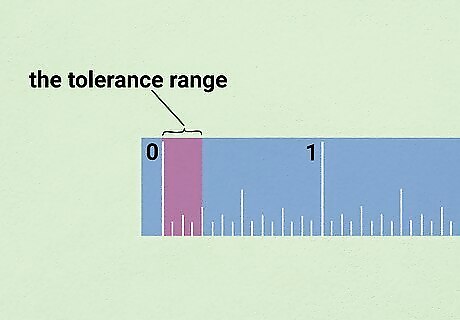
Define the tolerance range. No two surfaces are exactly parallel to each other. You must define the level of precision you require and the level of precision that you can measure. If the two surfaces fall within that tolerance range, you then can say that they are parallel. For example, you might require two surfaces to be parallel to within a quarter inch. This means that the measurement at one end of the surface may be a quarter inch or less from the measurement at the other end of the surface, for the surfaces to be called parallel. If the difference is more than one quarter inch, then it fails parallelism.
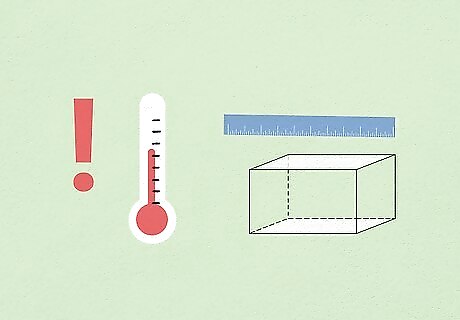
Ensure a consistent temperature. If your measurement requires a very high level of precision, then slight variations in temperature may affect the parallelism of the surface. Some materials expand or contract as the temperature changes. Very precise measuring instruments will recommend that you calibrate the temperature of the room and the object being measured, and allow adequate time for them to reach a consistent temperature.
Taking the Measurements of Parallel Surfaces
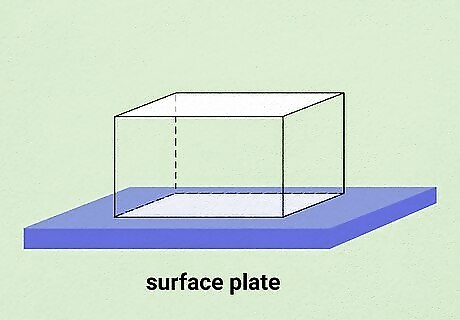
Orient the tested part on the surface plate. Whether you are measuring parallelism with a simple ruler or with a precise technical instrument, the procedure is essentially the same. Align the datum of the tested object onto the surface plate of the measuring equipment. For example, a standard gage comparator will have a flat base. This will serve as the surface plate. Set your object on this base to begin the measurement.
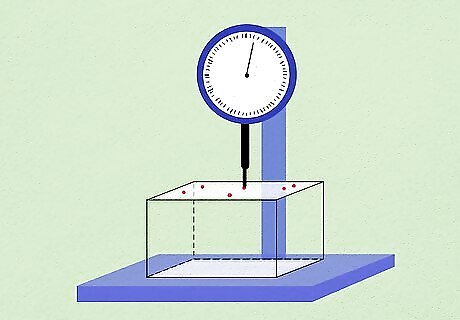
Take the measurement of the opposing sides. Determining parallelism means finding that two opposing sides of an object, which are supposed to be parallel, are consistently far apart at all positions. To test this, you need to measure the distance between the two surfaces at multiple positions. If the distance is within the specified tolerance, then the sides are deemed to be parallel. For low precision, low-tech measurements, you can use a simple ruler. Measure the distance from the datum to the opposite surface of the object at multiple points and compare these measurements.
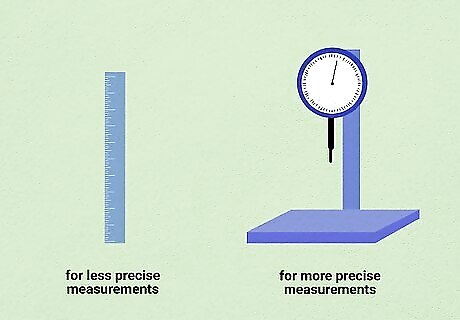
Use technical equipment for more precise measurements. A child building a bird house may be satisfied if the two walls of the bird house are parallel to within a fairly wide tolerance level. However, for machining precise equipment, medical tools or computer components, for example, you are likely to require must more precise measurements and much smaller tolerance levels. Special equipment exists for measuring parallelism for such objects. For more high quality testing, precise instruments exist that can measure to within a millionth of an inch. Some of these operate with a dial indicator arm that you pass over the tested surface. As you pass the dial indicator arm over the surface of the object, it will register any variations. At the highest level of precision, optical interference technology can measure parallelism extremely precisely. A special kind of glass lens is placed on the flat surface whose parallelism is to be tested. A laser light with known frequency is then passed through the lens. If the surface is precisely parallel, the laser passes through with a predictable wavelength pattern. If the surface is not parallel, the wavelength pattern is disrupted.
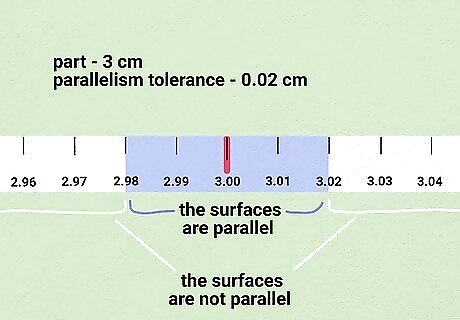
Determine whether parallelism exists. Refer to your initial decisions about tolerance and precision and the specifications for the size of the part in question. Review the results of your measurements and determine whether the measurements fall within the tolerance range. For example, if a particular part is supposed to be 3 cm. thick, with a parallelism tolerance of 0.02 cm., you need to review the measurements that you collected. Acceptable measurements will fall between 2.98 and 3.02 cm. If you find measurements outside this range, you need to conclude that the surfaces are not parallel.





Comments
0 comment