views
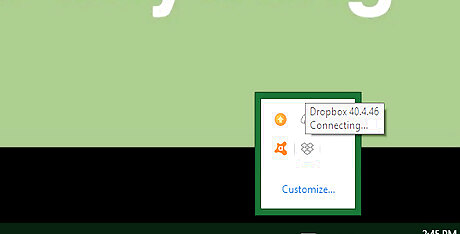
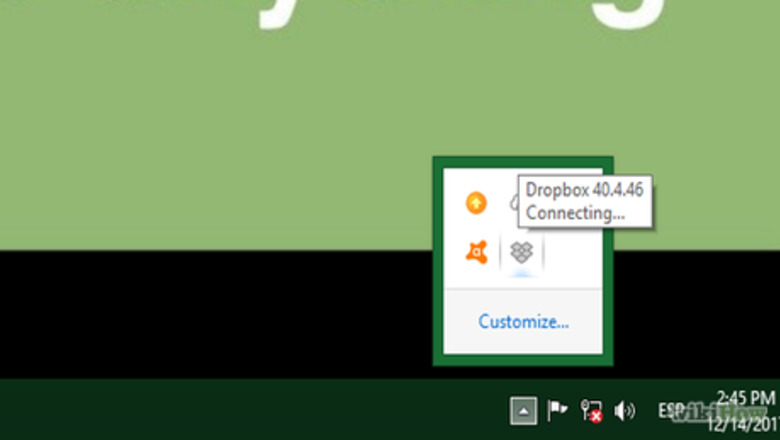
Find and click the Dropbox icon in the notification area. The Dropbox icon looks like a tiny box next to the battery, sound, and wi-fi icons on your desktop. A new window will pop up. On Windows, the notification area is located in the lower-right corner of your taskbar at the bottom of your screen. On a Mac, you can find it on your gray menu bar in the upper-right corner of your screen.
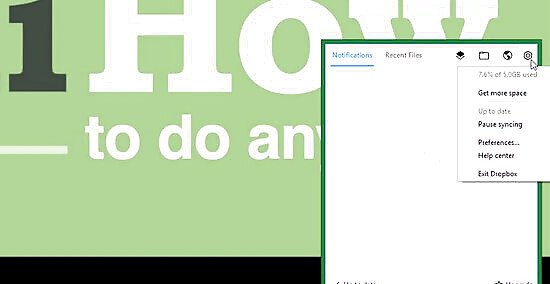
Click the gear icon in the upper-right corner of the pop-up. It will open a drop-down menu.
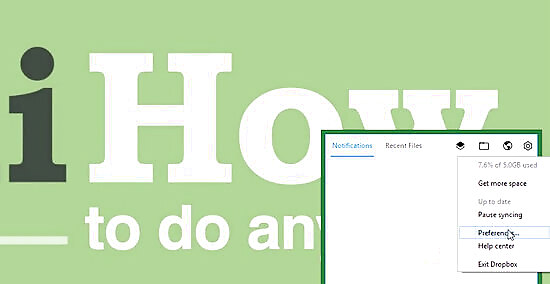
Click Preferences on the menu. This will open the app's settings menu in a new window.
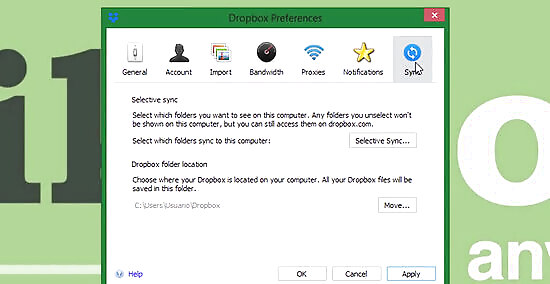
Click the Sync tab in the Preferences window. It looks like two rotating arrows in a blue circle icon.
Click Selective Sync or Choose folders to sync. This button is listed under the Selective Sync heading on the menu. It allows you to select which online folders to sync and save to your computer. On some versions of this app, this button may be in the Account tab.
Click and check the box next to every folder on the list. A blue checkmark will appear next to the selected folders. All the selected folders and their contents will be copied and saved to your computer's local storage. Optionally, you can only select some of your online folders here and choose to keep the others only online.
Click the Update button. This button is in the lower-right corner of the pop-up window. It will copy and save all the selected folders to your computer.
Click the Apply button. This will apply your new settings to your account, and save all the selected folders to your computer. You can now open and edit your files from your offline Dropbox folder. If you're using a Mac and don't see this button, you can skip this step. Your settings will be saved automatically.








Comments
0 comment