
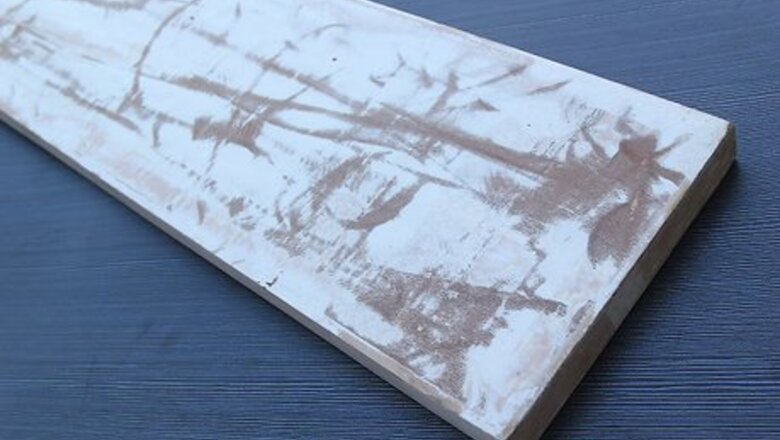
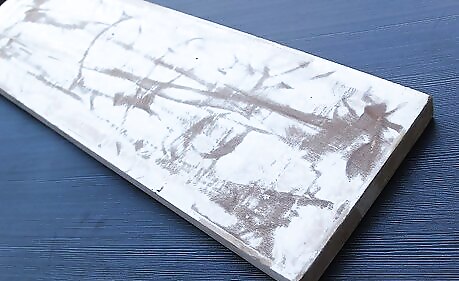
Find a good plank of wood. This will be mounted on your ceiling and will be the place where you will have your chandelier lights suspended. You can use an old shelf or just purchase one.
Visualize your project. Determine how many lights you need. Make some measurements where you intend to mount your chandelier.
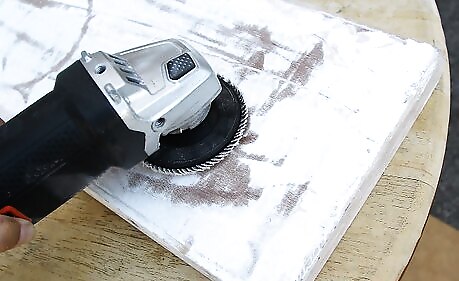
Grab a sandpaper or better yet a grinder to smooth the surface of the plank.

Buy a roll of wooden self adhesive furniture sticker. Cover the whole surface of the plank with the furniture sticker.Make DIY Mason Jar Chandelier Step 4Bullet1.jpg Cut to size and leave no air bubbles on the surface.Make DIY Mason Jar Chandelier Step 4Bullet2.jpg
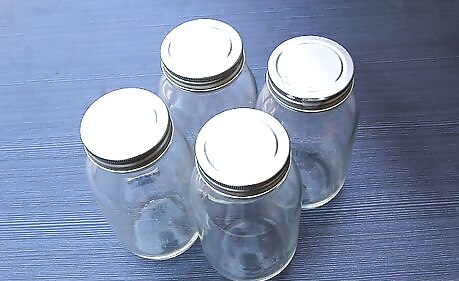
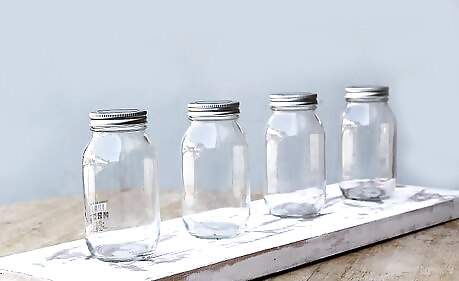
Get your Mason Jars. Depending on your measurements, determine how many jars you will use on this project.

Remove the caps.
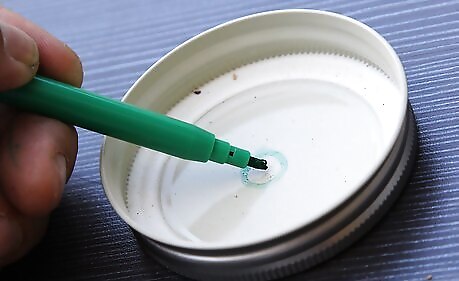
Mark the center of the cap.
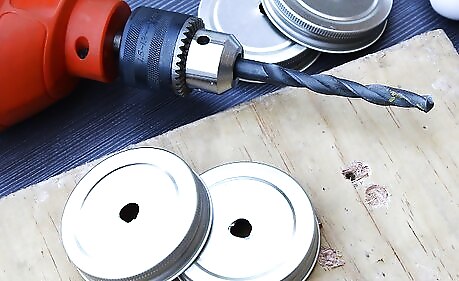
Drill through the lids of the jars.
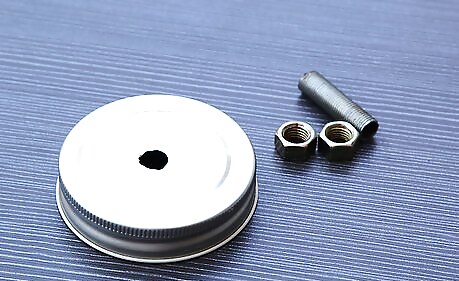
Obtain a metal tube where the electrical wire can pass through the jar lids. Use whatever is more accessible to you, you can use an old lampshade holder. cut them into pieces and use a nut to lock them in place. Apply adhesive on the cap.Make DIY Mason Jar Chandelier Step 9Bullet1.jpg Insert the metal tube on the hole on top of the cap.Make DIY Mason Jar Chandelier Step 9Bullet2.jpg Thread the nut on the tube and stick it on the cap with adhesive.Make DIY Mason Jar Chandelier Step 9Bullet3.jpg

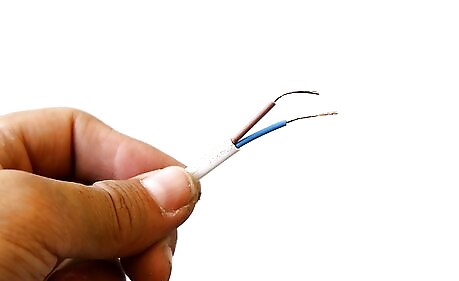
Buy a lighting kit. The number of kits depends on how many jars you will use. Cut the ends where the plugs are.Make DIY Mason Jar Chandelier Step 10Bullet1.jpg Insert the wires through the jar lids.Make DIY Mason Jar Chandelier Step 10Bullet2.jpg You can secure the lighting kit by applying strong adhesive on it or simply tie the wire into a knot.Make DIY Mason Jar Chandelier Step 10Bullet3.jpg
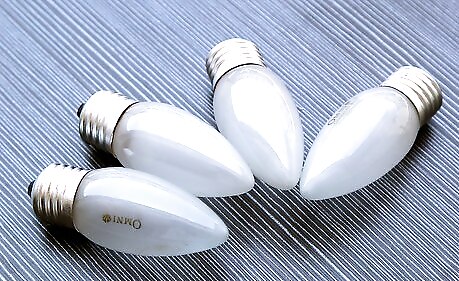
Buy your light bulbs. Make sure you get 25 watts only. so it won't heat it too much and crack the jars. Screw the bulbs into your lighting kit.Make DIY Mason Jar Chandelier Step 11Bullet1.jpg Screw the jars to the lids.Make DIY Mason Jar Chandelier Step 11Bullet2.jpg Repeat the process in making the jar lighting, depending how many you intend to use.Make DIY Mason Jar Chandelier Step 11Bullet3.jpg
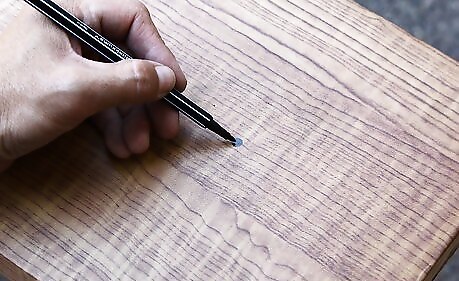
Grab you plank of wood once more and make measurements, mark the place wherein you're going to make holes where the wire will pass through.
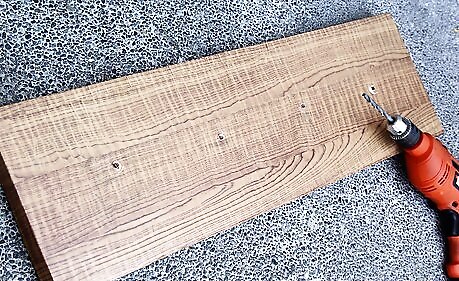
Drill the holes. Make sure they are equally distant from each other.
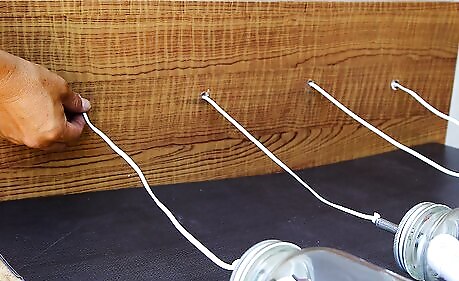
Insert the wires through the holes you made. Tie the wires into a knot on the other side of the plank, this will help the jars securely suspended.Make DIY Mason Jar Chandelier Step 14Bullet1.jpg
Call an electrician for the wiring, if you have basic knowledge about electrical stuff simply do a series connection.
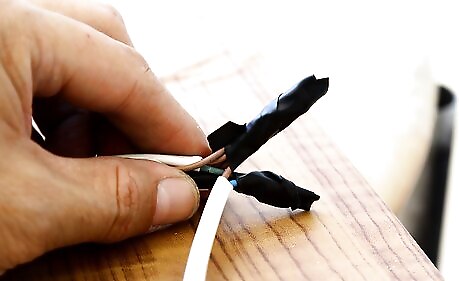
Attach the end of wires to a power source.
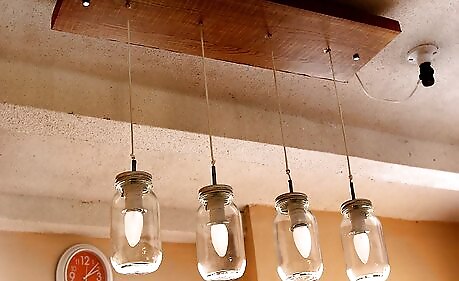
Drill four holes in every corner of the plank. get a long concrete screw and mount your chandelier.
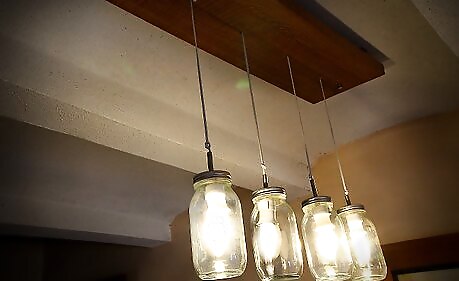
You're done, for a tight budget you now have a new centerpiece for your dining or living room!


Comments
0 comment