views
Cutting Your Materials
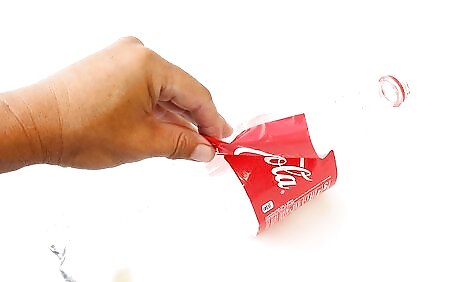
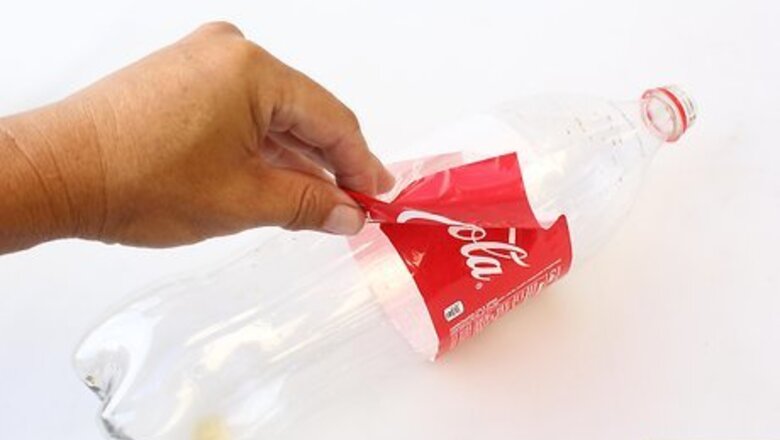
Clean out a 2-liter soda bottle. Peel off the label and remove any glue residue using some olive oil (or any other type of oil). Wash the bottle inside-out using dish soap and warm water. Dry it off well.
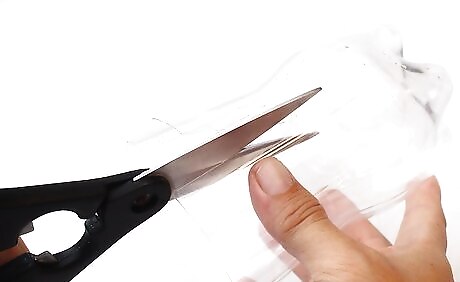
Cut off the bottom 6 inches (15 centimeters) of the bottle. Measure up 6 inches (15 centimeters) from the bottom of the bottle. Cut around the bottle at that point using a sharp pair of scissors or a craft blade. If you need to, draw a cutting guide using a permanent marker first. Discard or recycle the top potion. You will only be using the bottom potion for this project.
Cut slits around the top, cut edge. The slits need to be ½ inch (1 centimeter) wide and 3 inches (8 centimeters) deep. When you are done, you should have a fringe all around the top, cut edge of you bottle. You will eventually flare these out to form the rim of the cauldron.
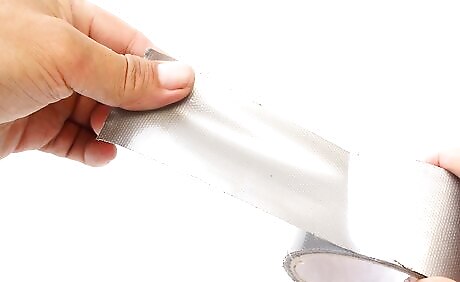
Cut several strips of strong tape. You will be using these to secure the flared out fringe. Choose a strong, sturdy tape, such as duct tape or packaging tape. Place the strips down against the edge of your table so that they are easy to grab.
Forming the Cauldron
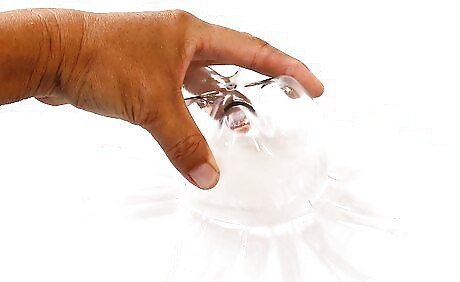
Flatten the fringe. Turn the bottle upside down so that the top is facing up. Push it against the table so that the slits open up and flare out.
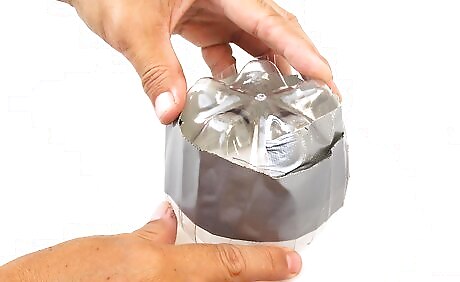
Secure the flaps with strong tape. Holding the bottle flat against the table, take a piece of tape, and lay it down across the flared out flaps. Make sure that the tape is as close to the side of the bottle as possible; don't worry if the ends of the flaps are exposed. Continue laying down pieces of tape across the flaps until they are all covered.
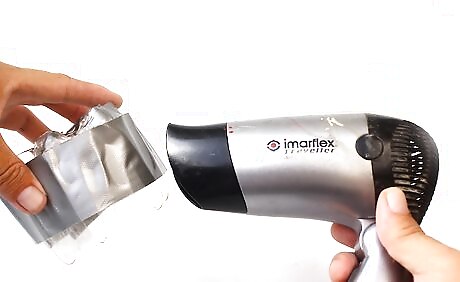
Heat-set the flaps with a hair dryer. Turn on a hair dryer, and hold the nozzle against the joint between the bottle and the flaps. Wait a few seconds, then move over a little bit. Keep moving the hair dryer around the bottle until you are back where you started.
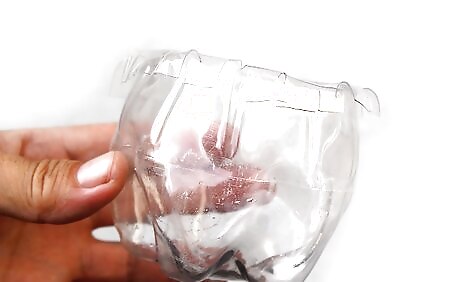
Hold the bottle down while the plastic cools. The heat of the hair dryer will have softened the plastic. When the plastic cools, it will take on a permanent curve. Once the plastic is cool to the touch, you can lift your hand away.
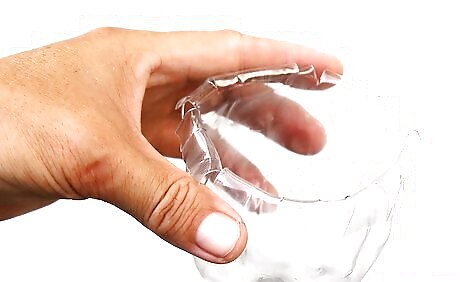
Trim the rim down. Turn the bottle right side up. You should now have a 3-inch (8-centimeter) wide rim. Use a pair of scissors to trim that rim down to ½-inch (1 centimeter).
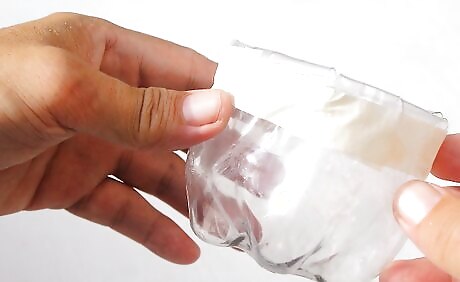
Reinforce the rim with more tape. Cut a few short pieces of tape. Fold them over the edge of the rim until the entire rim is covered. The base of your cauldron is now complete!
Painting and Finishing the Cauldron
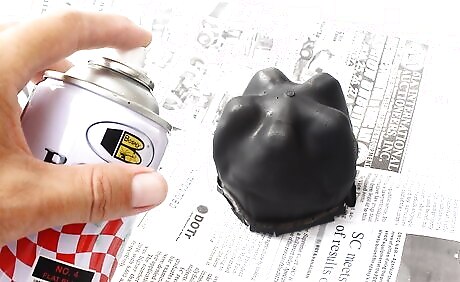
Paint the cauldron with 1 to 2 coats of paint. You do not need to paint the inside of the cauldron, but you should paint the outside and the rim. You can use acrylic paint, but black primer would be better because it's less likely to chip off. Allow each coat to dry before applying another.
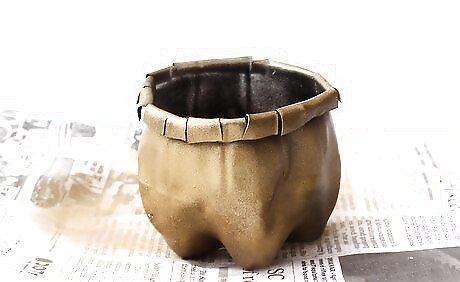
Consider applying a coat of varnish. This is not completely necessary, but it can give your cauldron a nicer finish. It will also help protect your paint work. Extend the varnish just past the rim into the cauldron so that it seals the paint in better.
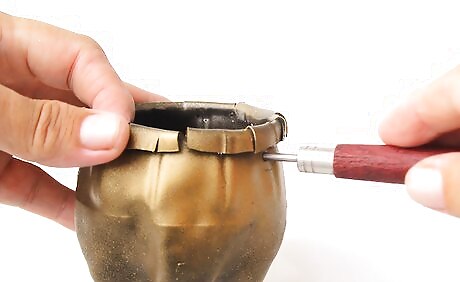
Punch two holes in rim across from each other. Use a hole puncher to poke two holes in the rim. Make sure that they are across from each other and centered.
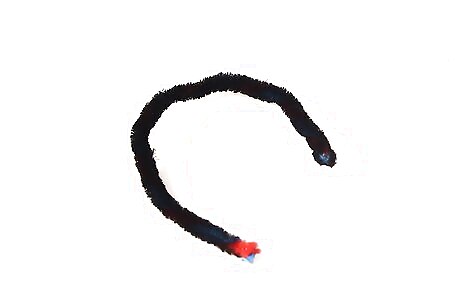
Make the handle. Cut a piece of thick, black wire, or get out a piece of pipe cleaner. Curve the wire into a C shape. Bend the ends inward by 1/2 to 1 inch (1 to 2.5 centimeters).
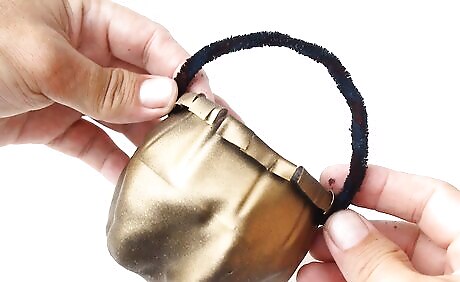
Attach the handle. Hold the handle over the cauldron so that the inside edges are touching the rim. Open up the folded ends a little and push them up through the holes so that they come out through the top of the rim. Fold the ends back towards the edges of the handle.
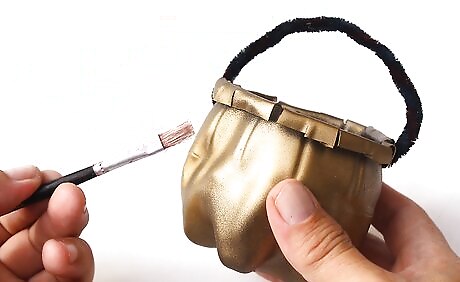
Decorate the cauldron, if desired. This is not absolutely necessary, but it could give your cauldron a nice touch. Place St. Patrick's Day-themed stickers onto the cauldron. Great choices include gold or green shamrocks, but you could also add a leprechaun or rainbow. You can also paint on a large, golden shamrock instead: Place a shamrock stencil over the cauldron. Paint it with decoupage glue (ie: Mod Podge) or white school glue. Cover the glue with gold or green glitter. Remove the stencil and let the glue dry. Seal the shamrock with clear, glossy acrylic sealer.
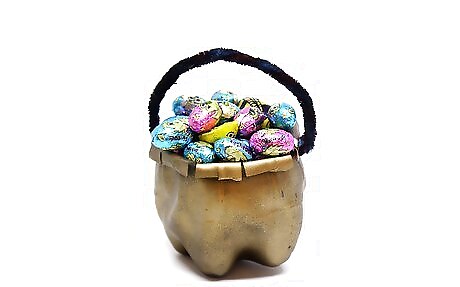
Fill the cauldron with candy. The most obvious choice is chocolate coins, but you can also try other types of candies as well, such as Kisses, jelly beans, and even M&Ms.






Comments
0 comment