views
Copying Photos to Your Story
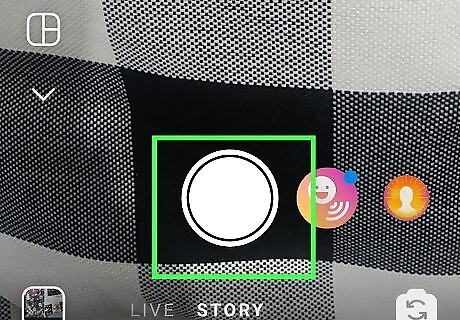
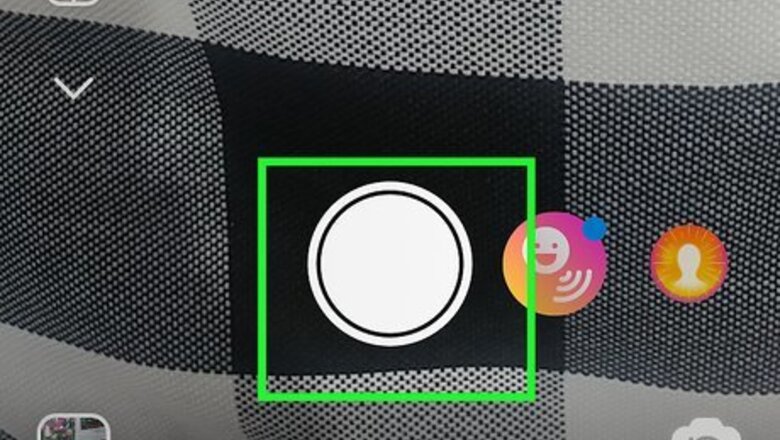
Take a photo for the background of your collage. You can use a solid color for the most visibility, or you can take a pic of whatever’s around you. Whatever you choose will be the background of your collage, so make sure it fits with the theme! To get a solid, colorful background, scroll over to “Create Mode” in your stories.
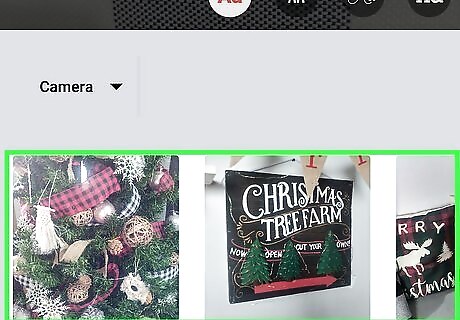
Copy the photo you want to add from your camera roll. Open up the camera roll (the app on your phone, not the one on Instagram), and scroll to the photo you’d like to add to your collage. Press and hold down on the photo, then hit Copy. You can now paste this photo anywhere you’d like to!
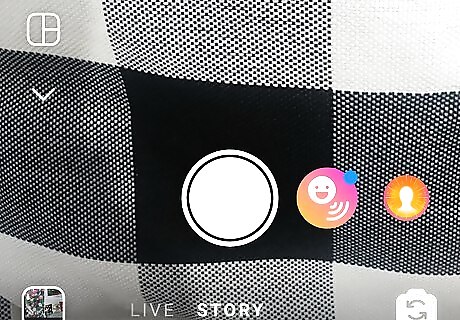
Head back to your Instagram story. This works best if you keep both Instagram and your camera roll open at the same time, so don’t swipe either of them away. Head back to Instagram and to the story that you’ve set up already. You need to move kind of quickly to use this hack, so don’t waste time!
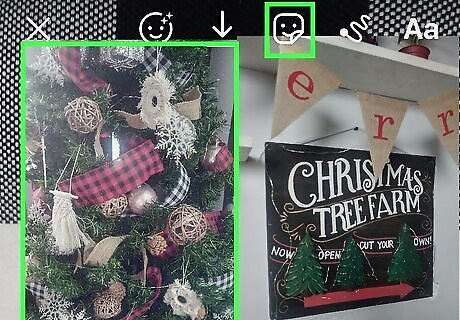
Click “Add Sticker” in the bottom left hand corner. If you’ve copied your photo and gone back to Instagram fast enough, a little tab with your photo should pop up at the bottom of your screen. Click on the picture where it says “Add Sticker” to place your photo into your story. If the tab doesn't pop up, don’t worry! You might just need to copy your photo again.
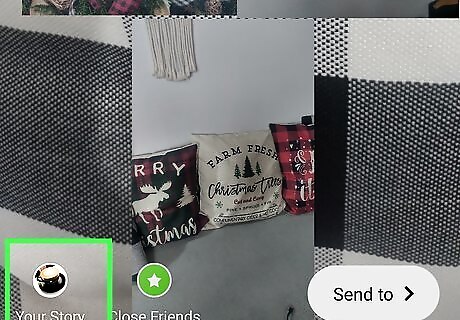
Repeat the process to add more photos. It’s not a collage without multiple pictures, right? You can keep copying photos from your camera roll and going back to the same story to add them one by one! When you’re finished, tap “Add Story” to make your story public. You can add a bunch of different photos or the same one over and over again. It’s your account, so get creative with it!
Using Layout for Stories
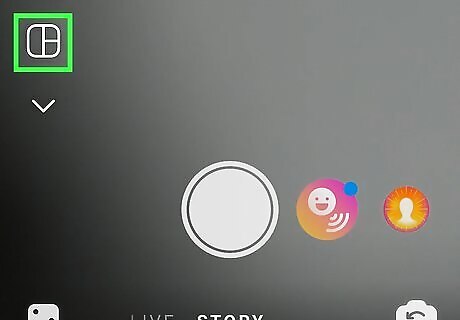
Open up your Instagram story and tap Layout. Head to the top left corner of Instagram and tap on the camera icon to open up a new story. On the left hand side of the screen, tap the option that says Layout. Layout used to just be a separate app, but now Instagram lets you use it on your story, too!
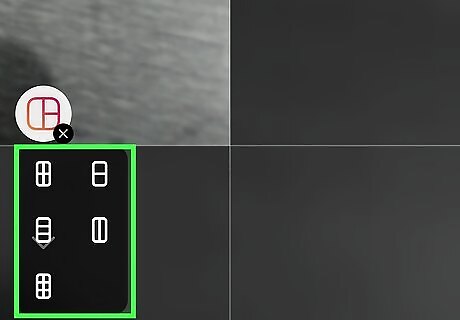
Select the grid option you’d like to use. In the center of the screen, you can scroll left and right to explore the grid options that Layout has. Once you find one that you like, click on it to make it the grid for your story. The main difference between each grid is the amount of photos in your collage.
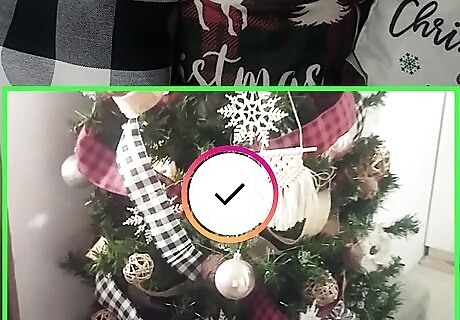
Snap as many pictures will fit in your grid. It’s time to get creative! Take a few selfies, some pictures of nature, or your favorite food. You can decide on a theme or be totally random with it. You can also select photos from your camera roll by tapping on the + on the left side of the screen.

Add the story to your feed. Once you feel like your collage is perfect, go ahead and tap “Add Story” at the bottom left hand side of the screen. Your collage will be available to your followers for the next 24 hours so they can bask in your picture-perfect moments. Don’t forget to add some gifs, Emojis, or stickers!
Using the Layout App
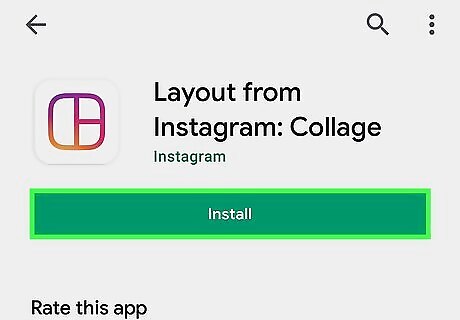
Download the Layout app from the App Store or Play Store. If you’re on iOS, open up your App Store and search for “Layout.” If you’re on an Android, open up the Play Store and search for the same thing. Tap Get or Install to download the app onto your device. You can also find the app by opening up Instagram, tapping the icon to post a new picture, then selecting “Layout.” This will open up a new page in your app store so you can download it right away.

Tap GET STARTED. This will open the gallery section of the app so you can start making a new collage. You may have to go through a short tutorial before you can click this button, but it doesn’t take long. If you haven’t used the app before, you’ll also have to allow it to access your photos before you can start.
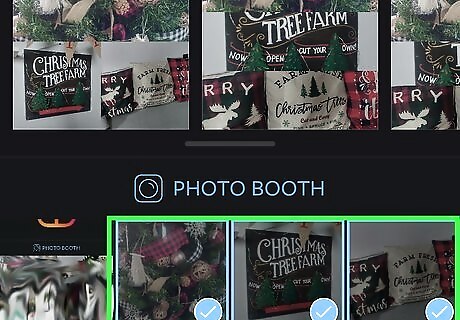
Tap to select your photos. You can select up to 9 photos to include in your collage. You can pick a theme, like nature or photography, or you can go completely random with it. Remember, you’re making a collage to post to your grid, so make sure it fits with the theme of your account (if you’re worried about that kind of stuff)!
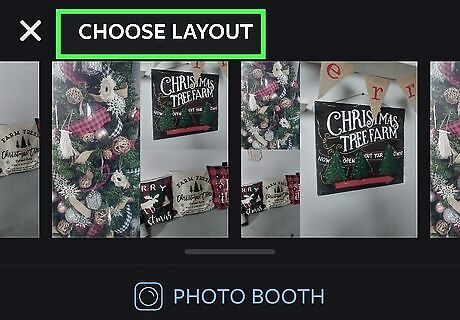
Pick the grid layout that you want. The different layout options are displayed in a scroll bar at the top of your screen. The main difference between all of them is how many photos you’d like to include in your collage, but you can always change this later on. If you haven’t used Layout before, try out a few different grids until you find the one you like.
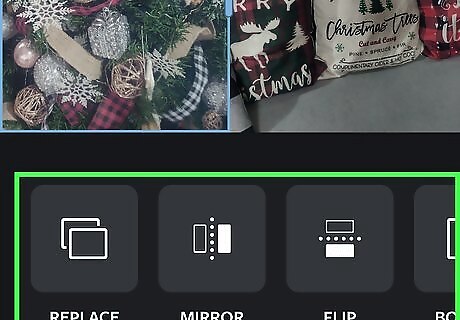
Tap on a piece of the collage to edit it. You can resize your photos, move them around, add filters, or change the border size. Feel free to mess around with the different settings! You can resize a photo by dragging the edges. You can move an image within the collage by tapping and dragging on it. Use the buttons on the bottom of the edit screen to mirror, flip, or replace a piece of the collage. Select 'Borders' to add a white border that separates the images.
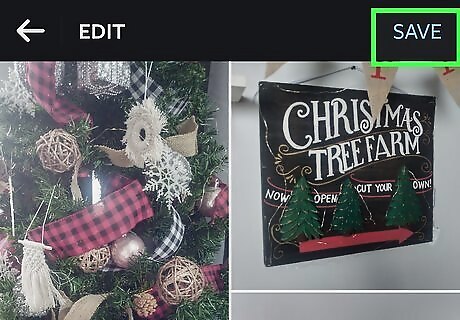
Tap SAVE or NEXT. This will save your collage to your camera roll so that you can post it or send it to a friend. Make sure you do this before closing the app so you don’t lose all your hard work! Every collage you save will go straight to your camera roll.
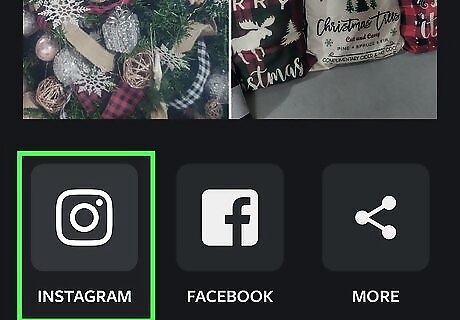
Upload the collage to Instagram. Close the Layout app and head on over to Instagram, then tap the camera icon to make a new post. Select your collage from your camera roll, then pop a filter on it (if you want to) and add a funny caption. Share your collage straight to your followers and watch the likes pour in! Don’t forget to add a few hashtags so your post gets more attention.
Using Third-Party Apps
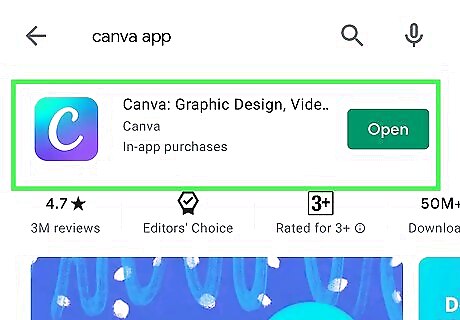
Download Canva to express your creativity. Canva is another collage app that you can download on iOS or Android to make aesthetically pleasing collages with beautiful backgrounds. You can find this app in the App Store and allow it to access your photos, then try out the different templates to see which one works for you. Canva has a lot of cream-colored and neutral-toned backgrounds, so it promotes a very specific aesthetic.
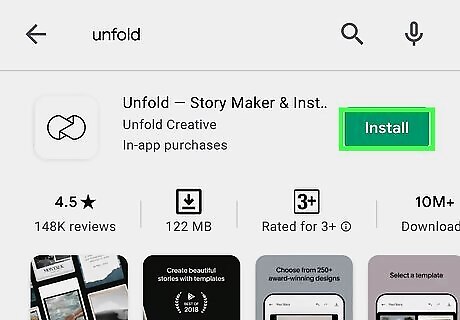
Try Unfold to make your collage look professional. Unfold is another collage-making app, but it has a slightly more elevated look and feel to it. You can find this app on the App Store and download it to give your photos a professional, chic style. There are a few options for your collage to choose from, but a lot of the templates look like polaroid pictures.
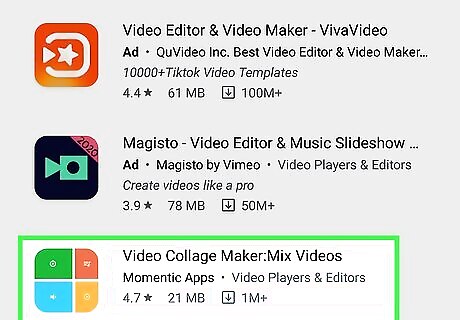
Use Video Collage to make collages out of videos. The main drawback of using collage apps is that they only support photos. If you’d like to add multiple videos to one post, try the app called Video Collage on the App store. You can select multiple videos to play all at the same time so your followers get something a little more interesting. Like all of the photo collage apps, the video collage app is completely customizable.
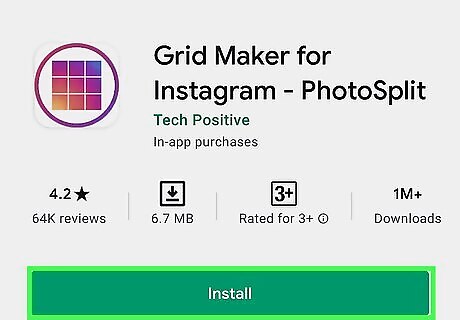
Split up your photo to make a soft collage. Take a high definition image and chop it up into 3 square photos that match up to make the final image. Post them all in a row so that the entire photo can only be viewed by going to your Instagram page. If you aren’t sure how to split up your photo evenly, download an app like Photo Split to help you out.





Comments
0 comment