views
Before You Start
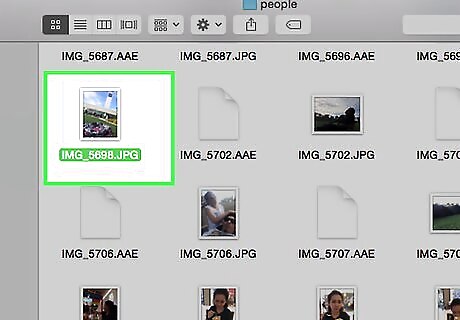
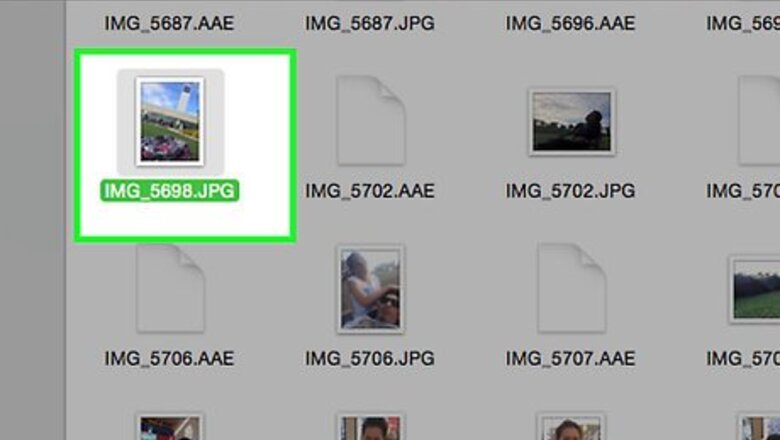
Take photos. Take images for 3D viewing by taking one image and then moving 3-4" to the left or right and taking another one. If your pictures are digital, just open them up in the software. If your pictures are hard copies, transfer them to a computer using a scanner, or drop them off at a photo developing store and ask for digital files (any file type will work). After downloading the images into your computer, you will probably want to rename them to more easily recognize them when bringing them into Photoshop. Develop a naming scheme for your workflow, and stick with it. For example, left camera eye image file names could contain the letter "L", and right eye image file names could similarly carry an "R".
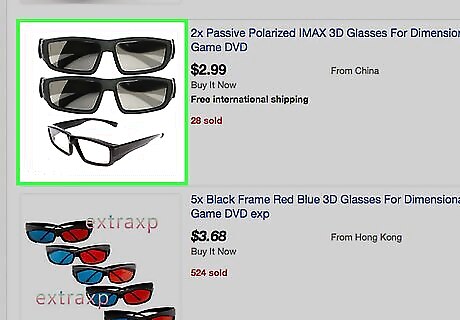
Get a 3D viewer. As you're going along, you'll want to be able to see the images in 3D to see how they're coming along. You can buy or make 3D glasses.
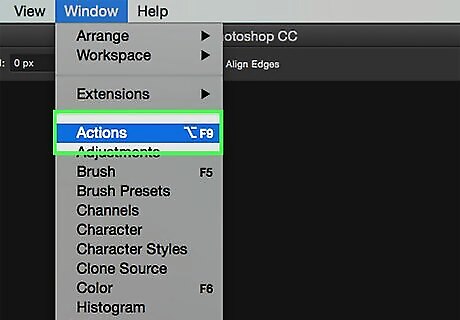
Create Photoshop Actions. Create template files or Photoshop actions that you can use over and over whenever you want to create a new 3D image. This will make the process more efficient. Since pictures can vary so much, however, you'll have to be careful and each one will likely require individual editing.
Simply Processing the Images
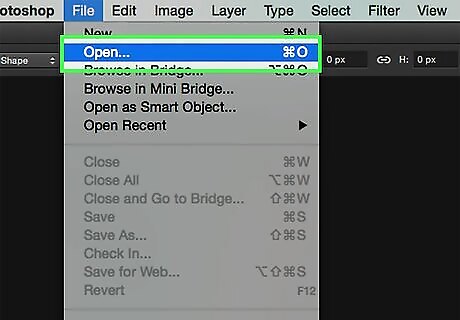
Open both images in Photoshop. Open the left and right image pair.
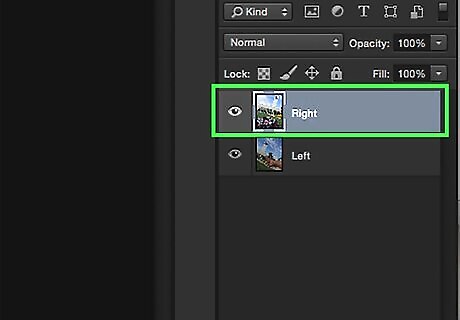
Copy the right image into the left image. The right image should be in a separate layer (happens automatically).
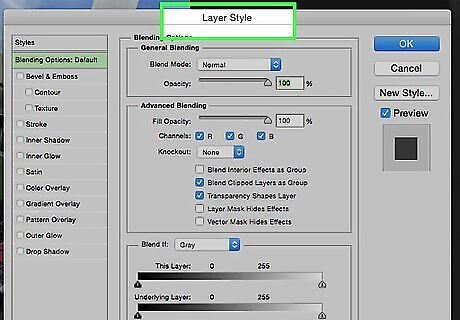
Open the Layer Style menu. Double click the right image layer (by default, will be labeled "Layer 1").
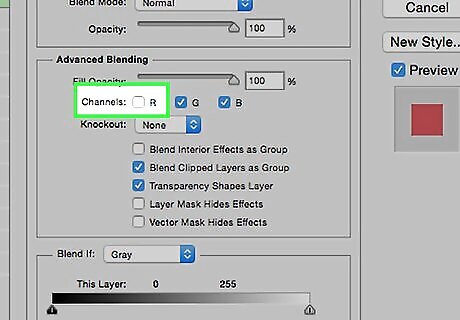
Uncheck the "R" channel. This option is generally below the Fill Opacity slider.
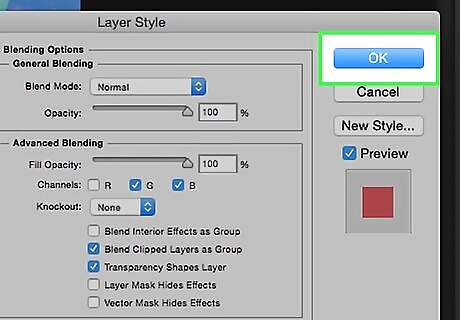
Click OK.
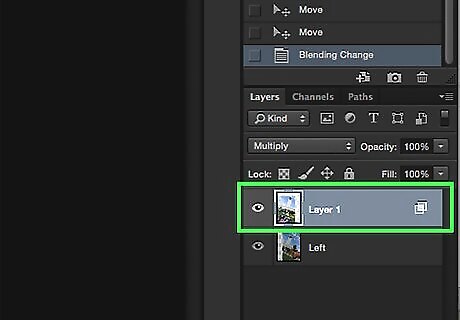
Move the background. Select the background layer and then, using the Pointer tool, move the background image to align the focal point in both pictures. Wearing your glasses or using the "Multiply" layer style can help line up the focal points.
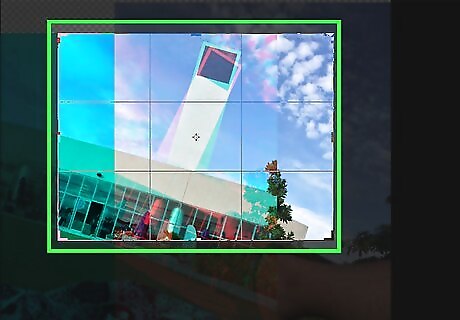
Crop the image. Crop the image as necessary.
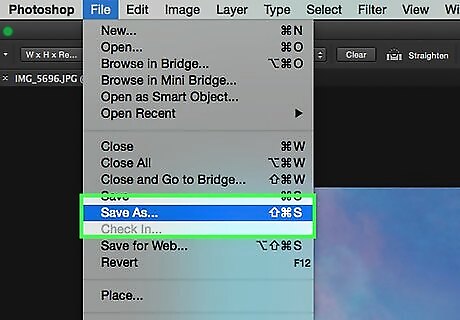
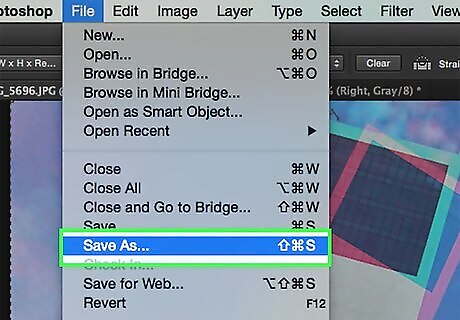
Save. Save your image and you can use it for whatever you want.
Processing the images in a complex method
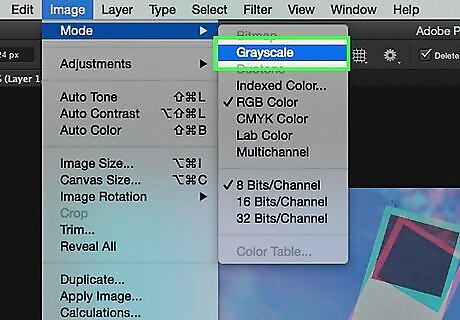
Open both images in Photoshop. Once the left and right eye pictures are open, convert them both to grayscale by clicking on the 'Image' menu bar and selecting 'mode' then 'grayscale'.
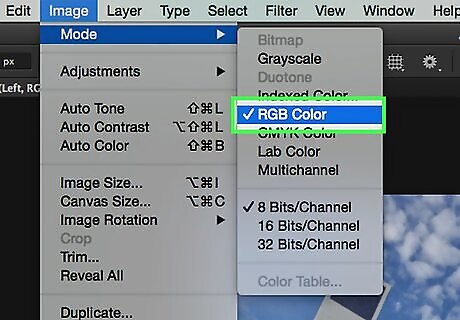
Assign the side. Assign the left eye image red, green and blue channels by going back to the 'Image' menu bar and selecting 'mode' then 'RGB'(the image will still appear gray). Do not repeat this step for the right eye image.
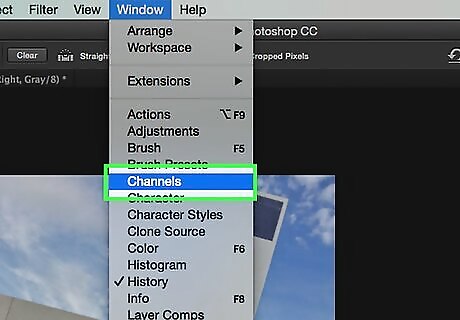
Open the Channels menu. Now you are ready to merge the left and right images. To begin, make sure the left eye image is still selected 'Open the channels display menu' by clicking on the 'Window' menu bar and choosing 'channels'.
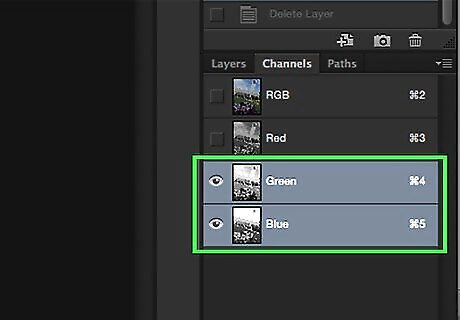
Highlight the blue and green channels. Press the shift key to highlight both at the same time. An alternative to this step is to use only the blue channel instead of the blue and green when pasting into the left eye image. Important: only the blue and green channels should be shaded blue. At this stage it doesn't matter which boxes to the left of the channels show eyeballs (eyeballs indicate which channels are displayed).
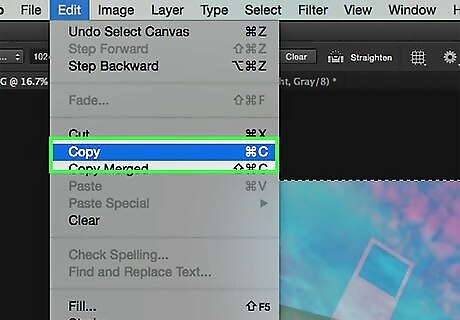
Copy the right image into the left one. Go back to the right eye image, select the whole thing (go to 'Select' menu bar, then press 'all' OR press Ctrl+A) and copy it (go to 'Edit' menu bar, then press 'copy' or press Ctrl+C). Switch back to the left eye image and paste (go to 'Edit' menu bar, then press 'paste' or press Ctrl+V).
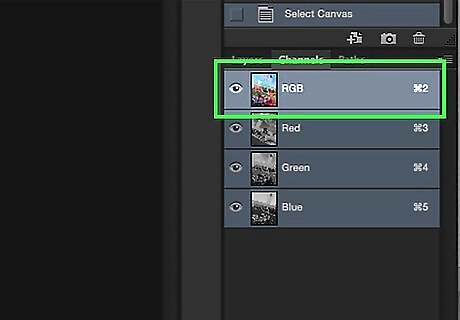
Highlight the RGB color channel. An eyeball should appear in all four channel boxes. At this point, you should see a blurred red and blue picture.
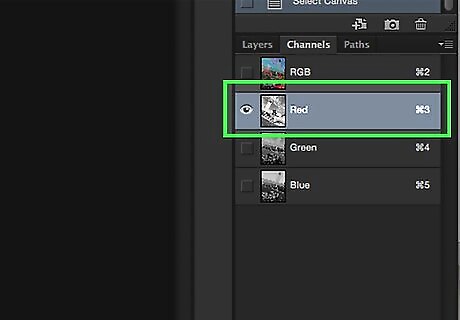
Adjust the red channel. You are almost done. But first the left and right eye images need to be better aligned. Start by highlighting only the red channel in the channels display menu (it should be shaded blue).
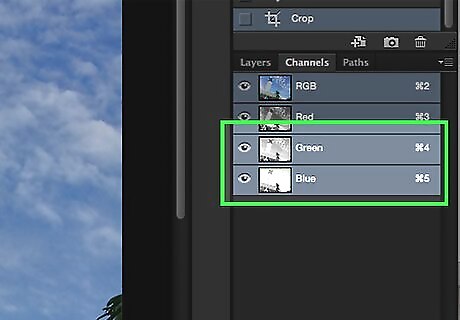
Adjust the remaining channels. The next step is crucial because it allows the red-tinted picture to be shifted over while the blue-tinted picture is still visible. Go to the RGB channel and click only on the square box to the left. An eyeball should appear in all four boxes, but only the red channel should be shaded.
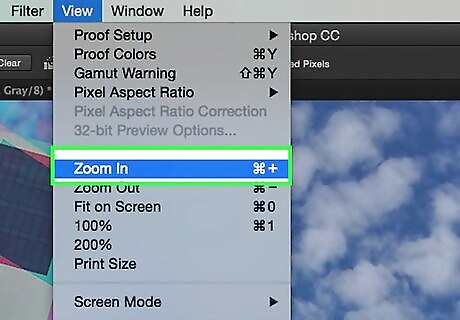
Choose a focal point. Pick a point in the center of the picture to match up; for example, if a person is your subject, eye pupils are a good target. Zoom in on the target by selecting the magnifying glass icon in the tool bar then click on the target until it appears fairly large.
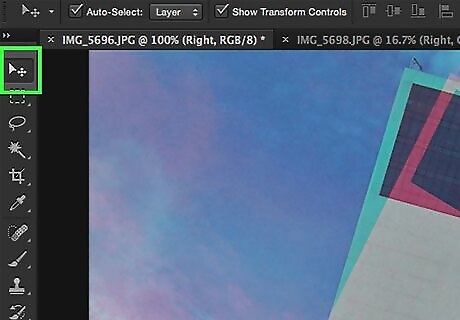
Move the images. Select the 'move' tool located in the upper right corner of the tool bar. Using the up and down arrow keys, slide the red-tinted image over until your target matches up and no longer shows any rings of color.
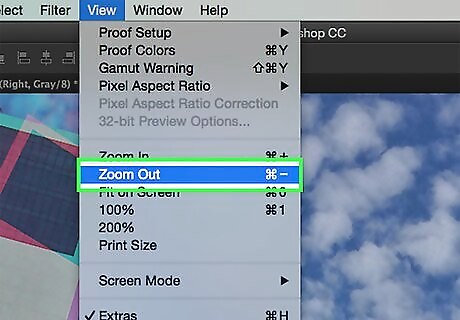
Zoom back out. Objects toward the outside of your picture should still be haloed in red or blue. In other words, the overall goal in this step is to limit the colored tints as much as possible.
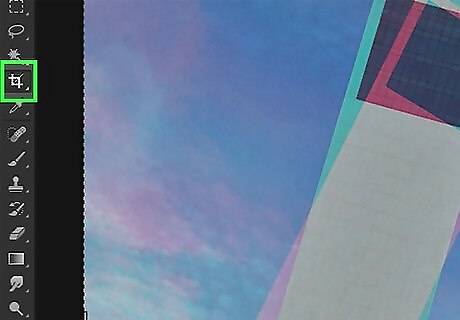
Crop the image. Cut out excess red or blue at the far edges of your picture, crop it using the crop tool, also located in the tool bar (once you've outlined your picture with the tool, go to the 'Image' menu bar then press 'crop').
View your image. Your creation is ready to be viewed! Just don your 3D glasses (the left eye should be tinted red) and watch the picture jump out at you from your monitor screen or a printed picture.







Comments
0 comment