views
Getting Started
Get 8 regular size skeins of a soft, medium-weight yarn. You can knit a quick and easy baby blanket by holding 2 strands of yarn together and knitting with 2 strands at once, so you will need 8 regular-sized or 4 double-sized skeins. Any soft, medium-weight yarn in the desired color will work for a baby blanket. You will need approximately 1,600 yards (1,500 m) of yarn, so check the label for details on the amount of yarn in each skein. You can purchase a special type of yarn in craft supply stores that is meant for knitting baby blankets. The yarn label will usually indicate that it is meant for knitting baby items. This yarn is extra-soft and comes in a variety of colors. Babies can be messy, so be sure to choose a material that is machine-washable. Consider the climate where the baby lives—if they live somewhere that's really warm, choose something light, like a cotton yarn. If they live somewhere cold, go with something like a washable wool. Color Options for Baby Blankets Pastels, such as pale yellow, light pink, mint green, lavender, and baby blue. Bold colors, such as apple red, royal blue, sunshine yellow, and kelly green. Neutrals, such as shades of beige, brown, and cream. Greys and whites, such as charcoal, light grey, and off-white.
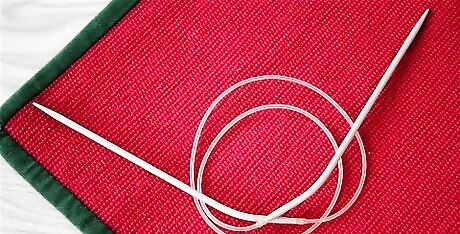
Get a pair of US size 11 (8.0 mm) circular knitting needles. This size works well for knitting a simple baby blanket with 2 strands of medium-weight yarn at a time. Make sure that you get a pair of needles with a long cable in between them. This will help to ensure that there will be plenty of room for your stitches. A size 29 in (74 cm) or longer cable is ideal. Circular knitting needles are best for knitting a blanket because there is plenty of room for the stitches in between the needles. Knitting a baby blanket with straight needles is harder on your wrists because the weight of the yarn pulls down on the ends of straight needles.

Make a slipknot and place it on your right-hand needle. Hold 1 strand from 2 separate skeins of yarn so that the ends are even, and the strands are together. Loop the 2 working yarn strands around your index and middle finger 2 times and then pull the first loop through the second loop. Pull the tail of the yarn to tighten the knot. Then, slip the loop off of your fingers and onto your right-hand needle. This will count as your first cast on stitch, so make sure to include it in your total number of casts on stitches.

Cast on 133 more stitches. You need a total of 134 stitches for this baby blanket, so cast on 133 more. Continue to work with both strands at once. Loop your working yarn around the end of the left-hand needle. Then, insert the right-hand needle into this loop, and yarn over again. Pull this yarn through the loop on the left-hand needle. Repeat this process until you have a total of 134 cast on stitches, or the desired number of cast on stitches for your pattern.
Knitting the Rows
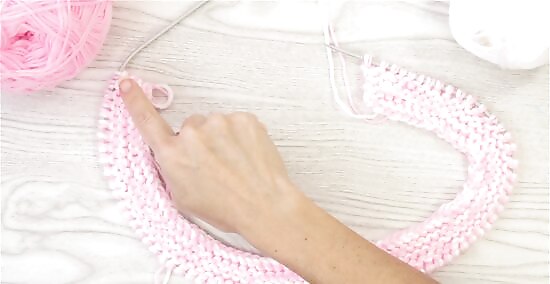
Knit across all of the rows to work the blanket in the garter stitch. The garter stitch is a simple, flat stitch that is easy to work. Turn the knitting needles so that the working yarn is on the right-hand side of the cast on stitches. Then, insert the right-hand needle into the first cast on stitch, loop the yarn over the end of the needle, and pull it through the old stitch. Let the old stitch slip off the end of the needle as the new stitch replaces it. Repeat to the end of the row. Make sure that you turn the work around again at the end of each row.
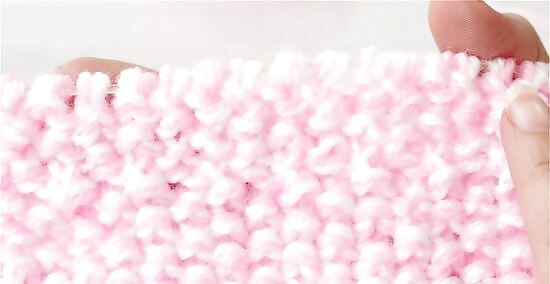
Work across the rows using a special stitch if you want to add texture. There are lots of specialty knit stitches you can use to create a more intricate looking baby blanket. Choose a stitch that is equal to your skill level and that will allow you to create the desired effect. Some stitches you might try include: Waffle stitch Brioche stitch Rice stitch Bamboo stitch Seed stitch
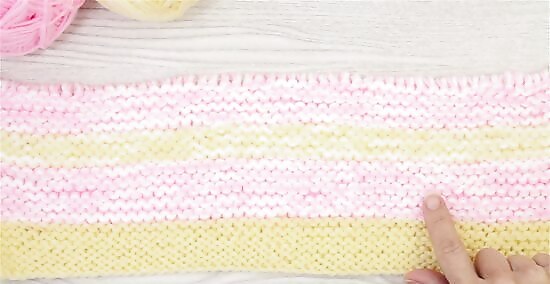
Change colors every 10 rows if you want to create stripes. You can use a single color of yarn for the entire blanket, or switch colors every 10 rows for a chunky striped look. To switch colors, tie the end of 1 skein of yarn to the beginning of a new skein of yarn. Do this every time you want to switch colors. Remember to always use 2 strands held together for the pattern in this article. The end of a row is a good place to switch your yarn, but you may switch colors anywhere you like. Make sure to cut the excess yarn after you switch.
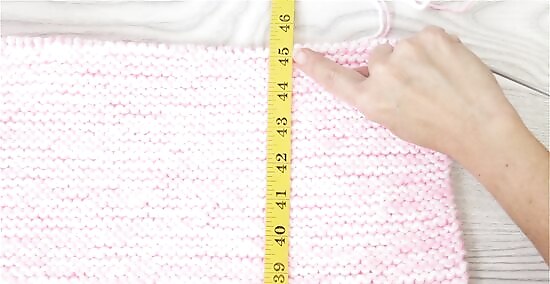
Continue working until the blanket is 45 in (110 cm) long. This is about 160 rows. You will be finished when your baby blanket measures 45 in (110 cm). Check the length of the blanket using a tape measure. A good time to check is when the blanket looks like it is getting close to the desired length, or when you are almost out of yarn. You may make the blanket longer than 45 inches (110 cm) if desired.
Finishing Off

Bind off the last row to finish the blanket. Knit the first 2 stitches in the row to start binding off the stitches. Then, lift the first stitch you knit onto the right-hand needle up and over the second stitch. Knit 1 stitch again and lift the old stitch up and over the new stitch. Repeat the process of knitting 1 and lifting 1 up and over the new stitch until you have cast off the entire last row.
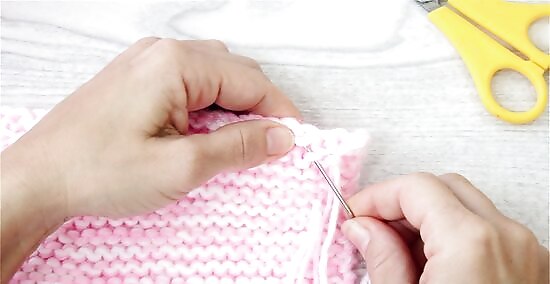
Tie off the final stitch and weave in the end with a yarn needle. Tie a knot through the last stitch in your last row to secure it. Then, cut the yarn about 6 inches (15 cm) from the last stitch. Thread this yarn through the eye of your yarn needle, and begin weaving the needle in and out of the edge of your baby blanket. When the yarn is too short to weave through the edge any more, tie a knot around the last stitch. Then, cut the yarn about 0.5 in (1.3 cm) from the knot. Keep in mind that weaving in the end if the yarn is optional. You may also cut the yarn 0.5 in (1.3 cm) from the last stitch to finish your work.
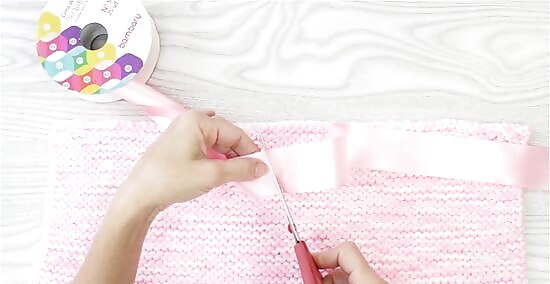
Cut a satin border that is the length of your blanket's perimeter. Purchase a satin border from a craft supply store that will complement the colors of your blanket. Cut the satin border to the required length to go around the entire outside of the blanket. You can cut 1 piece for each edge and then sew them onto the blanket 1 at a time. For example, if the outer edges of each side of your blanket are 45 in (110 cm), then you will need 4 pieces that are 45 in (110 cm).
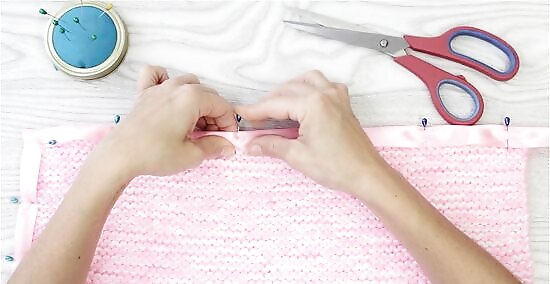
Pin the border pieces into place on the edges of the blanket. Position each of the border pieces so there is an equal amount of satin fabric on both sides of the blanket's edge. Once the pieces are in place, sew them into place with a zigzag stitch positioned along the inner edge of the satin border. Sew slowly to avoid snagging the edge of your blanket. Remove the pins as you sew. Do not sew over them or you may damage your sewing machine.




Comments
0 comment