views
Prepare New Speakers
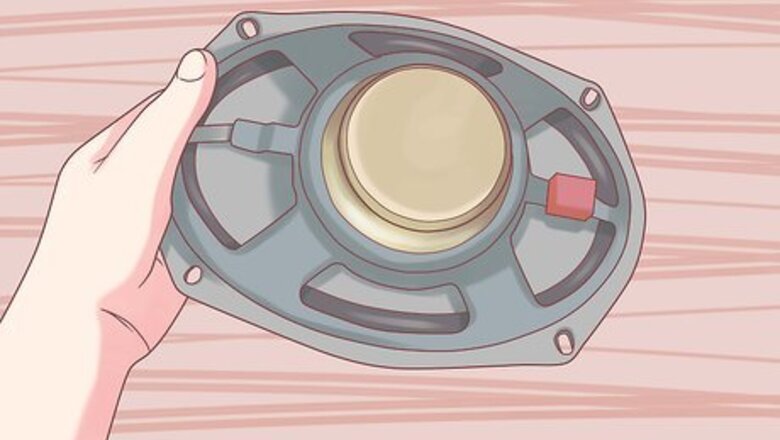
Check your vehicle’s audio specifications to see what type of system it came equipped with. Take note of how much power your head unit (aka radio or stereo) puts out to the speakers. This will tell you how many channels and therefore number of speakers you can install into your car. Too many units can cause your system to fail or damage existing equipment.
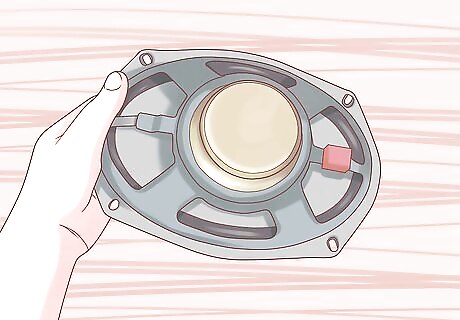
Check the dimensions of the existing speakers so minimum modifications will be needed to fit the new ones in. Speakers come in different shapes and sizes, so a planning to mount a replacement speaker, knowing if the original was a 6X9 inch oval rather than a 4 inch (10.2 cm) round one will help choose the best fit.
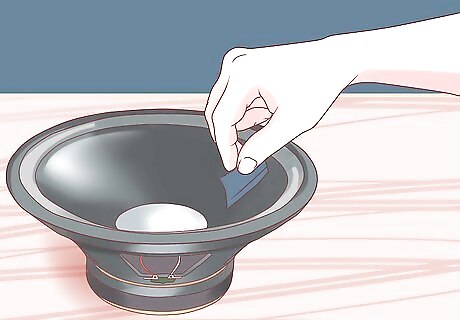
Consider material quality. Speakers with composite or fabric cones are usually noticeably better than those with paper, and ceramic permanent magnet speakers will out-perform wound electromagnetic speakers at the same power level.
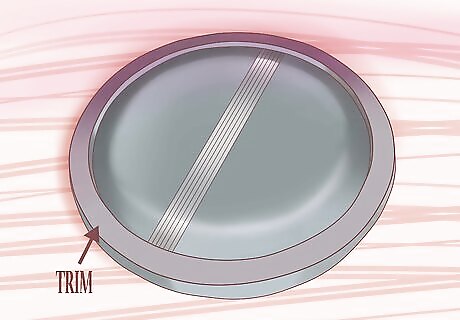
Select speakers and necessary adapters. Even with the correct aftermarket speaker size, there are variations in any vehicle’s make and model that may interfere with a perfect fit. You may find many different styles and colors of trim and covers in a similar price range, so it makes sense to pick the ones that look good, not just sound good.
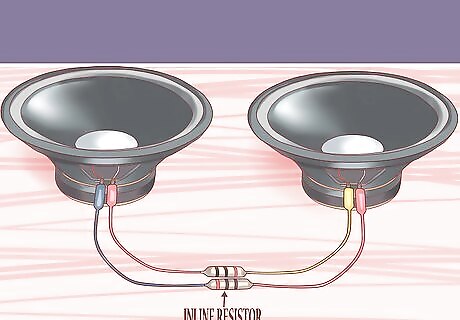
Look at the electronic characteristics of your speakers. Some have inline resistors to prevent static and crosstalk, some allow wiring in a series circuit configuration to allow you to add woofers and tweeters where you need them, and some can only be wired terminally to maintain the correct system impedance.
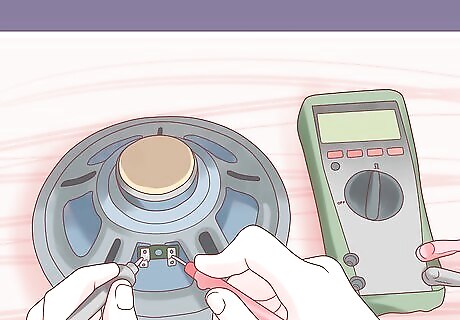
Consider the power requirements of your new speakers as it will affect the wiring. High wattage, low impedance speakers may not be able to perform with the factory wiring.
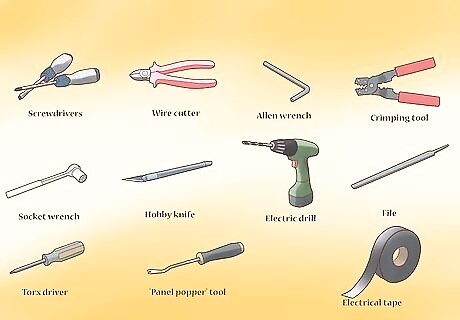
Gather your tools. What you'll need to install your new speaker system will most likely include the following, but are not limited to these : A variety of screwdrivers (flathead, phillips head, etc.) Wire cutters/strippers Crimping tool Allen wrenches Socket wrenches Hobby knife Soldering iron (and solder) Electric drill File Torx driver "Panel popper" tool Electrical tape
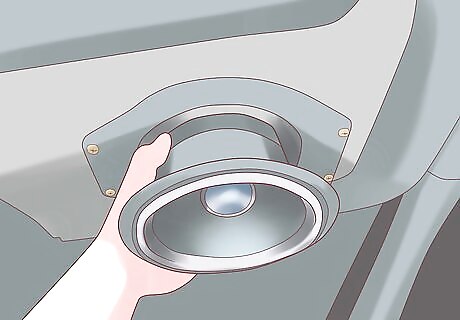
Ensure that the speakers you've chosen fit your car. Many after-market speakers will fit into the spaces for the stock speakers, while others will require minor modifications, like a mounting bracket or spacer, the drilling of new screw holes, etc. Note that many speaker retailers offer online tools for determining which of their products best "fit" your car.
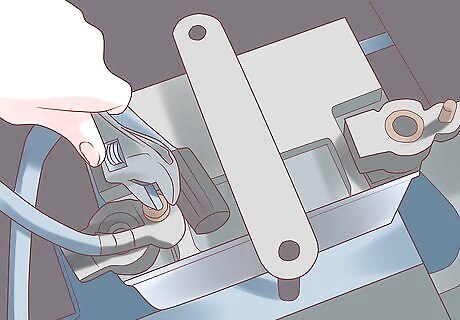
Prevent electrical damage by disconnecting your car's battery. With nearly all types of electrical work, it's important to protect yourself and the system before beginning.
The instructions below are generalized and may not apply to every set of speakers on the market. Whenever necessary, defer to the instructions included with your speakers, as these will be specifically suited to your unique product.
Install New Speakers
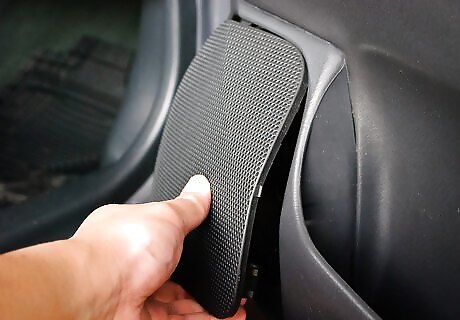
Take any panels or speaker grilles off. Nearly all speakers in the interior of a car will be covered with some sort of protective paneling or grill. Before the speaker can be modified or replaced, this barrier must be removed. Pry the grill off with a suitable tool, like a flat head screwdriver, removing any bolts or screws that are holding it in place if necessary. The work you'll have to do to access your car's factory speakers will vary from car to car. In some scenarios, you may need to remove seats, crawl into the trunk to access important bolts or wires, or even remove entire door panels to gain access to the speakers.
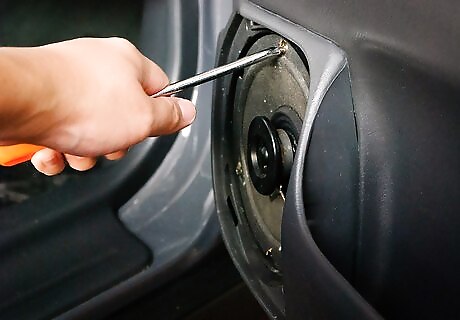
Remove the factory speaker. Note that the speaker is usually attached to a wiring harness – take care not to rip it out when removing it. You may also find that you need to unscrew one or more small bolts and/or chip at any adhesive foam or glue that's holding the speaker in place. If you think you'll want to reinstall the factory speakers in the future (for instance, if you sell the car), don't forget to save any materials you remove!
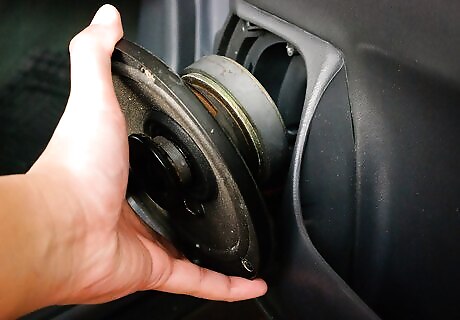
Connect the new speaker to the car's electrical system. Usually, connecting your new speaker is a fairly simple matter of plugging your speaker's wiring harness into the car's wiring harness. However, if your car doesn't have this type of connection, you may need to connect your speaker with a soldered or crimped connection. Make sure you match the polarity of the car and speaker's connections. Usually, the speaker's positive terminal is the larger of the two and is marked with a "+" or a small dot. Electrical tape can be a risky choice for wire connections, especially in the dashboard, as changes in temperature can weaken the tape and lead to problems down the road. Utilize zip ties wherever possible to organize your wiring.
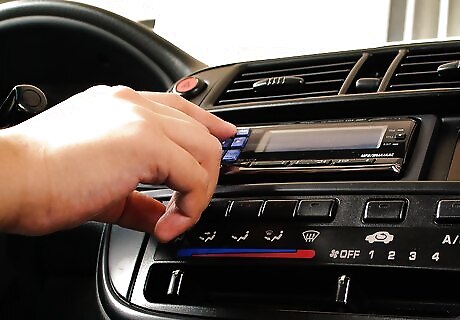
Test the speaker. Now that you've connected your speaker, it's important to test the connection so you don't have to undo any paneling after installation. Re-connect the battery's negative terminal and turn on the car's radio or stereo. Listen for sound coming out of your new speaker or look for visible vibrations at high volumes. If your stereo comes equipped with balance and fade, tune in to each unit to check functionality. If your speaker won't work, check your wiring and secure any connections.
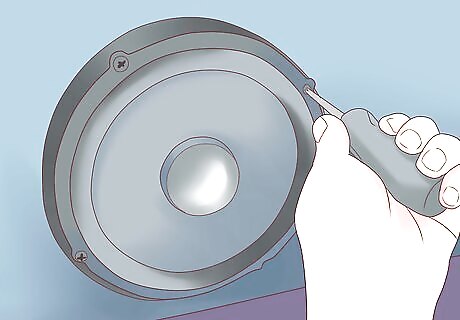
Secure the new speaker. Once you're confident that your speaker works properly, secure it in its seat in the door or dashboard. Ensure a sealed fit with mounting brackets, adapters and spacers. New holes may need to be drilled into the mounting location. Take care to avoid any other accessory wiring.
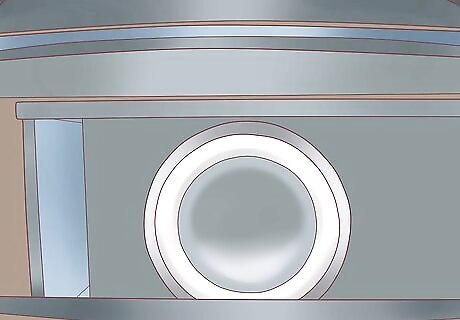
Install and test any subwoofers. Subwoofers are responsible for the ultra-low, "booming" bass sound that some car owners idolize. If your car came with factory subwoofers, installing new woofers can be as easy as seating them in the existing housing and connecting them to the car's wiring harness. If your car didn’t come with factory subwoofers or you'd like to install additional ones, you may need to expand your stock woofer's existing mounting holes or make modifications to the car to house large woofers. For instance, many people who want to add multiple woofers to their car custom-install a panel in the trunk to house the woofers.
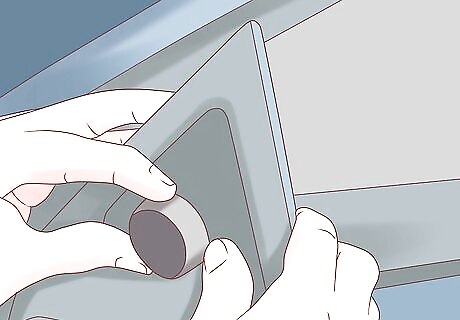
Install and test any tweeters. Tweeters can be easy or difficult to install based on the factory components of your car. If your car came with tweeters, you may only need to install the new ones in the existing housing and connect them to the existing wiring harness. If, however, there are no spaces to install the tweeters, you may need to make your own (or expand existing ones, use a mounting bracket, etc. if existing housing is insufficient). Luckily, tweeters are much smaller than woofers, so the adjustments you'll need to make will be minor in comparison. If your car didn't already have any tweeters, you may need to connect the tweeter directly to the battery and stereo and ground the tweeter to the car's body.
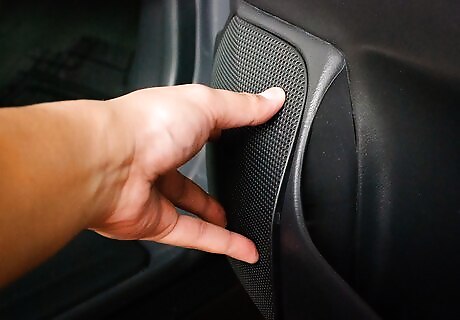
Replace all panels and speaker grilles. When all the components of your new speaker system have been installed, tested, and securely mounted in the car, you may replace any speaker grills or panels that you had to remove to install the speakers. Make sure you've kept any screws that you had to remove to take the grill or panel off so that you're able to re-secure them properly. Congratulations - your new speaker system is ready to use!




Comments
0 comment