views
Removing the Old Light
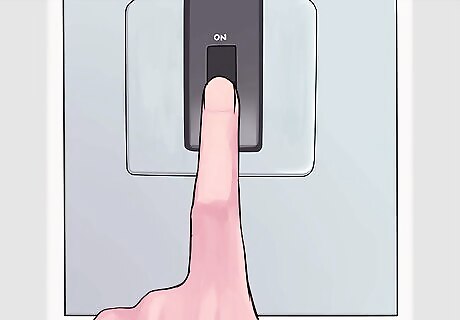
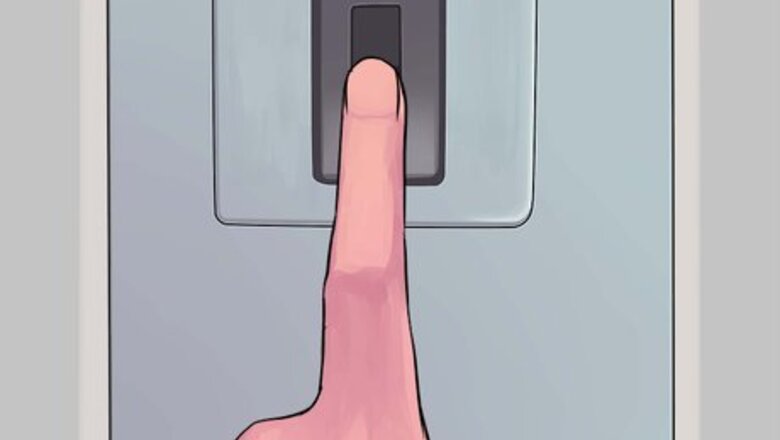
Turn off the power to the light. Since most outdoor motion sensor lighting is installed in place of a current porch light, you will need to begin the project by removing the old light. Before you even touch the light, you want to go to your home’s electrical box and cut off the power to the existing light. Test that the power is indeed off by turning on the light switch to the light to make sure it stays off.
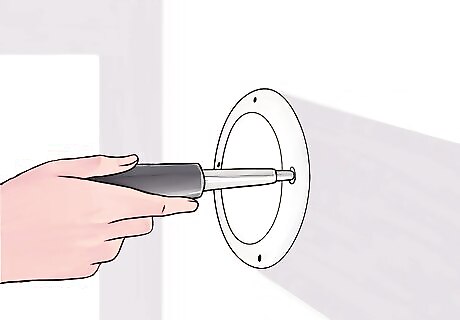
Unscrew the existing light. Use a screwdriver to remove the screws holding the existing light in place. Don’t pull too hard away from the wall since the light is still connected by the electrical wiring in place. To be doubly safe, have a wire tester handy and test the wires connected to the old light to ensure no power is running to them before you actually touch them.
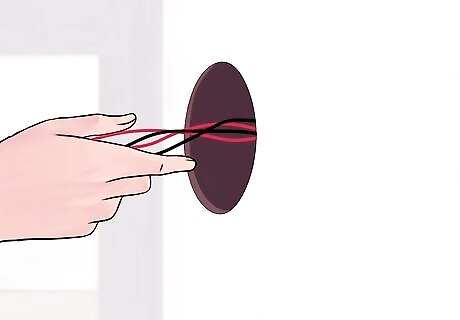
Remove the wire connections. You will see three separate wires attached to the light. There will be a white wire (the neutral wire), a green or copper wire (the ground wire), and a black or red wire (the hot wire). Disconnect all three wires from the current light after testing to make sure they aren’t receiving any power. Occasionally, especially on older homes, the hot wire may be a color other than black or red such as yellow.
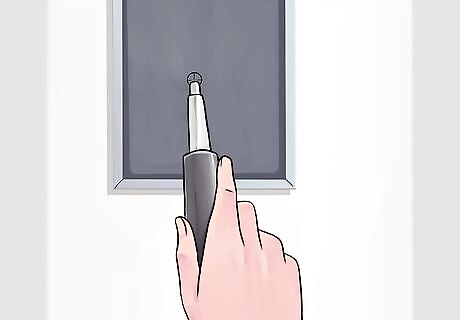
Check the current electrical box. If the current light fixture is especially old, you may want to use having the light off as an excuse to change out the electrical box housing the wiring. This is especially true is you see any evidence of moisture or degraded seals around the box. The box will simply be screwed into place, and you can remove it and feed the same wiring into a new box before screwing it back into place.
Installing Your Motion Sensor Light
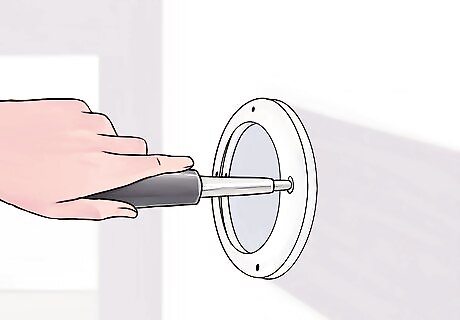
Mount the adjustable crosspiece from the light package to the electrical box. The motion sensor light kit you purchase will come with a small crosspiece bracket with several different holes, allowing you to attach it to electrical boxes of different sizes. Line up the bracket according to the electrical box you have installed and screw the bracket into place.
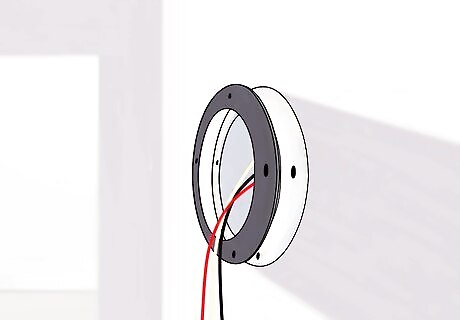
Place the rubber gasket that comes with the light around the outside edge of the new fixture. The new light package will include a rubber gasket that fits tightly against the base of the fixture where it attaches to the wall. Slip this gasket over the wiring on the light and into place. It doesn’t have to be perfectly aligned just yet; you just need the gasket in place before you connect the wiring on the light to the electrical box, otherwise you’ll have to disconnect it again.
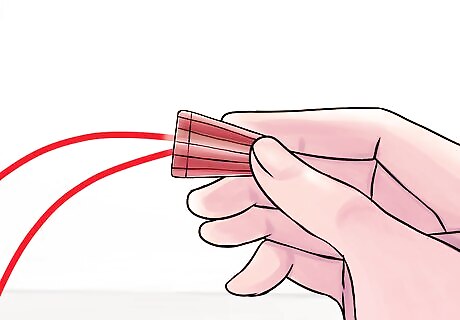
Connect the wiring with a wire cap. You have to make sure you connect the wiring properly. That means connecting the neutral (white) wires together and the hot (black/red/yellow) wires together. Use a wire cap over the connected wires to help hold them together, and then use electrical tape around the bottom of the wire cap to help keep it in place. There will be a small colored screw inside the light fixture near where the other two wires exit the casing. You will tighten the copper ground wire down around this screw by simply loosening the screw, looping the ground wire over it, and tightening the screw back down to make constant contact with the wire.
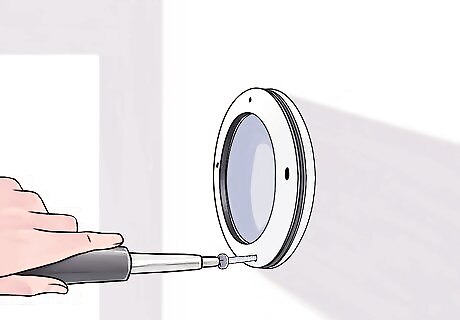
Screw the light assembly into the electrical box bracket with the gasket in place. Once the wiring is all connected and taped off, you can simply push the wiring into the electrical box to give yourself more room to fit the light assembly on the wall. Your particular setup will likely have one or two screws that you use to attach the light to the cross bracket that you already attached. Make sure the rubber gasket is properly aligned on the back of the fixture, hold it against the wall, and screw it into place.
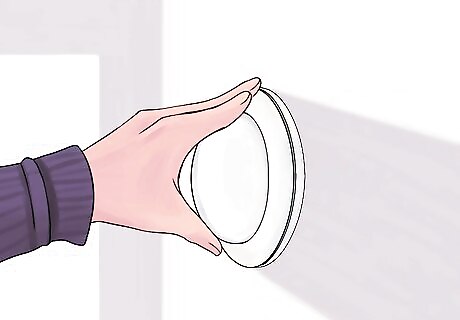
Screw in the bulbs. Once you have the assembly properly in place, you are ready to screw in the bulbs that came with it. You can always choose a different type of bulb as well if you don’t prefer what your system comes with.

Seal the fixture. After you have restored the power to the light and ensured that it works, you will want to seal the light fixture where it attaches to the wall plate. Use a silicone caulk around the casing where it attaches to the wall. This will help ensure that no moisture can get inside the casing and short out the light.
Testing and Adjusting Your Motion Sensor Light
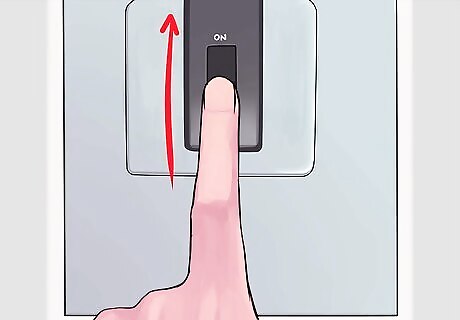
Turn the power back on to the fixture. Now that you’ve installed the fixture, you’re ready to test it. The first thing you need to do is go back to your breaker box and turn the power back on to the fixture.
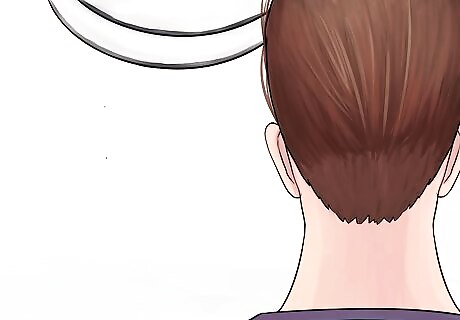
Walk in front of the sensor. With the power to the light restored, walk in front of the sensor to ensure that the light comes on. Once you’re certain the light comes on, this is the point where you should seal the fixture around the wall with the silicone caulking. Then you can worry about adjusting the settings.
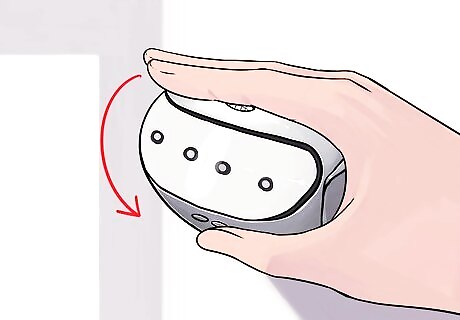
Adjust the angle of the lights. This step is likely easier to do at dusk or in the early evening. Most motion sensor lights consist of two separate lamps that you can easily swivel and position how you want. Turn the lamps until you have a spread of light around the area that satisfies you.
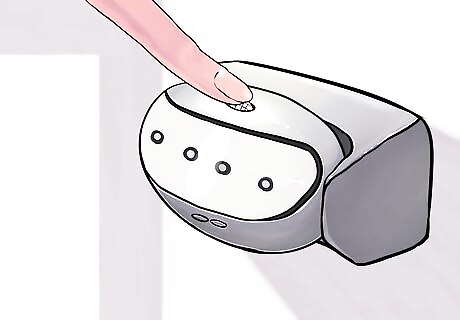
Adjust the angle of the sensor. The sensor for most models of motion sensor lights is on a pivot that allows you to angle the sensor toward a specific location such as your driveway or a gate. The sensor will have a rather wide field of view, so you can angle it toward multiple spaces at once in many cases.
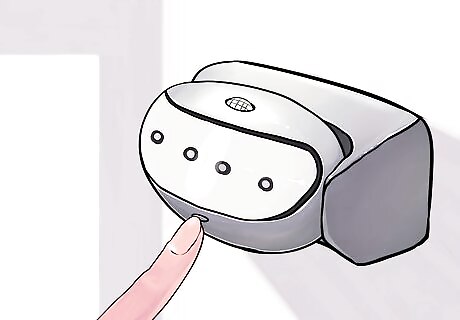
Adjust the sensitivity. Depending on your model of light, it may come with a switch or a knob to adjust the sensitivity of the sensor. The higher you tune the sensitivity, the more objects will cause the sensor to switch on the light. On some lights, especially ones that can be seen from bedroom windows, you probably don’t want the light switching on every time the wind shakes a rosebush, so adjust the sensitivity based on your needs. If there’s a specific corner you want the sensor to stop reacting to—such as a dog’s dog run beside the house—you can place a small piece of electrical tape on that corner of the sensor to stop it from receiving the data. Just make sure you don’t tape further over than you intended. You can test it by placing the tape and walking beside it to see where the sensor’s field of vision picks back up and adjust accordingly.
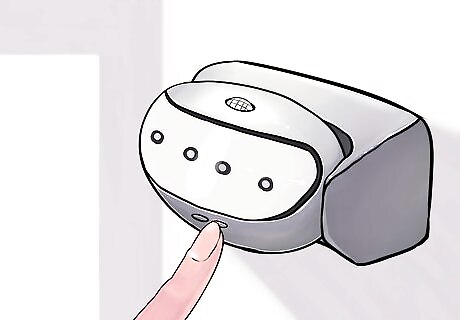
Set the timing. Most motion sensor lights also have a time setting beside the sensitivity setting, allowing you to determine how long the light stays on when the sensor trips it. This setting is typically just a switch that changes the increment, so set it to your preference.


Comments
0 comment