
views
Inserting Rows on a Mac

Open an excel spreadsheet. You may use an old one or create a new one.
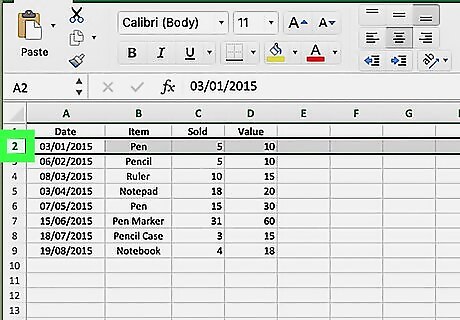
Select a row by clicking on the row number. You should see the row number on the far left of the sheet. The new row will appear above the selected row or rows. Highlight the same number of rows as you want to add. So to add one row, highlight just one row, to add 2, highlight 2 rows, etc.
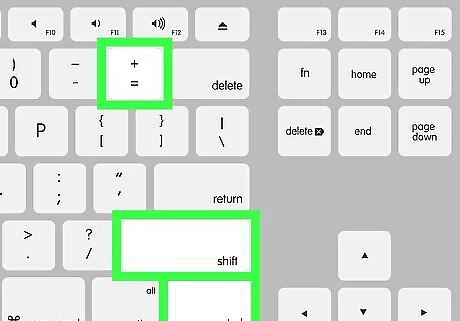
Type the Control+⇧ Shift++ keys at the same time to insert a row. Your new row should appear above the selected one. If you have no rows selected and press Control+⇧ Shift++ then it will not work.
Inserting Rows on Windows

Open an excel spreadsheet. You can use an old or new one.
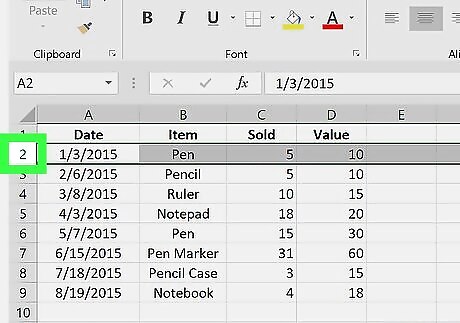
Select a row. The new row will be inserted above the selected one. This happens only if you have one row selected. Highlight the same number of rows as you want to add. So to add one row, highlight just one row, to add 2, highlight 2 rows, etc.
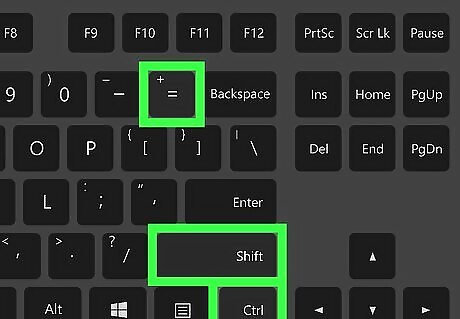
Type Control+⇧ Shift++ at the same time to insert a row. The new row will appear above the selected one. This shortcut only works if you have a row selected.
Inserting Rows with the Quick Access Toolbar
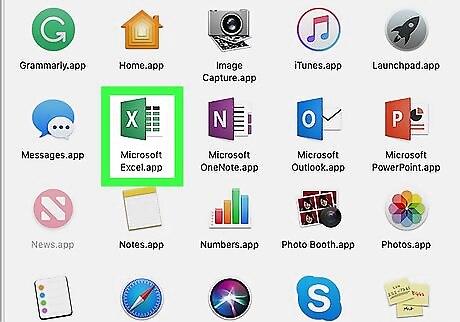
Open Excel. The icon is green with a white “X” in it.
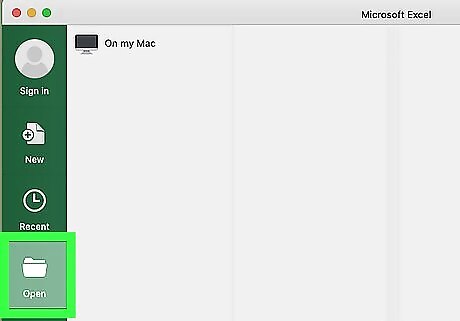
Open an excel document. It can be an old or new document.
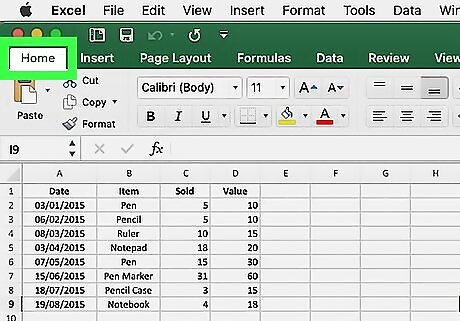
Click on the Home tab.
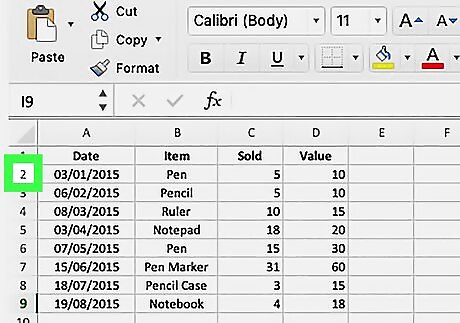
Select a row by clicking on the row number. You should see the row number on the far left of the sheet.
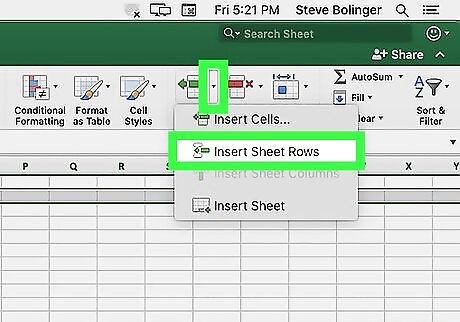
Click on Insert. It is located near the top right of the Excel window. This should automatically insert a new row above the row you selected. To save the insert row command as a shortcut, do the following: Right-click on Insert Row to open up an additional drop-down menu. Select Add to Quick Access Toolbar. If you have nothing added to your toolbar then the next key will be assigned to F4. Press F4 whenever you want to add a new row.


Comments
0 comment