views
Using the Hack and Squirt Method
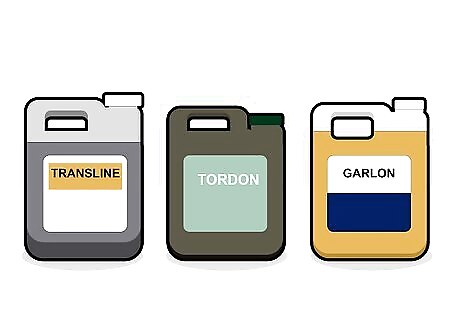
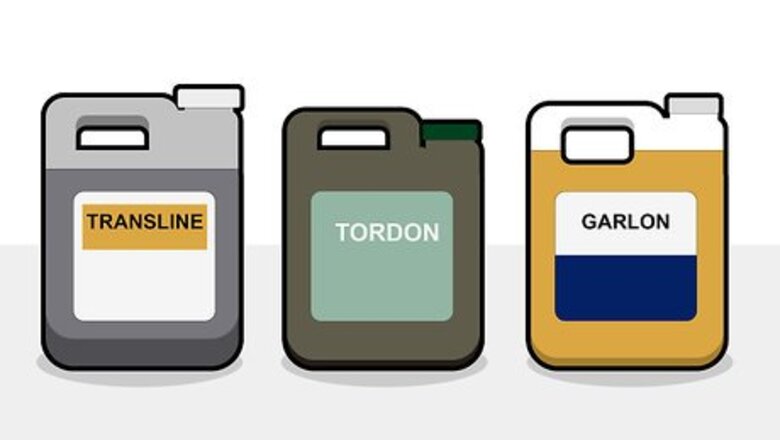
Decide which herbicide to use. Most garden stores carry a large selection of herbicides. Read the labels to determine which herbicide is appropriate based on the size of the tree. Prepare your herbicide as directed on the label and place it in a spray bottle. Use a spray bottle that dispenses 0.5–1 milliliter (0.02–0.03 fl oz) of solution per squirt. Three herbicidal sprays commonly used on cedar trees are Tordon, Garlon, and Transline.
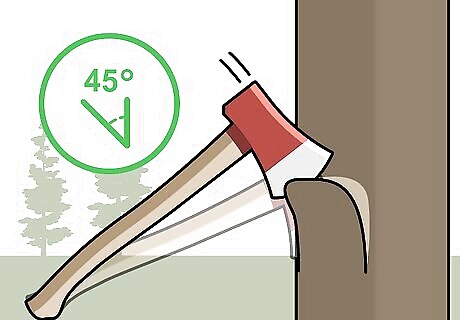
Use a machete, axe, or hatchet to cut a notch into the bark. Hack the trunk at a downward angle of roughly 45 degrees. The cut can be made anywhere beneath the lowest branch. Make the notch deep enough that it penetrates the sapwood (the outer layer of lighter-colored wood) underneath the bark. If the cut isn't deep enough, the herbicide will leak out once you start to apply it.
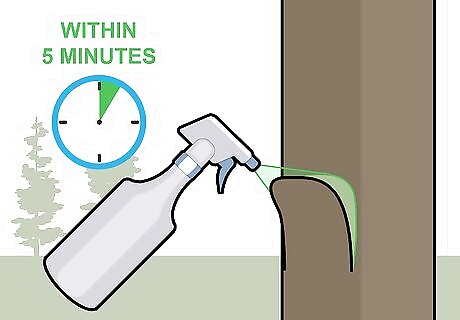
Spray the notch with your prepared herbicide within 5 minutes of making the cut. This will keep the tree from healing itself before you can treat it. Spray the herbicide down the blade of the hatchet and into the exposed trunk. Rotate the hatchet backward slightly so that it pulls the bark away from the trunk. This should create a "cup" for you to spray the herbicide into. Most herbicide labels recommend using 0.5–1 milliliter (0.02–0.03 fl oz) of solution per hack. Check the label to make sure you’re using the right amount.
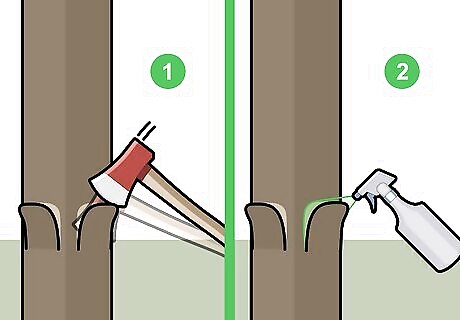
Continue to make non-overlapping, horizontal cuts around the trunk of the tree. Hack and squirt one time for every 2–3 inches (5.1–7.6 cm) of tree diameter. Repeat this process several more times to make sure it’s effective. Invest in a hypo-hatchet to save time. These hatchets are designed to automatically inject herbicide into the tree every time it's struck.
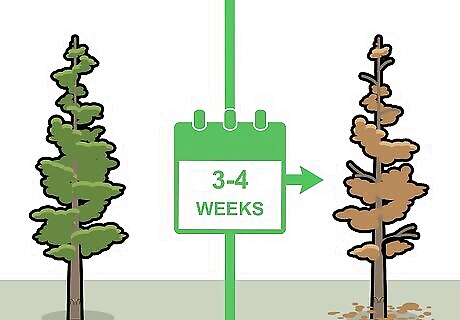
Wait 3-4 weeks for your trees to start dying. Cedar trees may start dying as early as 3 weeks after treatment, but can actually take as long as 1-2 years to fully die.
Treating the Soil with Chemicals
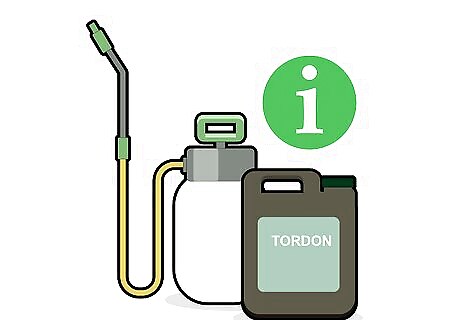
Prepare your herbicide as directed on the label. Another method for killing cedar trees is to apply herbicide to the soil directly underneath the tree. When it rains, the chemicals are absorbed into the soil and begin to attack the roots. The amount of herbicide you will need depends upon the area of ground you will be spraying and the equipment you will be using. Refer to the label for exact instructions on how to prepare your herbicide. Two commonly used herbicidal solutions are Tordon and Velpar. You will need an exact-delivery handgun or garden sprayer to apply the herbicide. This method is useful for killing multiple trees at once.
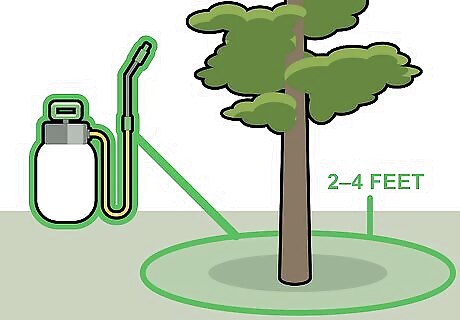
Apply the prepared herbicide in 2–4 feet (0.61–1.22 m)-wide strips. Use an exact-delivery handgun or garden sprayer to apply the herbicide directly to the soil above the tree’s roots. These strips should be applied to an area of ground roughly 12–24 inches (30–61 cm) on each side of the tree. Refer to the label to determine how much herbicide to use based upon the area of ground you are spraying.
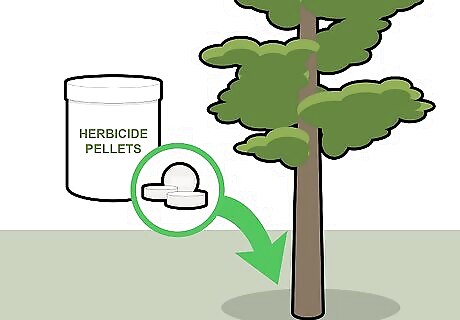
Place herbicide pellets under the tree. Herbicides for treating soil are also sold in pellet form. These may be more convenient to use if you don’t have access to an exact-delivery handgun or backpack sprayer. Place the pellets under the tree, using one to two pellets per 1 inch (2.5 cm) of stem diameter. These may be more convenient to use if you don’t have access to an exact-delivery handgun or backpack sprayer. The pellets require ⁄4–⁄2 inch (0.64–1.27 cm) of rainfall to dissolve into the soil.
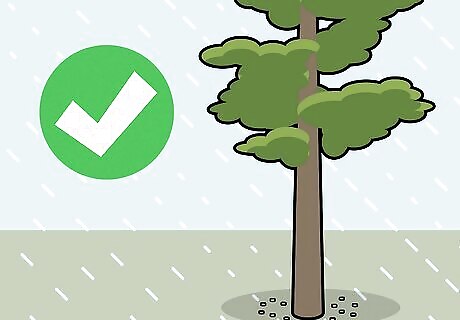
Wait for it to rain. The chemicals will be absorbed into the soil and start attacking the roots the next time it rains. Once the herbicide is absorbed, cedar trees can take anywhere from 3 weeks to 2 years to fully die.
Girdling a Cedar Tree
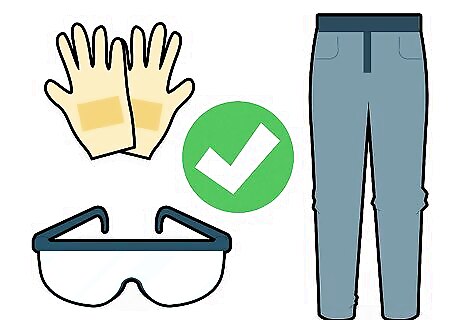
Take proper safety precautions. Girdling is the process of removing a strip of bark from the circumference of a tree’s trunk. This starves the tree by preventing nutrients from traveling through the bark. Before you begin, take necessary safety precautions by wearing protective eyewear, work gloves, and/or long pants. Girdling does not require herbicides, but it can be more time-consuming than other methods.
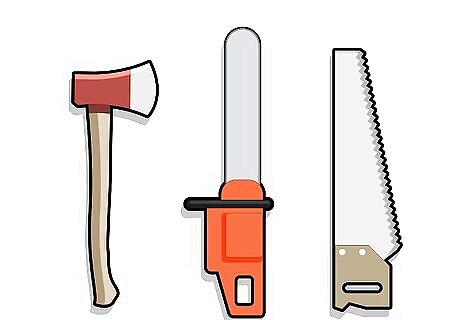
Collect your tools. Chainsaws, axes, and handsaws are the most common tools used to girdle trees, but you can use any tool that has a sharp, metal blade and can strip bark in one pass. Take time to decide which tool you want to use. Consider the cost effectiveness of each option, as well as the tool you feel most comfortable using.
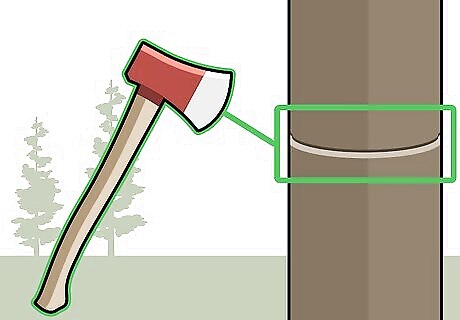
Make a cut all the way around the base of the tree. Place the cut anywhere beneath the lowest branch of the tree. The width and depth of the cut will vary based upon the size of the tree. For smaller trees, make the cut at least 2 inches (5.1 cm) wide and 1.5 inches (3.8 cm) deep. For larger trees, make the cut up to 8 inches (20 cm) wide and 1.5 inches (3.8 cm) deep. Try to keep the cut as level as possible around the entire circumference of the tree.
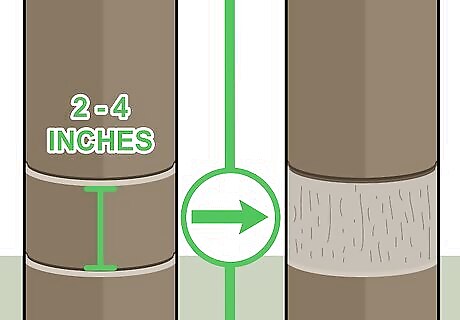
Make a parallel cut 2–4 inches (5.1–10.2 cm) below the first. This second cut should be roughly the same width and depth as the first cut. You should now have two consistent, parallel rings around the entire circumference. Make sure no bark remains inside either of the two rings. If any bark remains, you will need to go back over the cut. To improve the effectiveness of this process, use a sharp, chisel-type tool to completely remove the bark between the two rings until the lighter-colored sapwood is exposed.
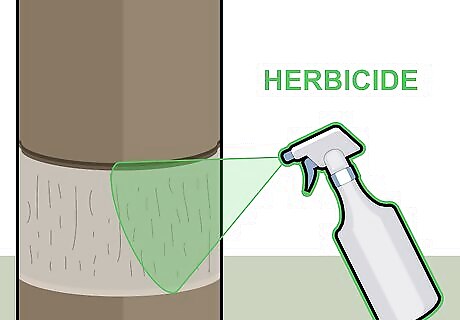
Use chemicals to speed up the process. Girdling is most effective when herbicide is applied to the open cuts. Velpar, Milestone, and Garlon are good herbicides to use when girdling trees. Prepare the herbicide as directed. Follow the instructions on the label to know how much herbicide you need for the size of the tree you’re treating. Use a spray bottle or garden sprayer to apply the herbicide to the open cuts. Spray within 5 minutes of making the cuts for best results.
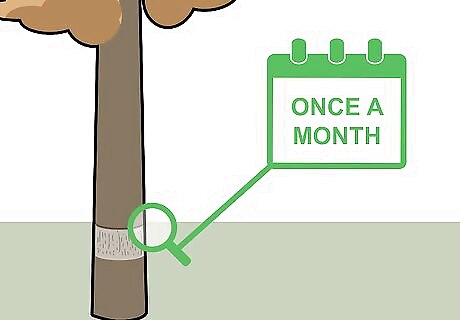
Observe the tree at least once a month for new sprouts. Trees will sometimes repair themselves, which is called “jumping the girdle”. Continue to observe the tree at least once a month until it begins to die. Cedar trees can take anywhere from 3 months to 2 years to fully die. You will know the tree is dying when it becomes more brittle and starts to fall apart. If you see new sprouts growing up around the rings you made, the treatment most likely failed. If the tree starts to heal itself, you may need to apply herbicide.
Cutting the Top
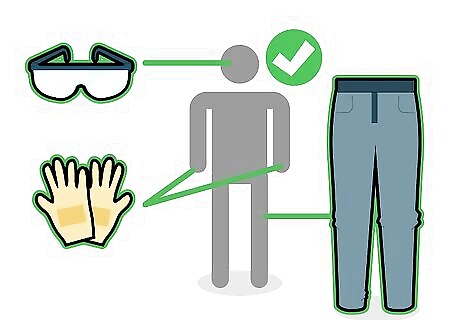
Put on work gloves, safety goggles, and long pants. Many species of cedar do not re-sprout, so they can be permanently killed by removing their tops. Cutting a tree is dangerous, so make sure you’re wearing the appropriate protective gear before you begin.
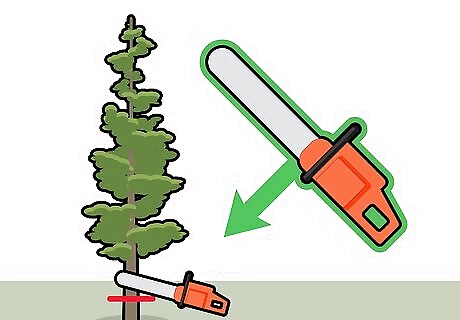
Cut the tree below the lowest branch. This will keep the tree from re-sprouting. Use a chainsaw, hand saw, axe, or another mechanical tool to chop down cedars less than 6 feet (1.8 m) feet tall. Make sure you know the proper way to cut down trees before you try it yourself. Otherwise you could seriously hurt yourself or others. Certain species of cedar may need to be grubbed (cut) beneath the soil level to prevent them from growing back. If you aren’t sure if a certain species will re-sprout, cut the tree beneath the soil to make sure you kill it permanently. You may want to hire a professional tree removal service for cedar trees larger than 6 feet (1.8 m) tall.
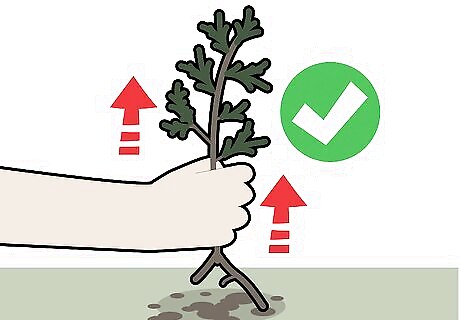
Pull out any seedlings with your hands. Seedlings are trees that are less than 2 feet (0.61 m) tall. It’s much easier to kill cedar trees while they’re seedlings than when they’re fully grown. Locate any seedlings in the area and pull them out with your hands before they need to be cut. Some species of cedar seedlings may need to be grubbed below the basal “knob”, which is located at or directly beneath the soil surface.






Comments
0 comment